Post by hotrod347 on Jul 17, 2009 23:35:25 GMT -5
ok this build on brutus jr. is a doozy. i have made so many modifications on this car, that i kinda lost count.haha. but i'll try anyway to fill you guys in on what i've done so far. ok in the previous thread of "change of plans" i had pics up of the start and interior done. now here came the fun part. get ready for this one.lol
being that this rod is from a parts box i had to do alot of thinking and rethinking as well as alot of major/ minor improvising. the front suspension is from the 29 ford hauler build, and like a doof i put it on the rod rather than the hauler, so now brutus sr. needs a front suspension. lol. the front axles are again cut paper clips that are glued into drilled holes in both the suspension arms and the hubs of the wheels. the rear of the car was a lil more tricky than i thought.
to start i had to come up with a way to keep the differential in place being that the floor panel stopped short of the rear fenders. the minute the pumpkin went on the back, it fell into the open space between the fenders. NO GOOD.
 . so i tried something i honestly didn't think would work. i used a pressed steel spring from an old RC truck i had when i was younger. i pre drilled a hole in the rear of the pumpkin and cut the spring to size then attached it to the back of the diff. then i shaved part of the drive shaft down with my dremel and sand filer so it would sit flat on the floor plan. glued them in place and WALA. IT WORKED. ;D
  ;D ;D ;D.
then i realized there was another problem. the drive shaft wasn't long enough to reach the tranny on the flathead. honestly guys i was gettin sick to my stomach by then and was ready to call it quits


 . so once again i thought it over and came up with an idea. i looked in my parts box of electronic parts. and guess what me found.lol. in the box was a tv antenna the right circumference for the shaft. so with that trusty dremel tool i cut it to size and glued it in place. that took me close to 5 hours that night to do this.
the next night was better than the first.


 . i again came across another snag. uuuuuugh. the previous week i had drilled the centers of the axles out on the pre-existing diff. to fit in a smaller axle rod in hopes it would reach the slicks. NOPE NOT THIS TIME.


 .
.
well i went looking in my parts box once more and found a set of left over round plastic rods that were used to hold parts from other kits. i cut them to the length and drilled them to fit over the axles i put in the week before. it worked until it came time to add the wheels.


 . haha. i then had to re-drill those rods to fit the paper clip axles i then had to cut to get the wheels to even stay on the axles in the first place. again another snag in the works. haha.
once the rear wheels were in place pre-glue, i noticed the axles sagged under the weight of the car and the rear looked bent. so with left over antenna rod, i once again improvised and added them on over the axles to stabilize the sagging problem and use them to hold the cap of the rear hubs in place. this once again took me 5 more gruesome hours to complete, but being that this car is from a parts box it was worth every 10 hours spent on it. lol
ok sorry guys for the drawn out story, but had to get that off my chest. now the pics.
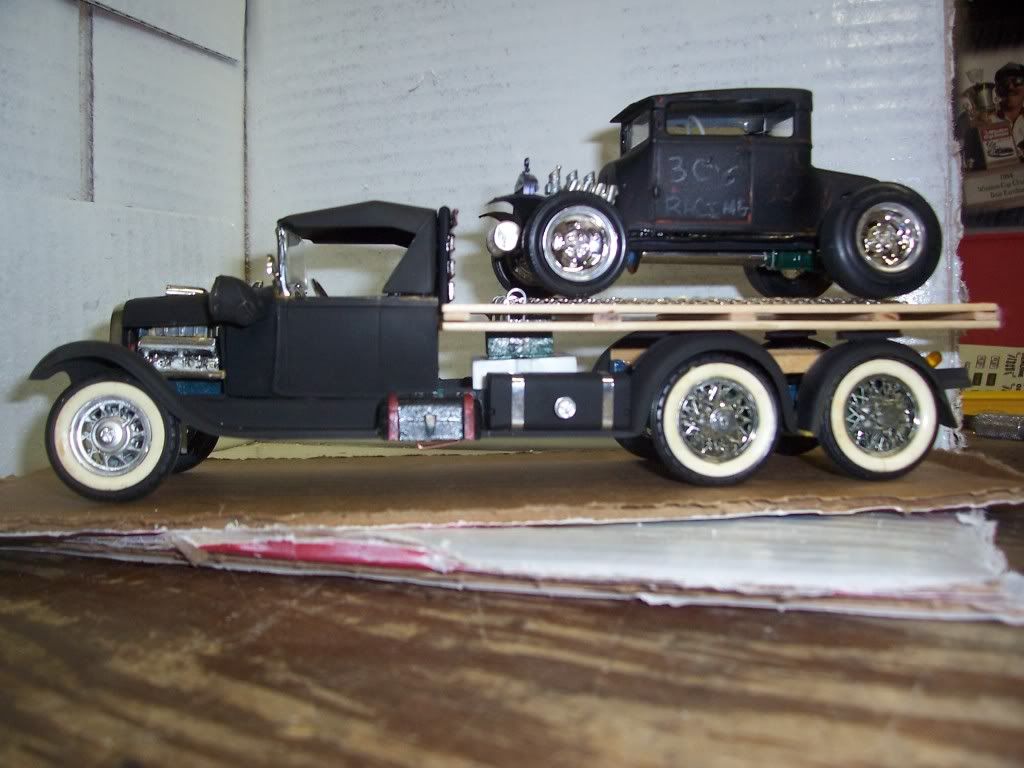
brutus jr. on the haulers decking.
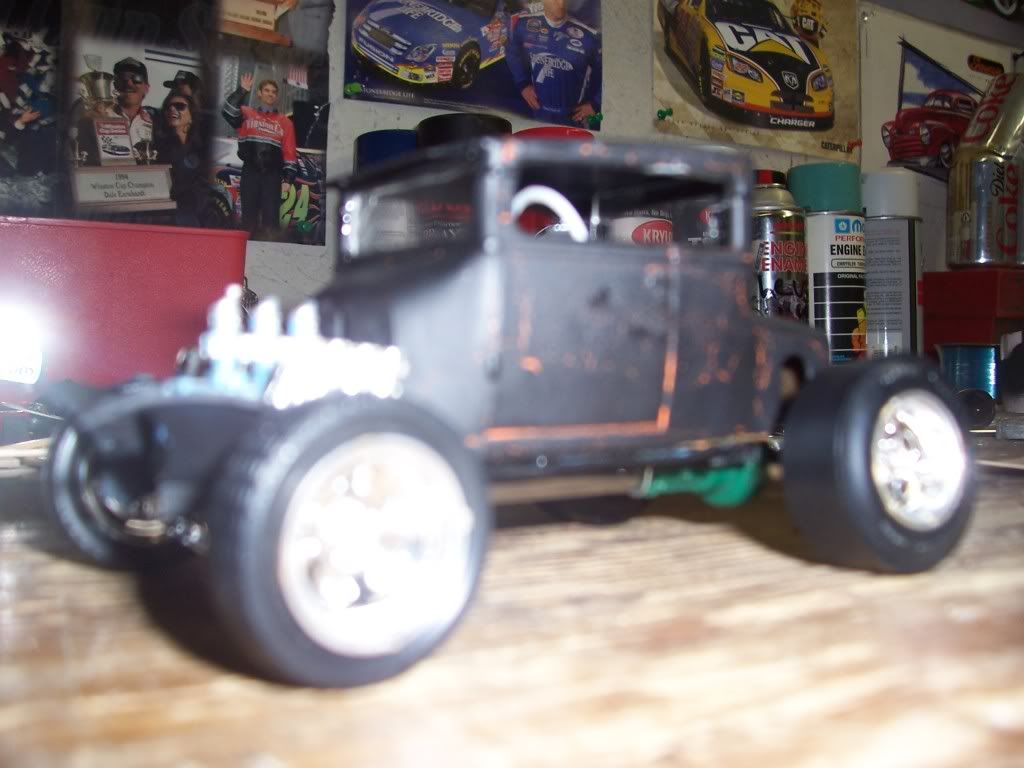
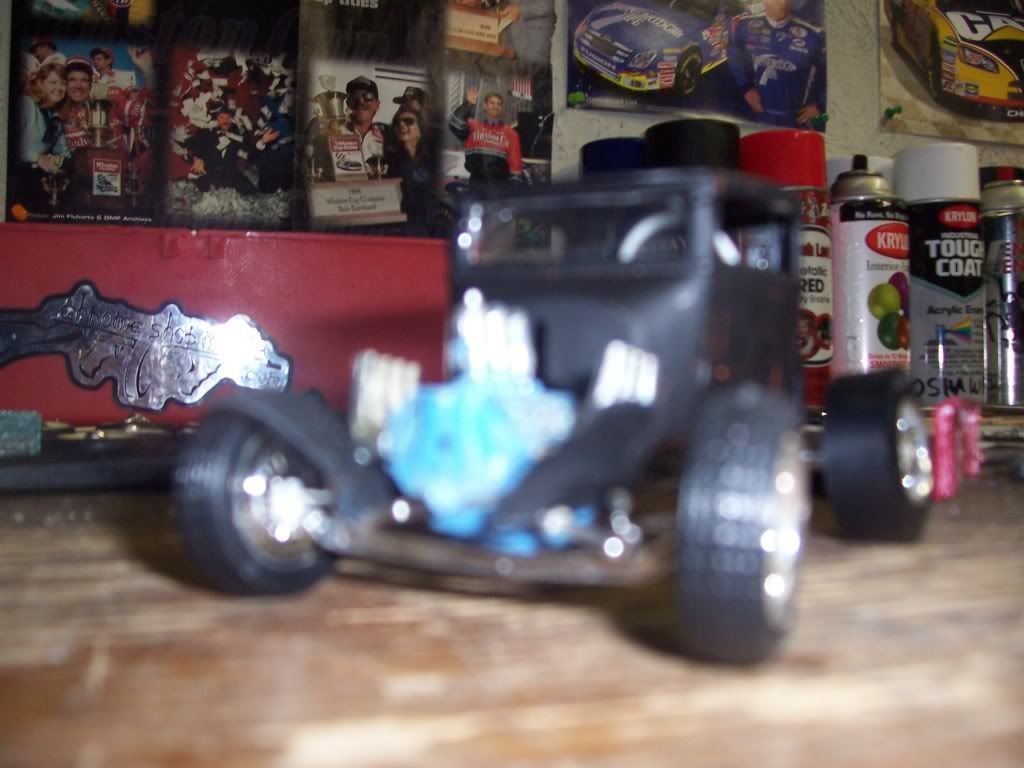
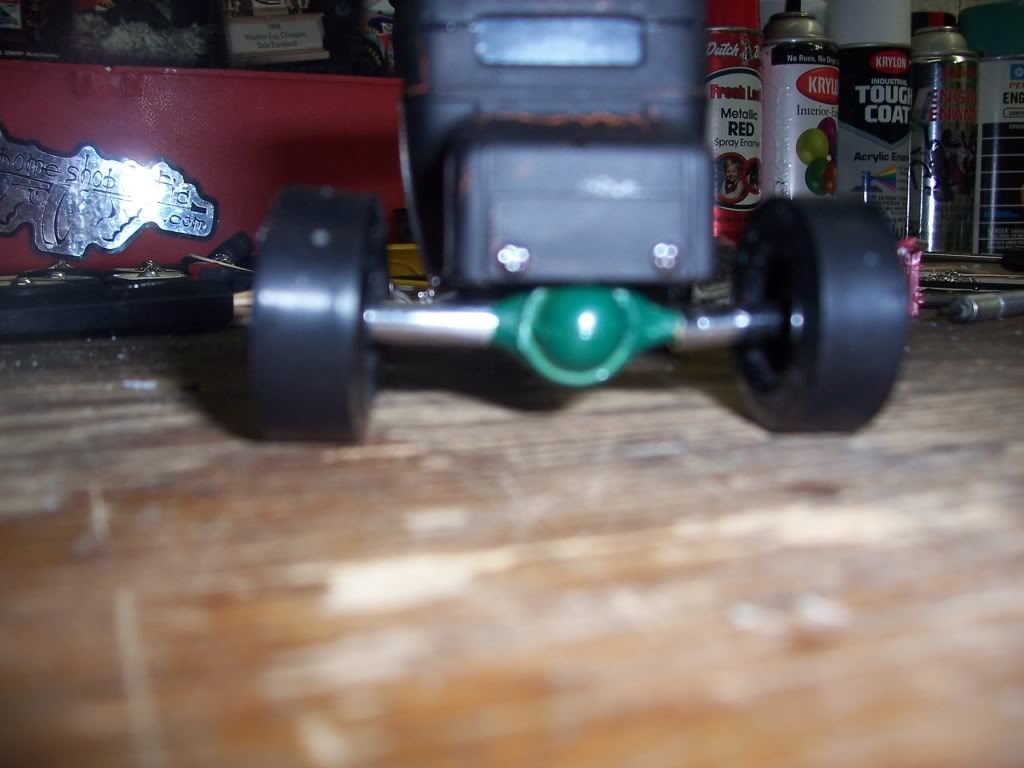
being that this rod is from a parts box i had to do alot of thinking and rethinking as well as alot of major/ minor improvising. the front suspension is from the 29 ford hauler build, and like a doof i put it on the rod rather than the hauler, so now brutus sr. needs a front suspension. lol. the front axles are again cut paper clips that are glued into drilled holes in both the suspension arms and the hubs of the wheels. the rear of the car was a lil more tricky than i thought.
to start i had to come up with a way to keep the differential in place being that the floor panel stopped short of the rear fenders. the minute the pumpkin went on the back, it fell into the open space between the fenders. NO GOOD.

 . so i tried something i honestly didn't think would work. i used a pressed steel spring from an old RC truck i had when i was younger. i pre drilled a hole in the rear of the pumpkin and cut the spring to size then attached it to the back of the diff. then i shaved part of the drive shaft down with my dremel and sand filer so it would sit flat on the floor plan. glued them in place and WALA. IT WORKED. ;D
  ;D ;D ;D.
then i realized there was another problem. the drive shaft wasn't long enough to reach the tranny on the flathead. honestly guys i was gettin sick to my stomach by then and was ready to call it quits


 . so once again i thought it over and came up with an idea. i looked in my parts box of electronic parts. and guess what me found.lol. in the box was a tv antenna the right circumference for the shaft. so with that trusty dremel tool i cut it to size and glued it in place. that took me close to 5 hours that night to do this.
the next night was better than the first.


 . i again came across another snag. uuuuuugh. the previous week i had drilled the centers of the axles out on the pre-existing diff. to fit in a smaller axle rod in hopes it would reach the slicks. NOPE NOT THIS TIME.


 .
. well i went looking in my parts box once more and found a set of left over round plastic rods that were used to hold parts from other kits. i cut them to the length and drilled them to fit over the axles i put in the week before. it worked until it came time to add the wheels.


 . haha. i then had to re-drill those rods to fit the paper clip axles i then had to cut to get the wheels to even stay on the axles in the first place. again another snag in the works. haha.
once the rear wheels were in place pre-glue, i noticed the axles sagged under the weight of the car and the rear looked bent. so with left over antenna rod, i once again improvised and added them on over the axles to stabilize the sagging problem and use them to hold the cap of the rear hubs in place. this once again took me 5 more gruesome hours to complete, but being that this car is from a parts box it was worth every 10 hours spent on it. lol
ok sorry guys for the drawn out story, but had to get that off my chest. now the pics.
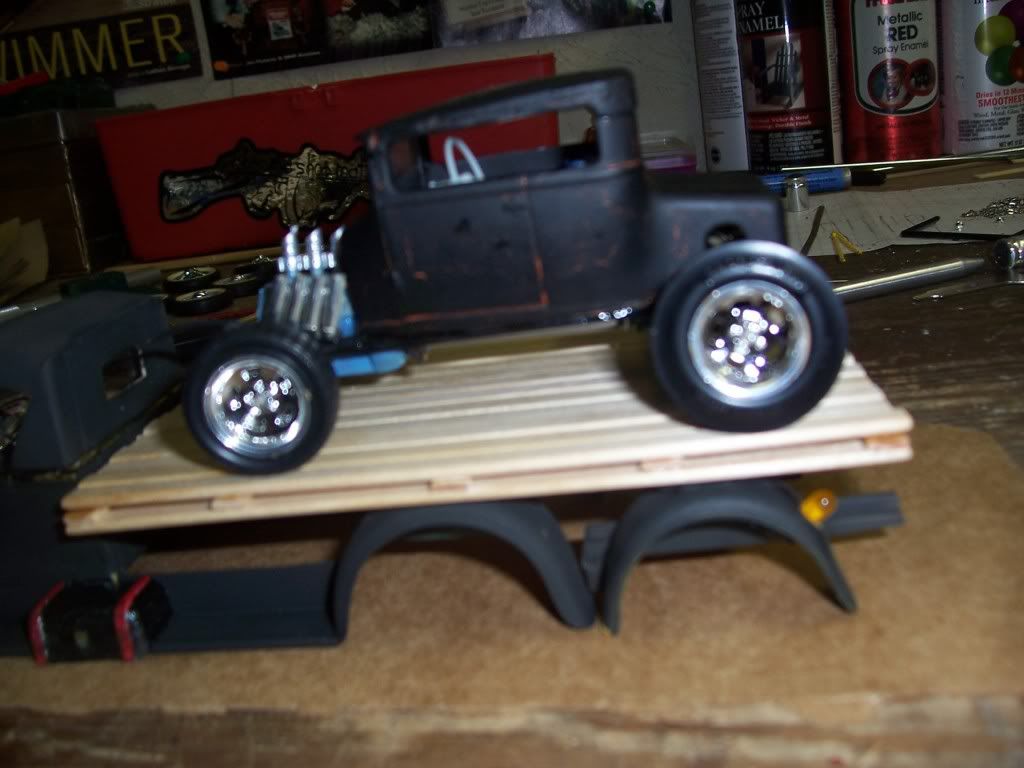
brutus jr. on the haulers decking.


