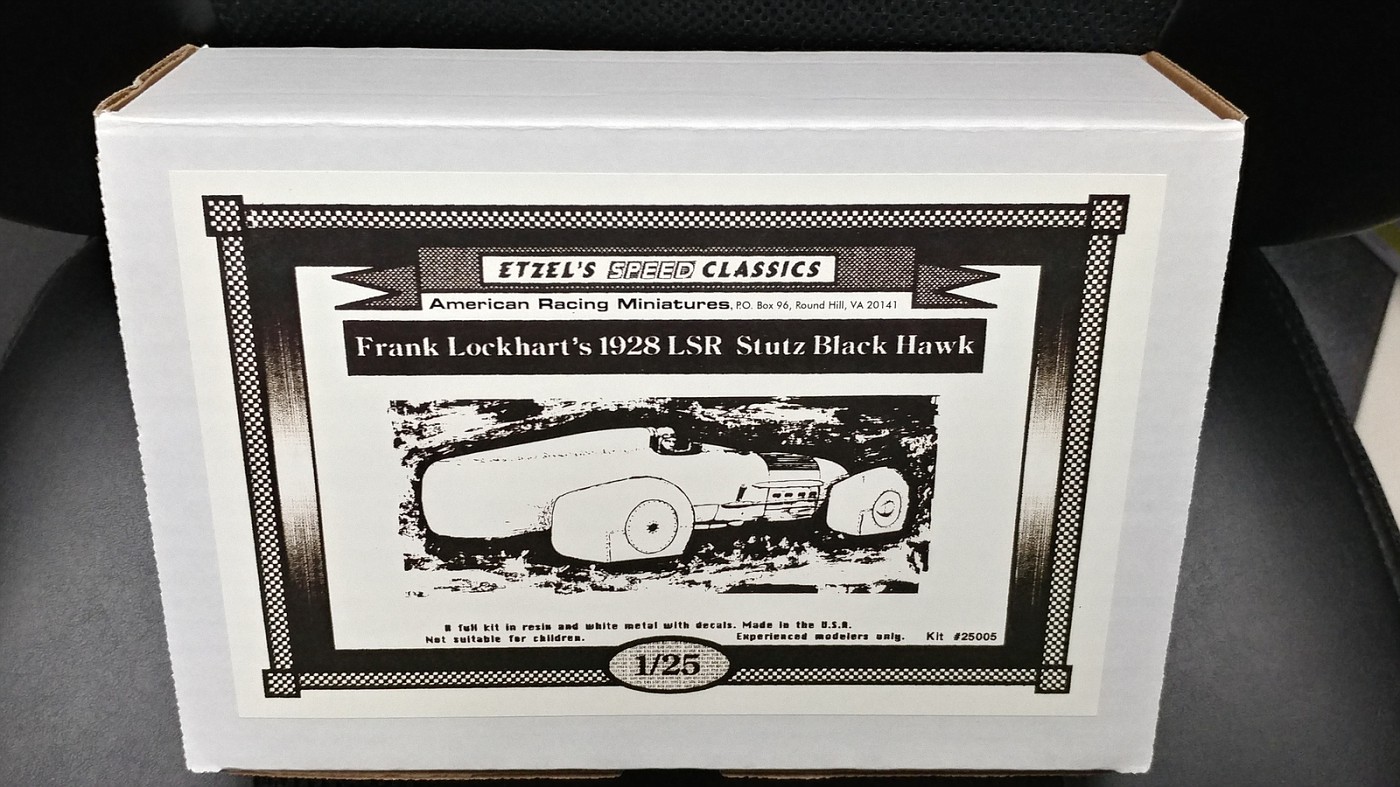
I will share another model on here. This is my first ever resin and white metal kit. There are no plastic parts in this kit. The original model came from Chris Etzel's, Etzel's Speed Classics. His line was later picked up by American Racing Miniatures, (ARM), which is where I got this kit.
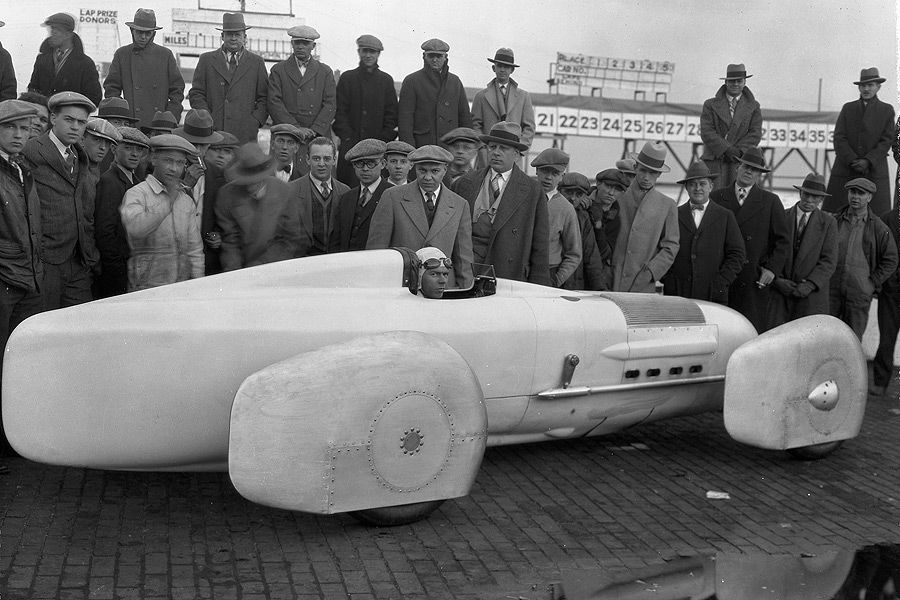
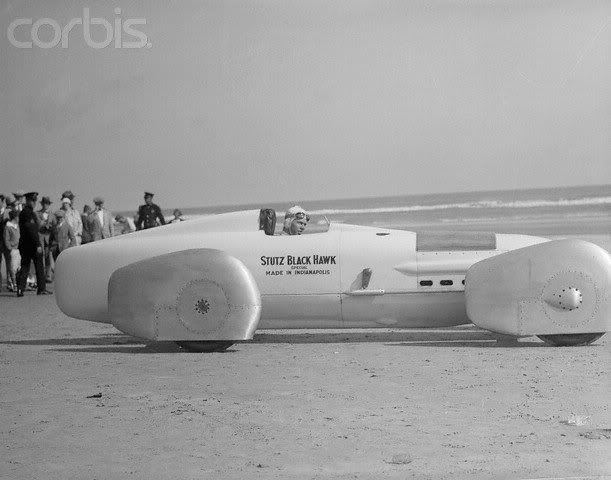
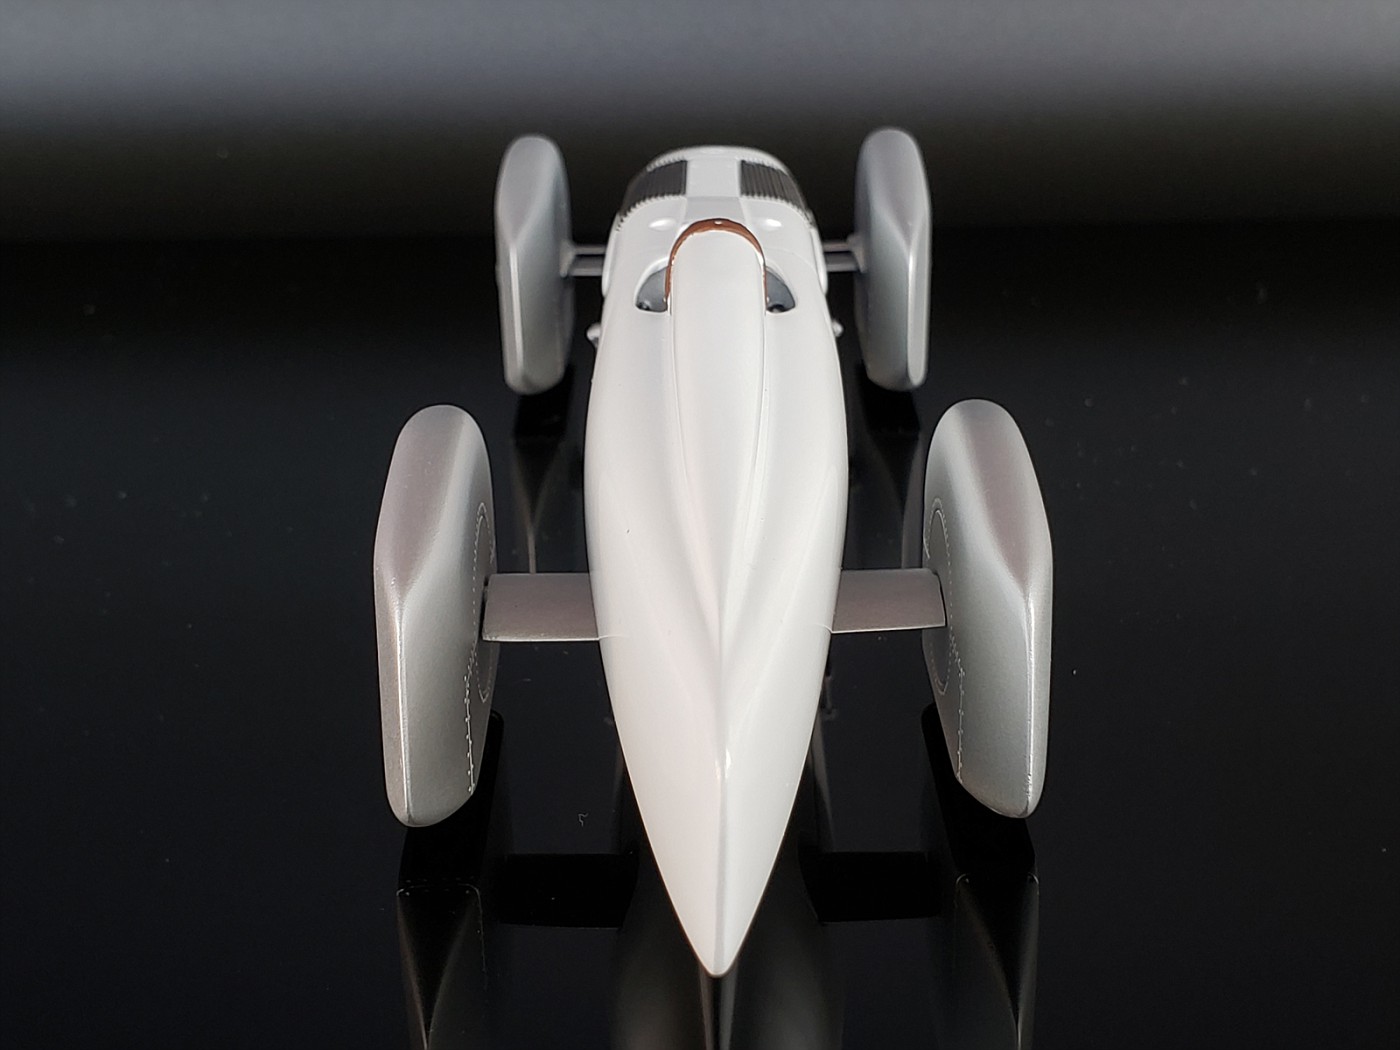
First, a few random pictures of the real car. Just Google Frank Lockhart. This is his car and he died in a crash in this car, on Daytona Beach, trying to set a Land Speed Record, LSR.
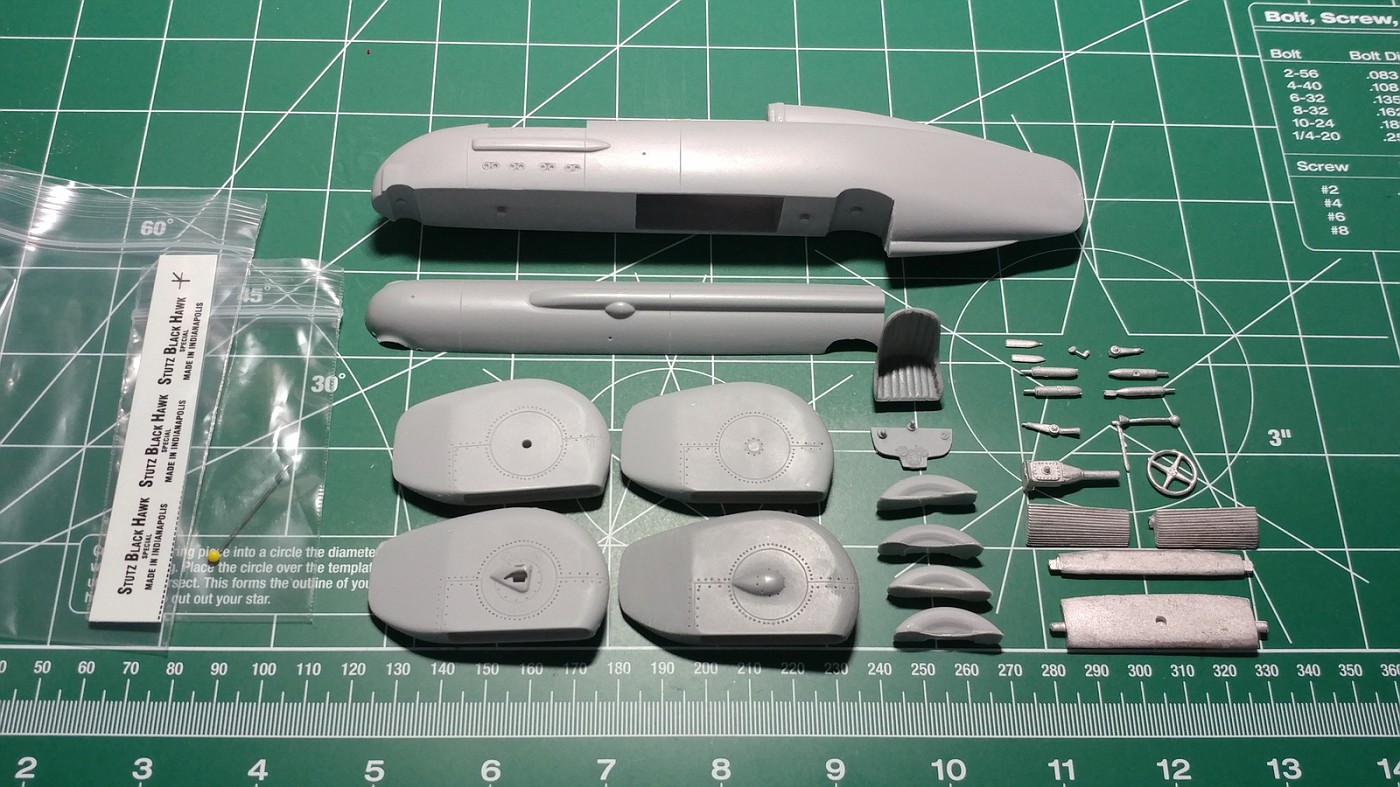
How about a few pictures of the kit's contents.
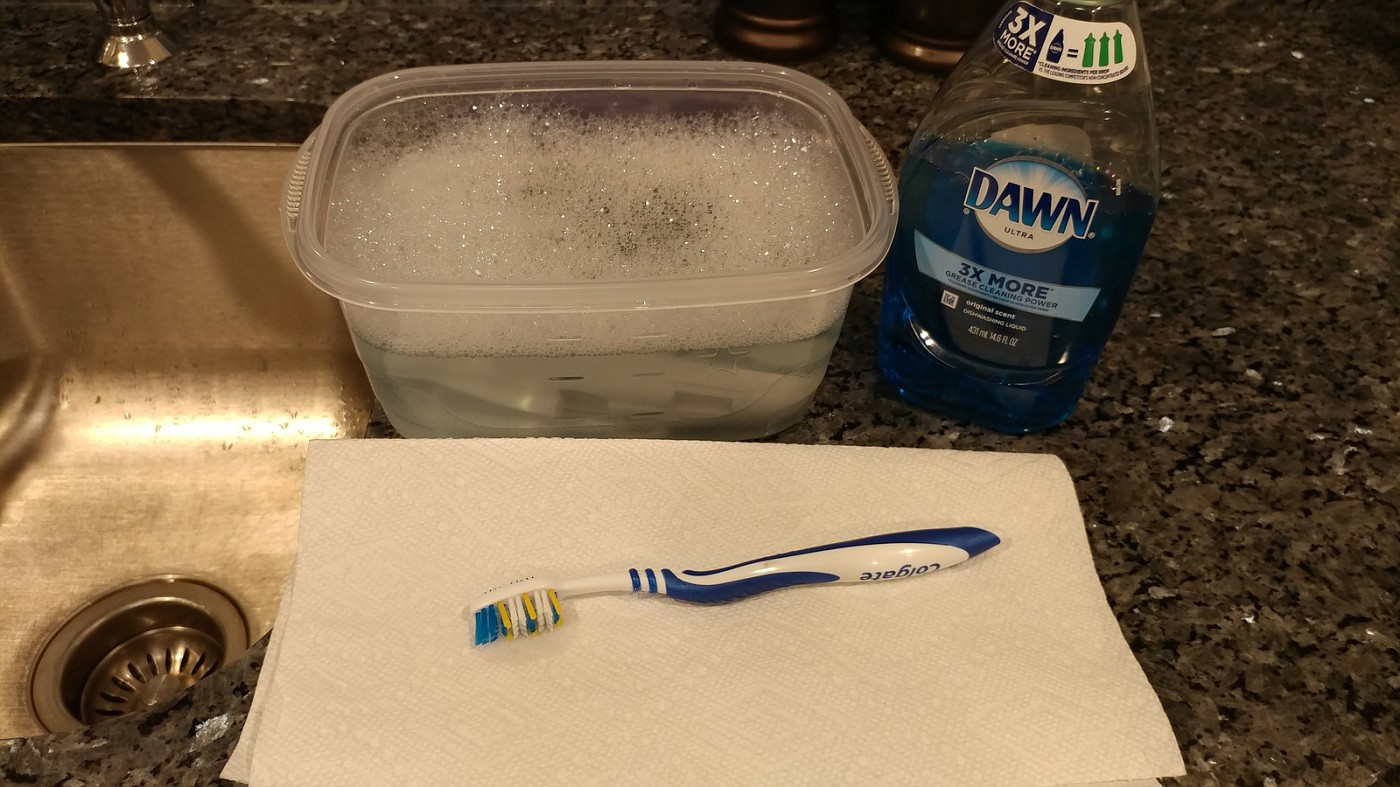
Because this is my first resin and white metal kit, I spent some time on the Internet looking for the best advice on how to prepare it. Overwhelmingly, people use Westley's Bleche-Wite and/or Dawn dish soap. I used both...LOL.
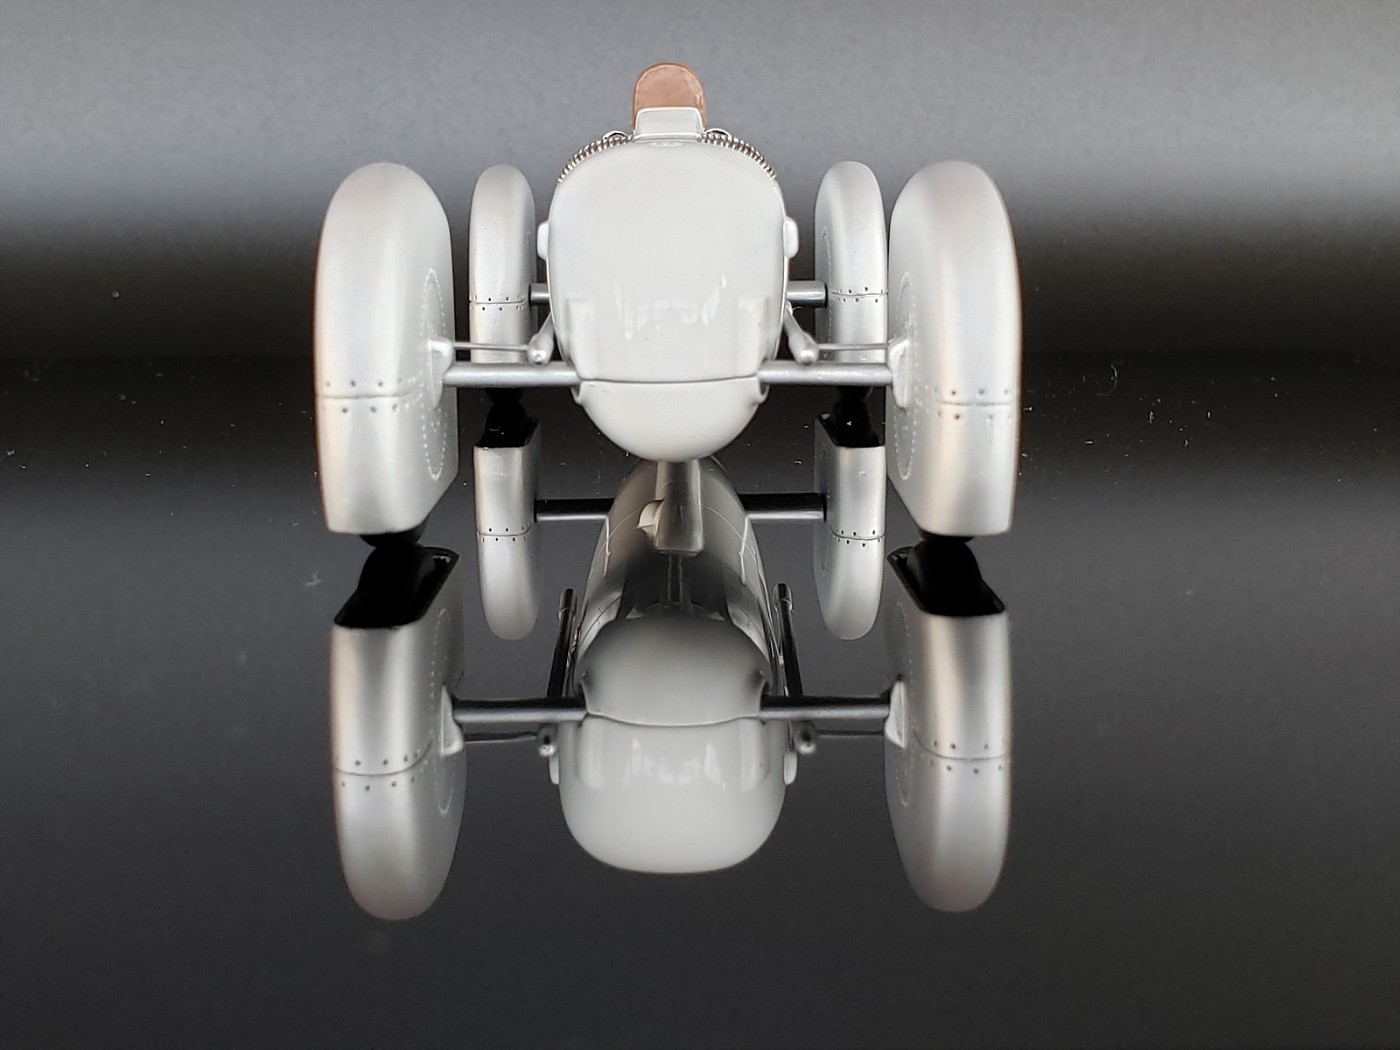
Let's continue. I'm starting with the wheels and tires. In pictures I've found and on the finished model, I think you can only see the tires. My initial concern is to remove the casting flash and to make sure all four tires are the same height when finished. To try my best to get the four tires' gluing surface flat and square, I sanded them on a piece of sandpaper laying flat on my bench. Sanding sticks will "curve" or round the edges, no matter how hard you try not to.
I also re-scribed the seat. I'm not sure if it needed it but I wanted to clean it up a bit.
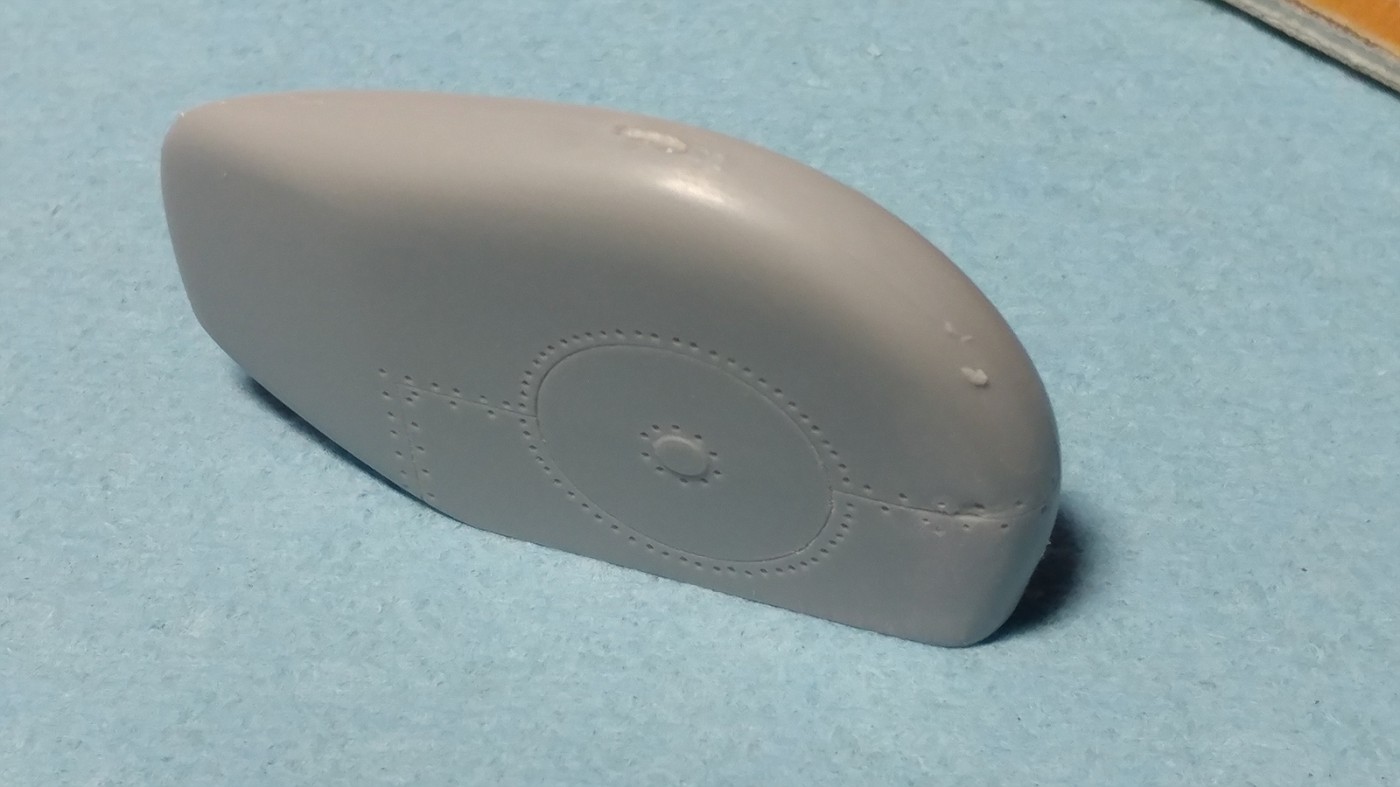
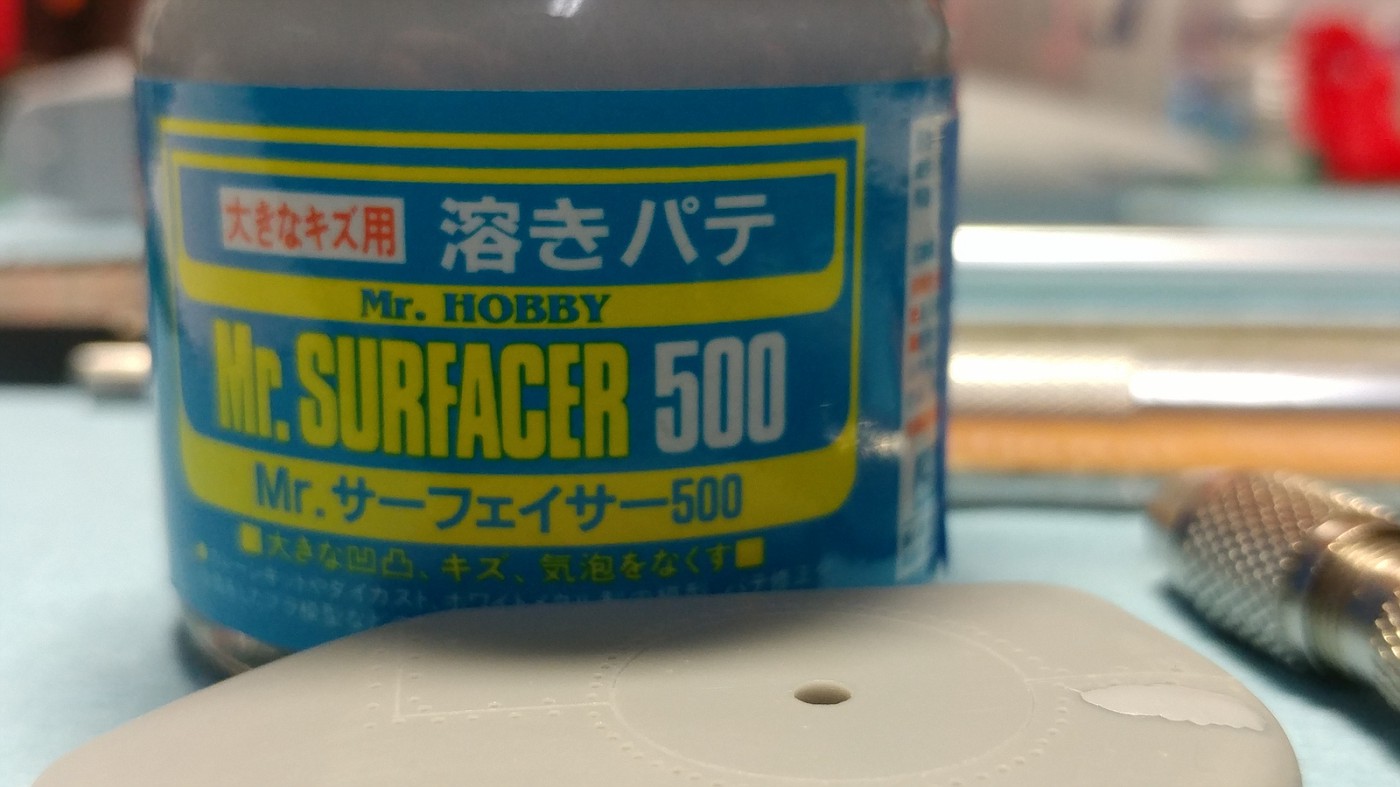
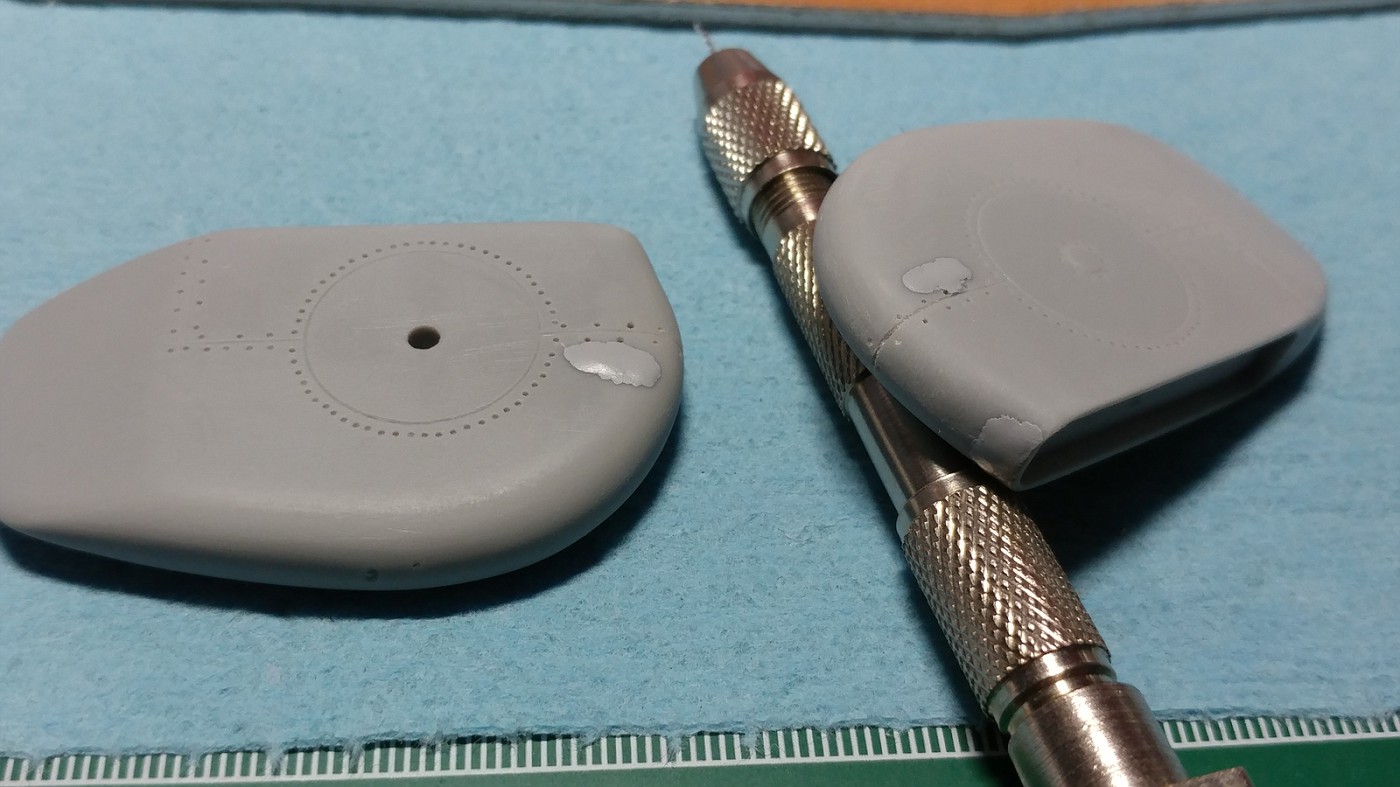
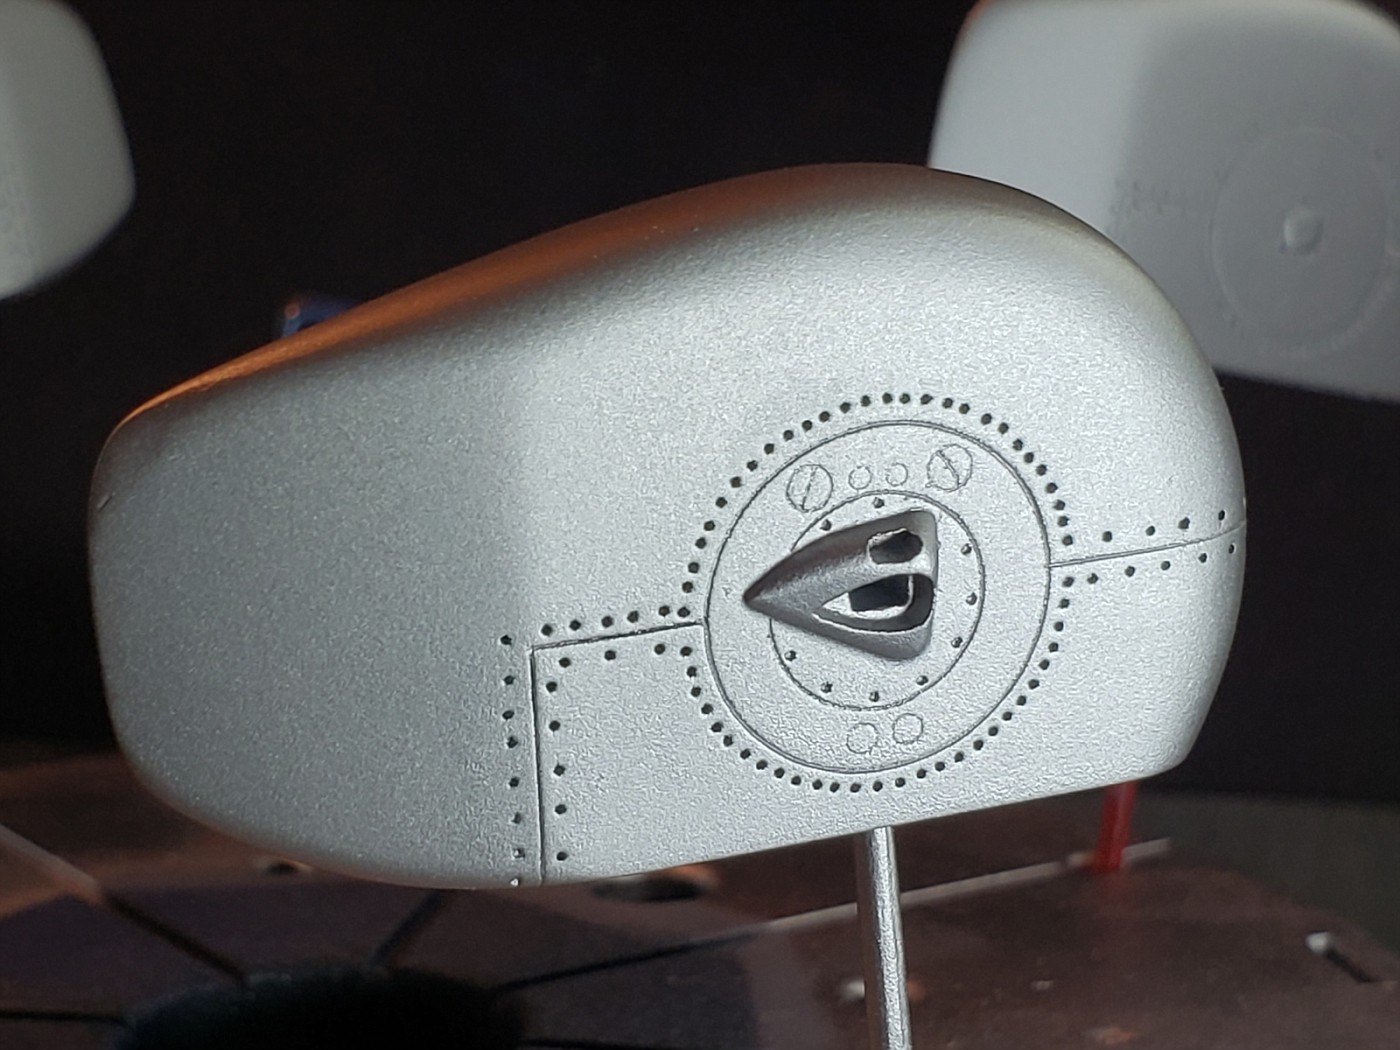
I had said that it is a pretty nice casting but that doesn't mean it is perfect. There are a number of things to fix. I think all four wheel spats had some minor issues. Not so much pin holes but dents or impressions. To fix them would mean screwing up the rivet detail. The rivet detail is small holes, not raised heads. I like to use Mr. Surfacer 500 for jobs like this. For actual pin holes I used superglue.
Continuing on. Disclaimer!! I have never worked with white metal and I know absolutely zip about it. The white metal casting looked rough to me. I tried various things that I had on hand and ended up using plain old sanding sticks and sandpaper. Like the resin, there were pin holes that needed to be filled. I think I did OK on getting the parts smooth...lol.
One of my concerns was getting the correct "look" for the wheel spats. The 1:1 was just buffed aluminum panels. They were by no means super smooth nor super shiny. I don't yet really airbrush competently and wanted to use rattle cans. I settled on Testors Buffing Aluminum Plate, (I think that is the correct name). Although not a perfect match to the 1:1, I was not totally disappointed with the results.
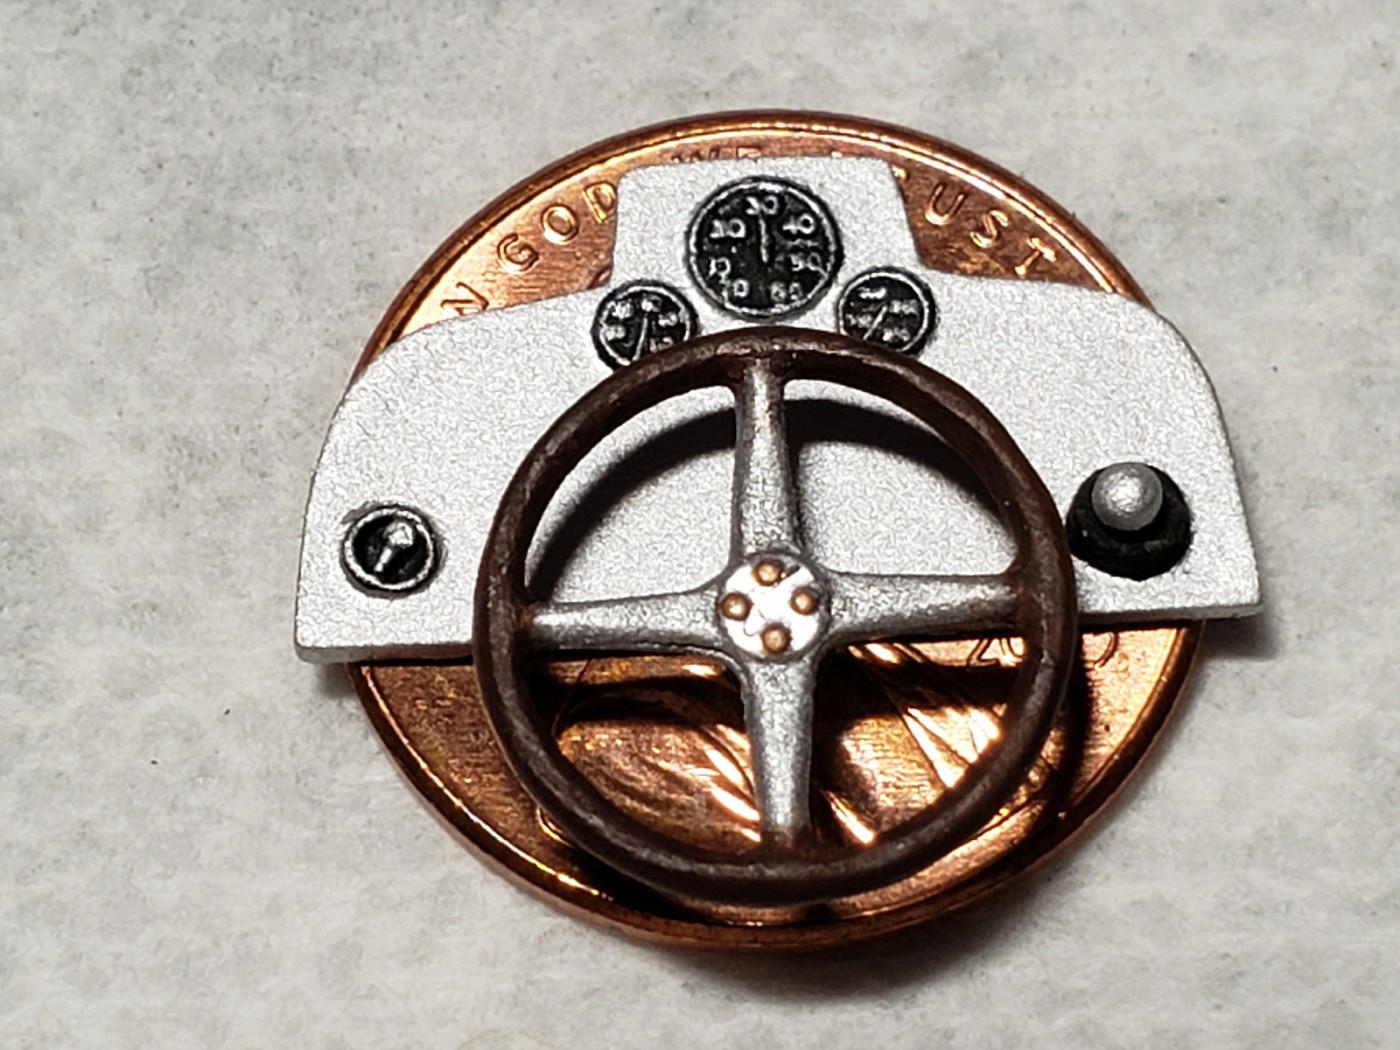
There is very little to the interior, just a few pieces. Here are a few pieces in progress. The seat received another coat or two of paint. The dash was small but well cast. You can make out the numbers on the speedometer!
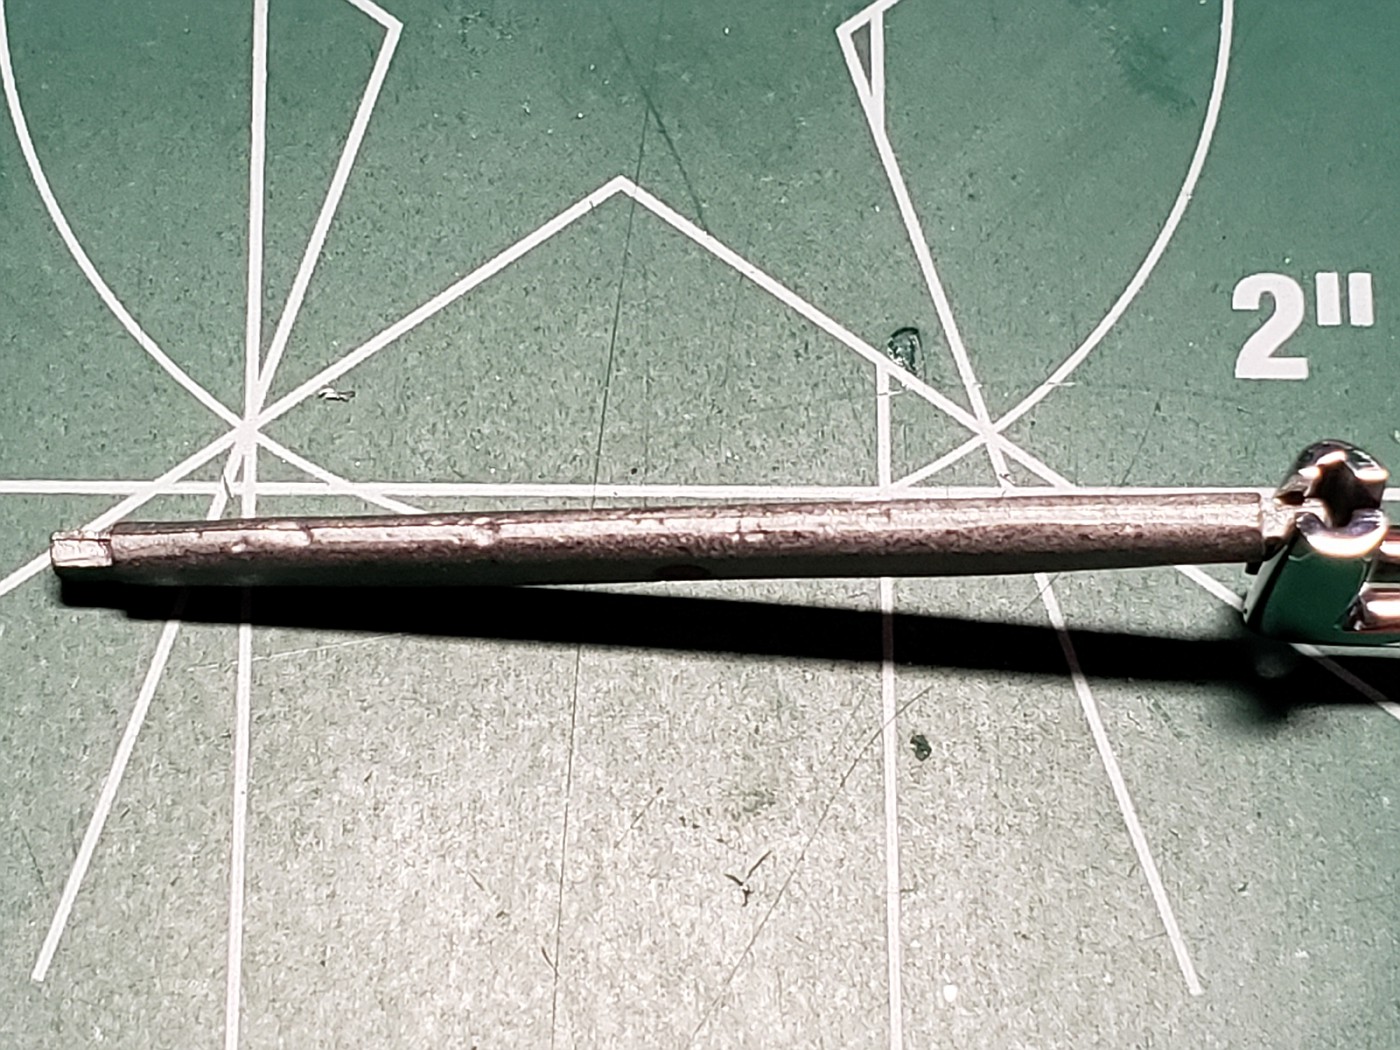
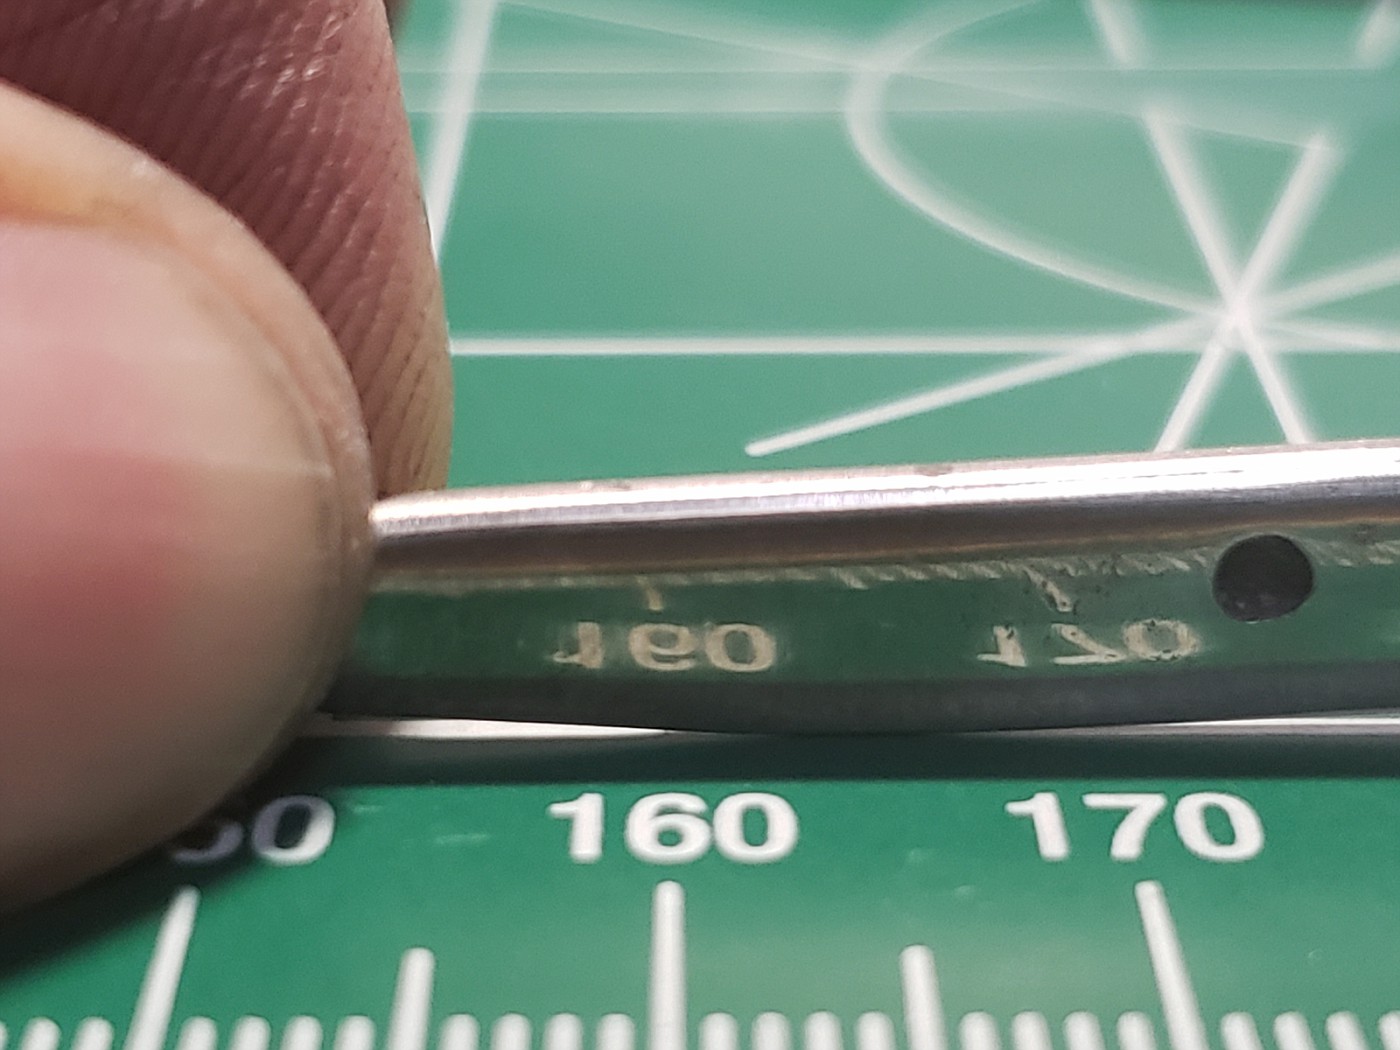
On the home stretch. When the instructions tell you to make a tube 1.92 inches long, you make it 1.92 inches long!
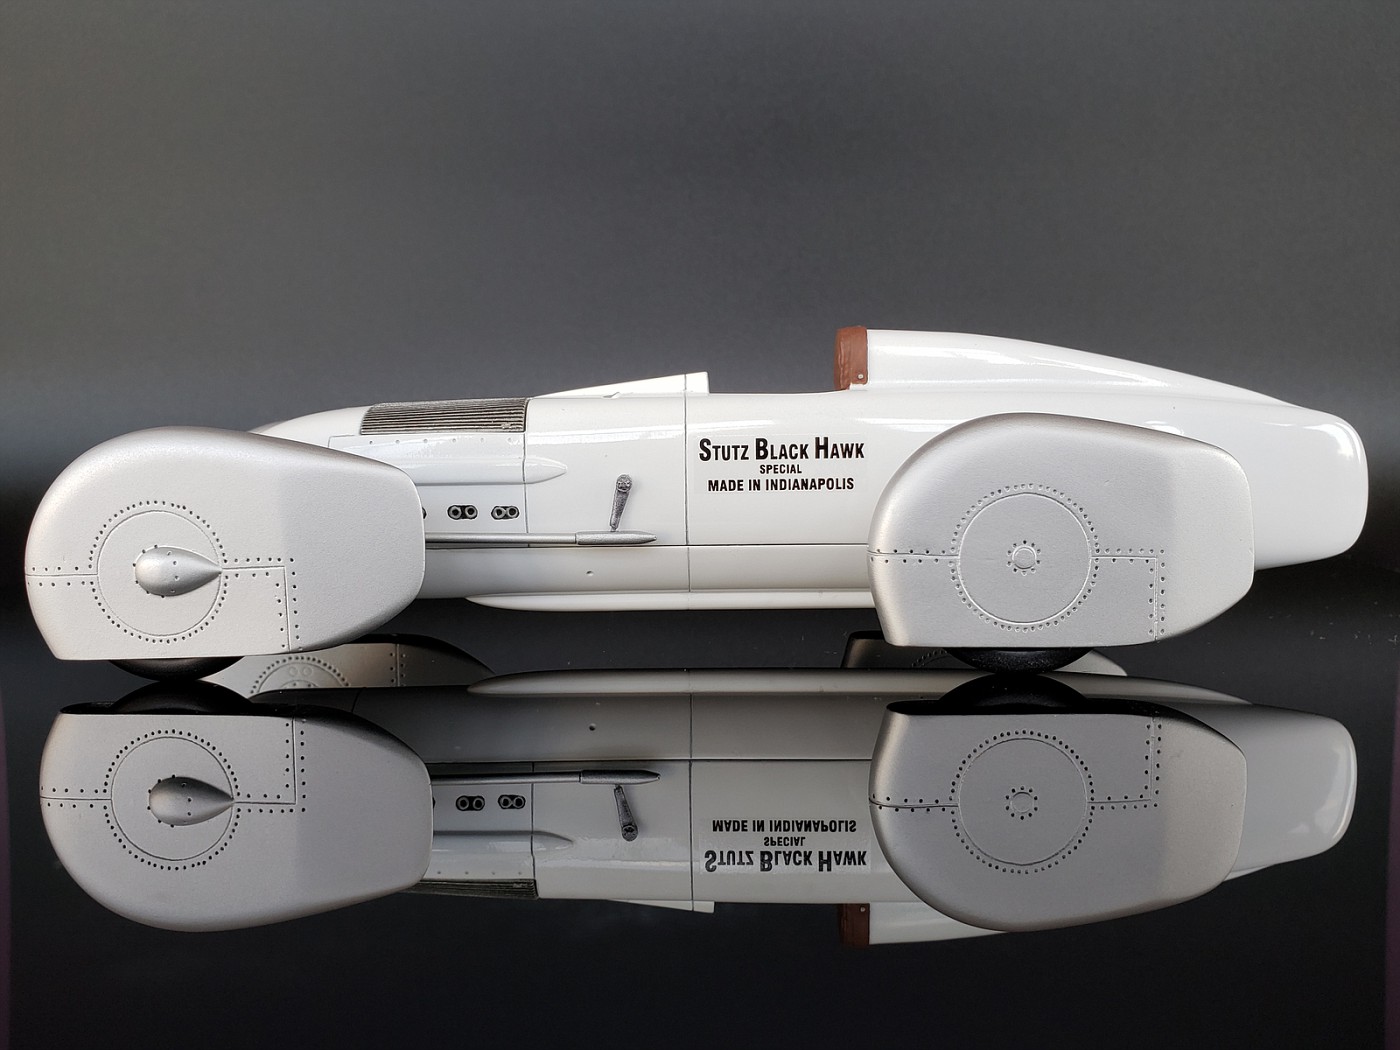
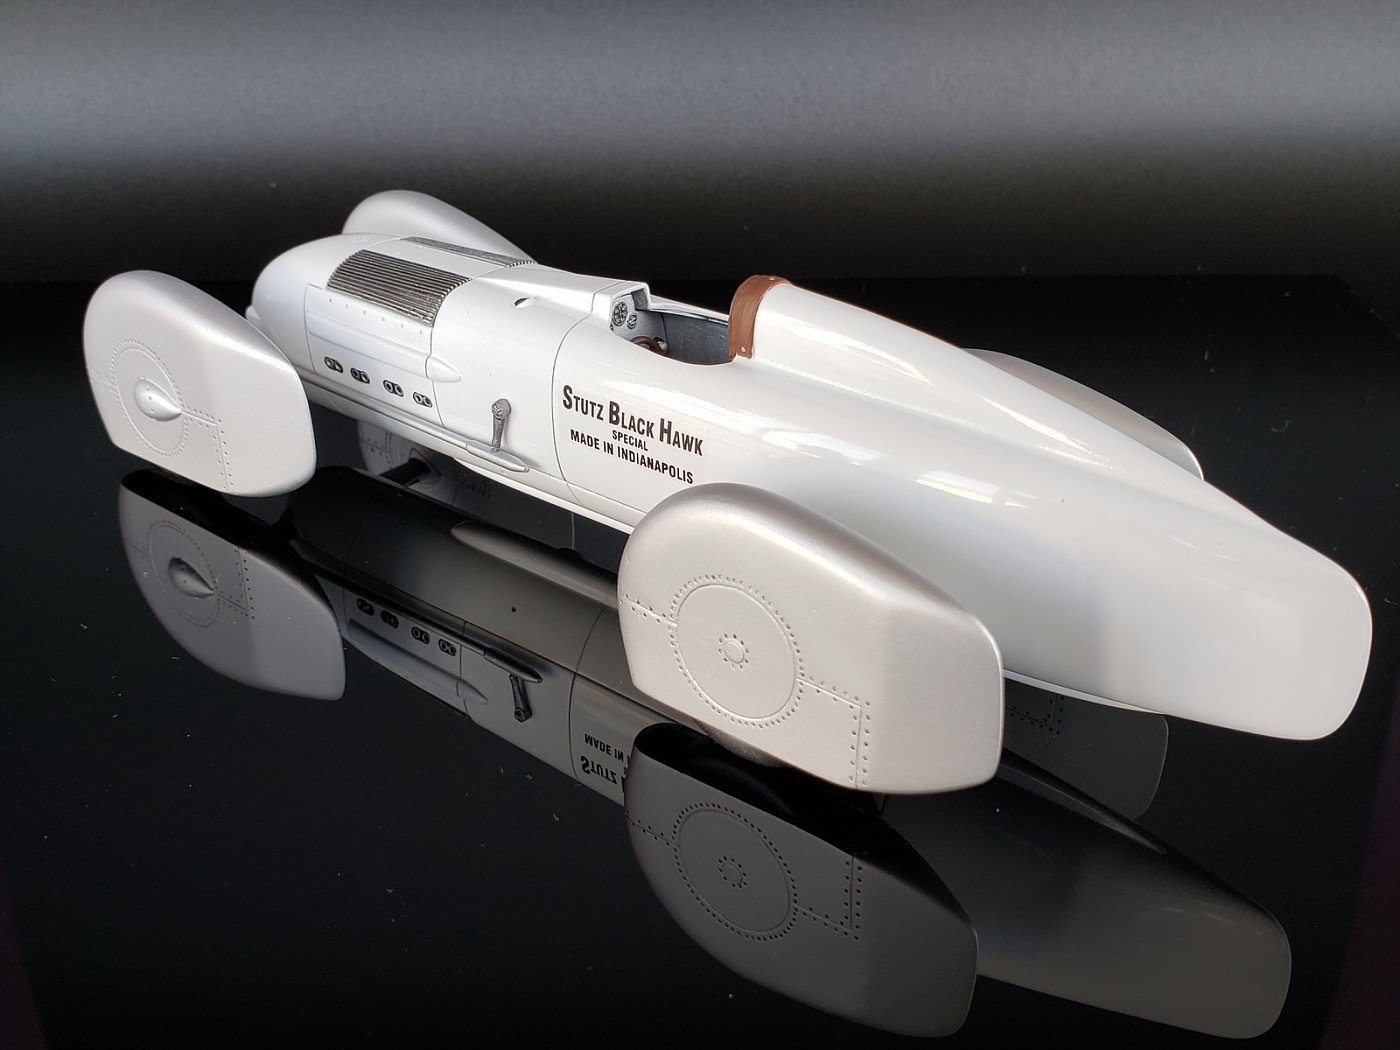
I painted the body with Tamiya White and set to polish it out. I did not go for a show car shine because that was not how it was in 1928. I probably still made it too shiny. On some of the hard to get to places or places with a lot of nooks and crannies, I will use a variety of Q-tips.
I’m going to try something new for me, I’m going to try to post from my iPad. Let’s see how this goes.
I was pleasantly surprised when my Stutz Black Hawk won Best Automotive Model at an IPMS show in Columbus. I almost missed the announcement because I wasn’t even expecting it.
Very well deserved award, and really nice model John! I've never done any resin, although I do have some in a t-38 talon kit. Thanx for the tips. Columbus is maybe 1 and a half, 2 hours north east from us. You were kind of my neck of the woods! ipad pic looks good. Nice build!
WOW !!!!! One very impressive build. Amazing speeds and risks in 1928. Googled Frank Lockhart at your suggestion, an incredible yet short career with so many accomplishments. Thanks for sharing .