Post by Mike on Oct 29, 2008 19:18:55 GMT -5
I've been asked by a few on another board to make a wood tutorial. I apologize for the photo quality in advance. My camera's acting up for some reason. ON TO THE TOPIC AT HAND!
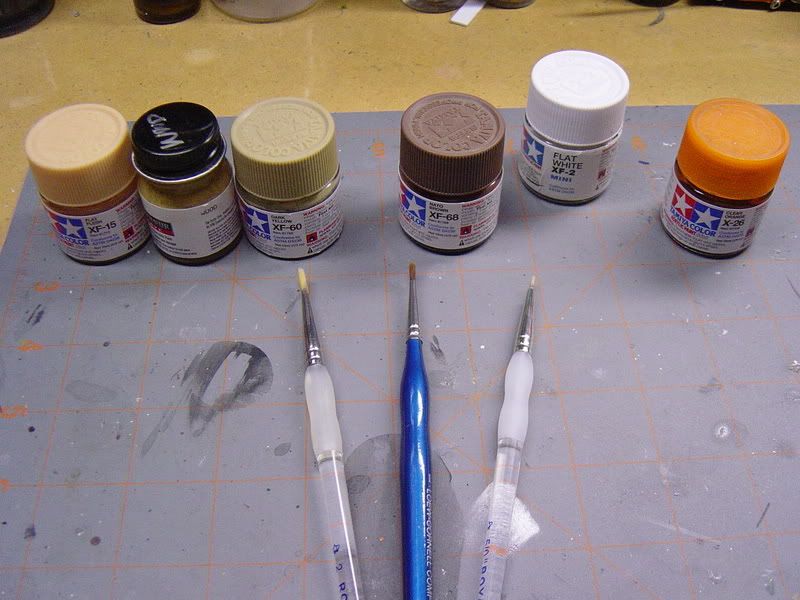
WHAT YOU NEED: A wood base tone color like Testors Wood, Tamiya Flesh, or Tamiya Dessert Yellow. A shade of flat brown (I prefer Tamiya Nato Brown), Flat white is OPTIONAL for lighting up the Nato Brown if you wish. Lastly Clear Orange. For this tutorial, I'm using Testors Acryl Wood (my usual). Depending on what you're doing, you'll also need a couple brushes. Preferably one of which that's old, ratty, and the bristles are all shot. This works best for the darker grain later. For this example, I'm using three brushes.
Step one: Paint the base color "wood" down. Do not worry about leaving or seeing brush strokes. You want these. It helps create a basis for the "wood" grain. Keep in mind, wood grain is random, but does have a pattern to it while you put the base coat on.
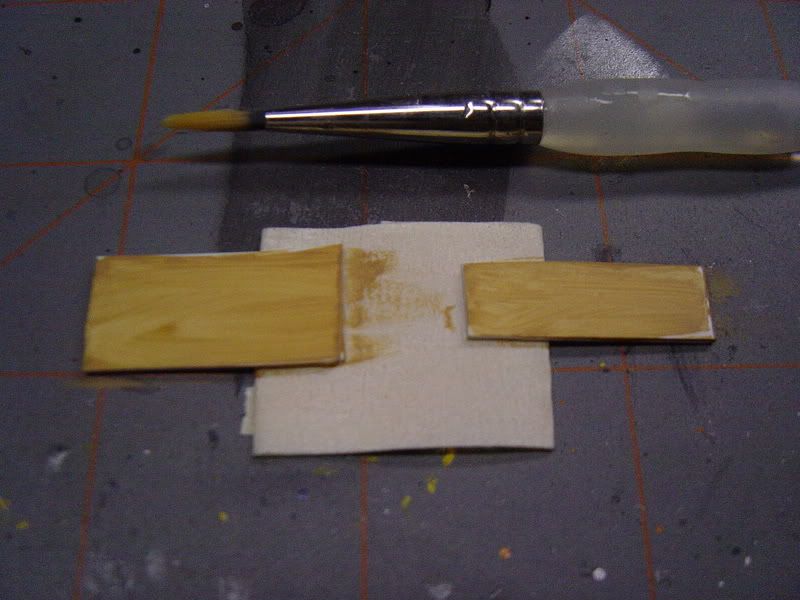
Step two: Take a medium size brush (here preferably the ratty old brush) and using your brown, dry-brush along and with the bristle marks left behind from your base coat. Using harder/softer pressure will allow you more "grain" and sometimes leave random "knots" here/there.

Step three: Take the smallest brush, and using a semi-dry brush, pick out the thicker grain and "knots" that have randomly appeared and only those areas.
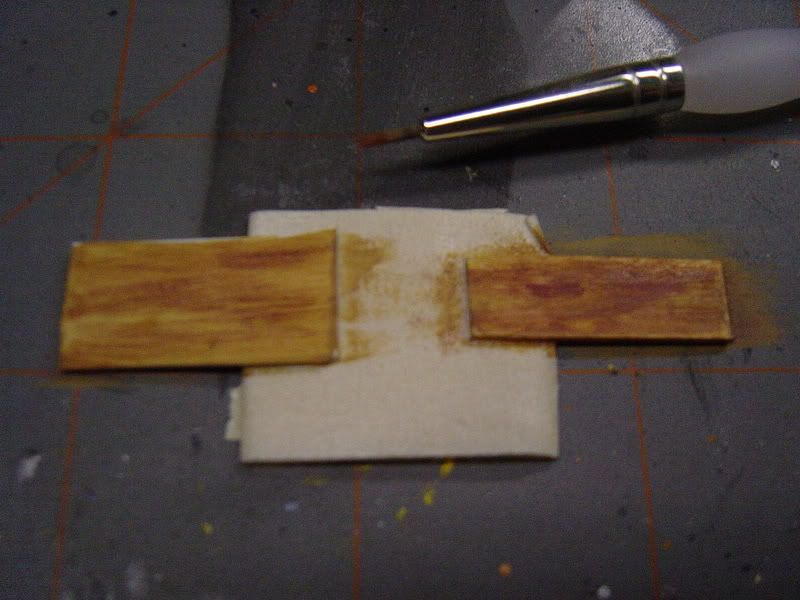
Step four (optional): put a coat of clear orange over the "wood" you've just painted (the piece on the right). This brings out finer detail as well as provides a natural looking luster/lacquer look to the finish.

Below are examples of steps 1-3


Below is with step 4 included for a steering wheel

WHAT YOU NEED: A wood base tone color like Testors Wood, Tamiya Flesh, or Tamiya Dessert Yellow. A shade of flat brown (I prefer Tamiya Nato Brown), Flat white is OPTIONAL for lighting up the Nato Brown if you wish. Lastly Clear Orange. For this tutorial, I'm using Testors Acryl Wood (my usual). Depending on what you're doing, you'll also need a couple brushes. Preferably one of which that's old, ratty, and the bristles are all shot. This works best for the darker grain later. For this example, I'm using three brushes.

Step one: Paint the base color "wood" down. Do not worry about leaving or seeing brush strokes. You want these. It helps create a basis for the "wood" grain. Keep in mind, wood grain is random, but does have a pattern to it while you put the base coat on.

Step two: Take a medium size brush (here preferably the ratty old brush) and using your brown, dry-brush along and with the bristle marks left behind from your base coat. Using harder/softer pressure will allow you more "grain" and sometimes leave random "knots" here/there.

Step three: Take the smallest brush, and using a semi-dry brush, pick out the thicker grain and "knots" that have randomly appeared and only those areas.

Step four (optional): put a coat of clear orange over the "wood" you've just painted (the piece on the right). This brings out finer detail as well as provides a natural looking luster/lacquer look to the finish.

Below are examples of steps 1-3


Below is with step 4 included for a steering wheel

