|
|
Post by tim on Jun 18, 2011 12:17:08 GMT -5
Wanted to go off of the "challenge to the board" thread, and get started on this Viper kit. My Father gave me this several years back, thought it would be a good subject for a quick, simple build. Wanna stick mostly to the instruction sheet for most of the colors. Don't know much about detailing this one, so its perfect for this. Plus, it'll look nice on the shelf. 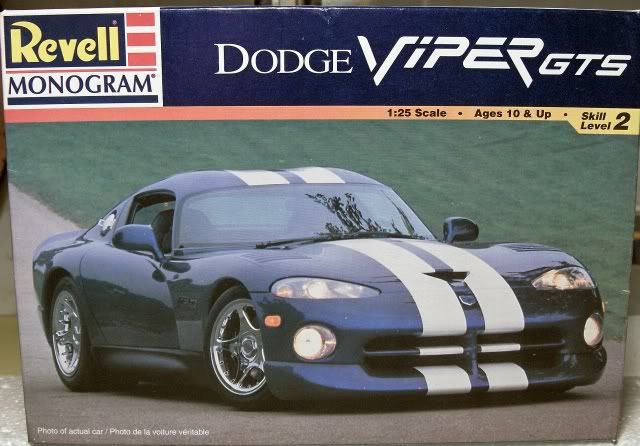 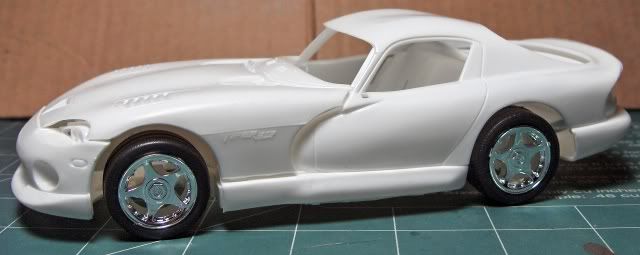 This is what I've got so far, painted the engine alclad aluminum, the pulleys and inner wheels were done with an old can of testors chrome I've had for many years, it actually looks real close to alclad polished aluminum, think I'll use it more often, much easier to use. 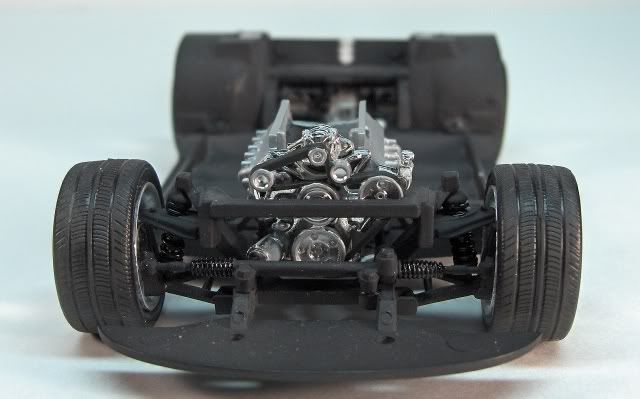 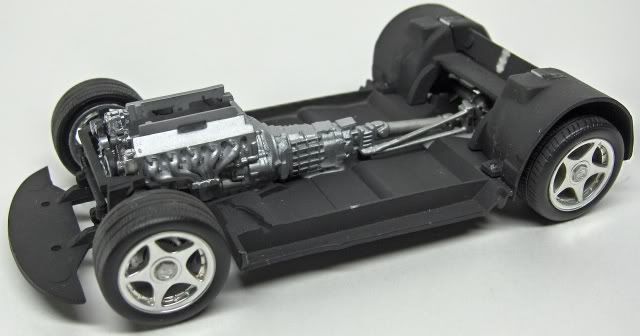 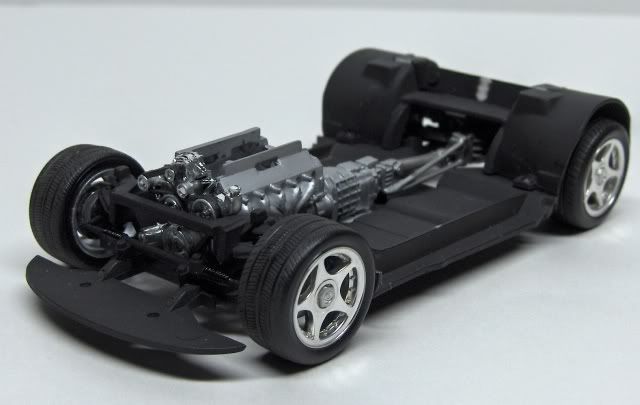 Starting the interior and body now, getting ready for paint. |
|
|
|
Post by 68chevy on Jun 18, 2011 12:30:40 GMT -5
Great looking start
|
|
|
|
Post by zbuckster on Jun 18, 2011 15:39:57 GMT -5
Very nice start.
|
|
|
|
Post by Nacho Z on Jun 19, 2011 10:22:00 GMT -5
Let me add my "great start" comment too. Looks good!
|
|
|
|
Post by john2308 on Jun 20, 2011 10:02:09 GMT -5
Lookin' good, can't wait to see some up dates on this. John
|
|
|
|
Post by roadhawg on Jun 20, 2011 10:25:17 GMT -5
The chassis looks great!!! And that Testors chrome silver has been one of my secrets as well!! As far as chrome, its not that good, but it looks exactly like polished aluminum!
|
|
|
|
Post by tim on Jun 26, 2011 20:37:13 GMT -5
|
|
|
|
Post by zbuckster on Jun 26, 2011 21:06:58 GMT -5
Nice, the speaker thing turned out pretty good. Thanks for the tip.
|
|
|
|
Post by 68chevy on Jun 26, 2011 21:24:03 GMT -5
Looking good yes I like the speaker covers to thanks
|
|
|
|
Post by tim on Jul 4, 2011 16:45:52 GMT -5
|
|
|
|
Post by zbuckster on Jul 5, 2011 11:29:52 GMT -5
Nice interior.
|
|
|
|
Post by tim on Jul 10, 2011 19:16:27 GMT -5
Thanx! Got the paint on. Tried this Tamiya gunmetal...X-10 through an airbrush... kind of tired of the majority, red and blue Vipers. Wanted something a little different. Trying to figure weather to try and rub the rough spots and blemishes out of this paint, then clear? Or just clean the surface best I can, and clear? I've used their paints on aircraft before, nice stuff! But never shot the metallic acrylic on a car body before. Gonna use the X-22 clear, instead of Future on this one. 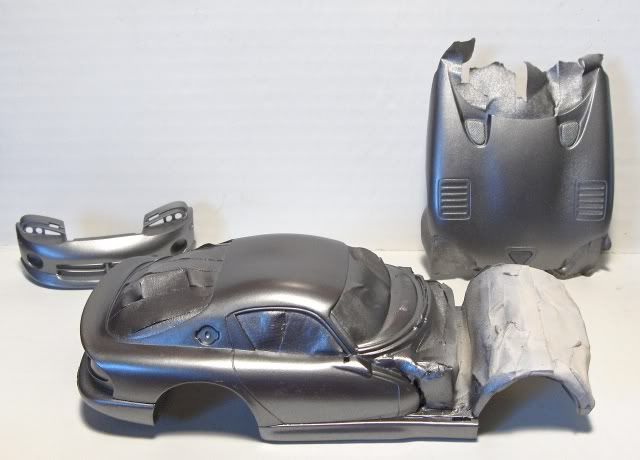 |
|
|
|
Post by Nacho Z on Jul 11, 2011 4:24:00 GMT -5
I like that color Tim. Not sure what will happen if you try to rub that color / paint out??
|
|
|
|
Post by zbuckster on Jul 11, 2011 11:21:26 GMT -5
I am not sure either. It looks good .
|
|
|
|
Post by 68chevy on Jul 11, 2011 15:16:27 GMT -5
Great looking paint job I got two cars painted that Tamiya gunmetal myself Love that color.
|
|
|
|
Post by tim on Aug 27, 2011 15:49:30 GMT -5
|
|
|
|
Post by tim on Aug 28, 2011 1:32:54 GMT -5
Painted the stripes, turned out pretty well. Need to touch up a few spots. I'm happy with the results. 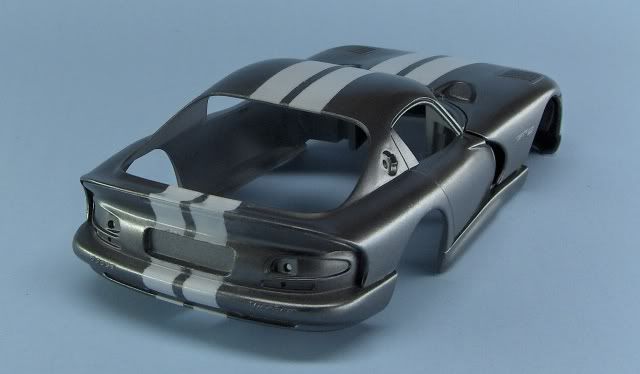 |
|
|
|
Post by 68chevy on Aug 28, 2011 10:08:42 GMT -5
Great job on the stripes the car is coming together niceley
|
|
|
|
Post by roadhawg on Aug 28, 2011 10:34:43 GMT -5
Looking great, especially considering the issues you had! Good color choice too!
|
|
|
|
Post by fireguy14 on Aug 28, 2011 14:20:44 GMT -5
Excellent! Really like the speaker cover trick, thanks for sharing that one!
|
|
|
|
Post by zbuckster on Aug 29, 2011 12:56:39 GMT -5
Nice paint.
|
|
|
|
Post by tim on Aug 29, 2011 18:23:17 GMT -5
Thanx guys. Got the stripes masked, guess this is what it would've looked like with yellow stripes...I'll stick with the white. Resprayed the gunmetal. After I got home from work today, noticed I went a little heavy on the nose. The rest of the car is fine. Found out on this build that I must be careful when spraying this metallic. Spraying a little too heavy is very noticeable. Live and learn! I'll mask and respray. I'm gonna touch up all of the white after this is fixed 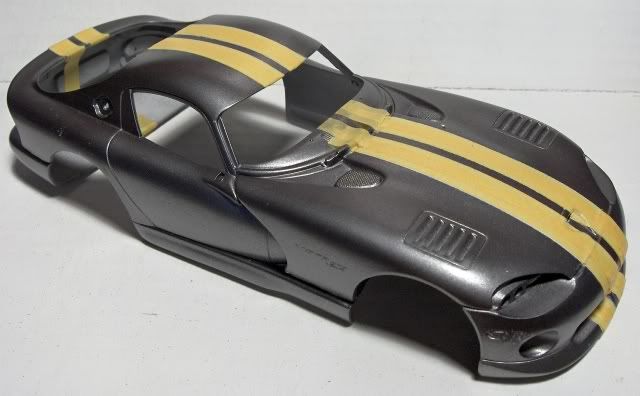 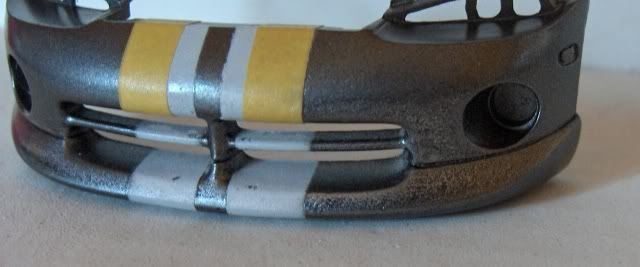 |
|
|
|
Post by tim on Nov 13, 2011 19:41:04 GMT -5
Hi all. Been a very busy family summer, not much time for building. Did finally get the body glossed. I redid the gunmetal and stripes with Citadel Boltgun, and Polyscale Reefer white. Both paints are nice to work with, although the polyscale stuff mixed with distilled water seemed to crack, but it sprayed good. The Citadel layed down real good. Think I'll be using it more in the future...speaking of future...that's what I cleared with.   After taking the pics, I'm gonna make some inserts for my paint booth to take pics. Just can't get enough light off of florescent bulbs. |
|
|
|
Post by intimidator on Nov 14, 2011 22:50:56 GMT -5
Gonna be a nice one!
|
|
|
|
Post by zbuckster on Nov 15, 2011 10:47:45 GMT -5
Looks great.
|
|
|
|
Post by tim on Dec 4, 2011 17:47:19 GMT -5
Thanx guys, just bout done with this...quick build  Was messin with the plenum, was gonna paint silver for the clamps...no! Bare metal was a pain. So I decided to brush Alclad. Started with this. 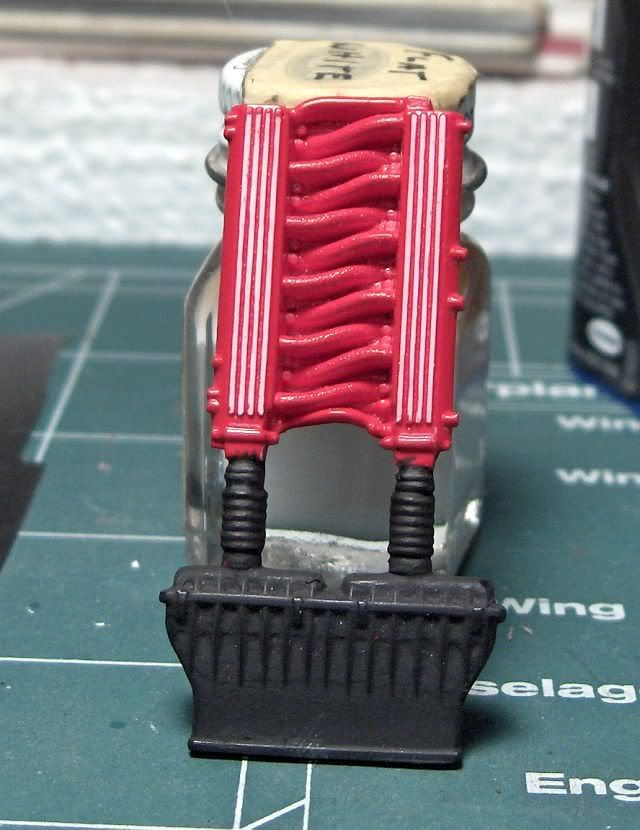 Painted gloss black, thinned with lac. thinner, dried quick. 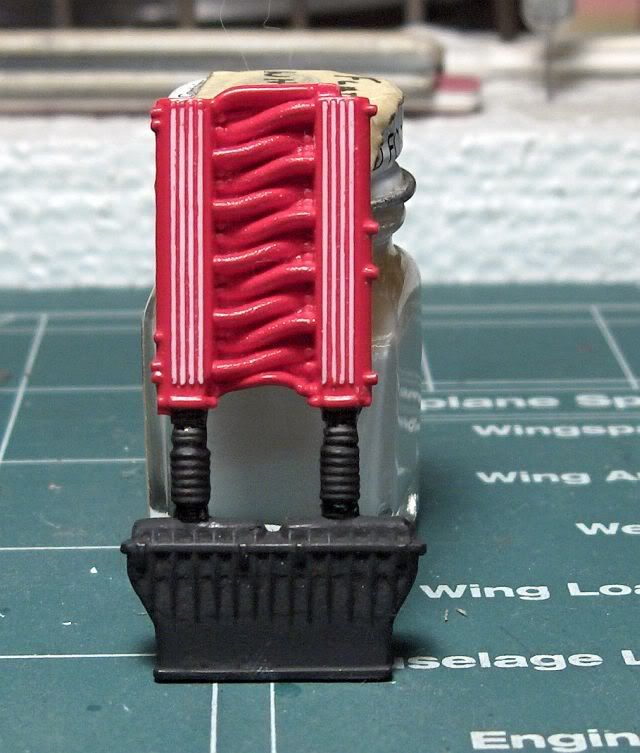 Fist and second coat. 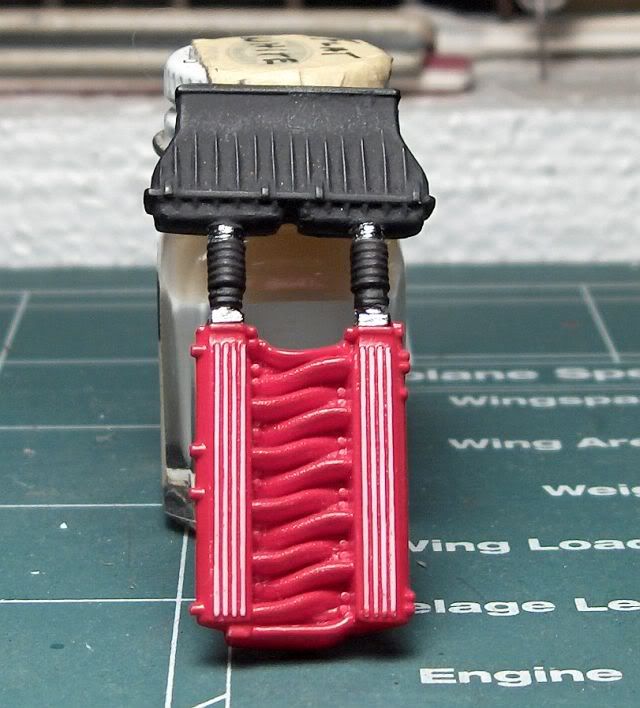 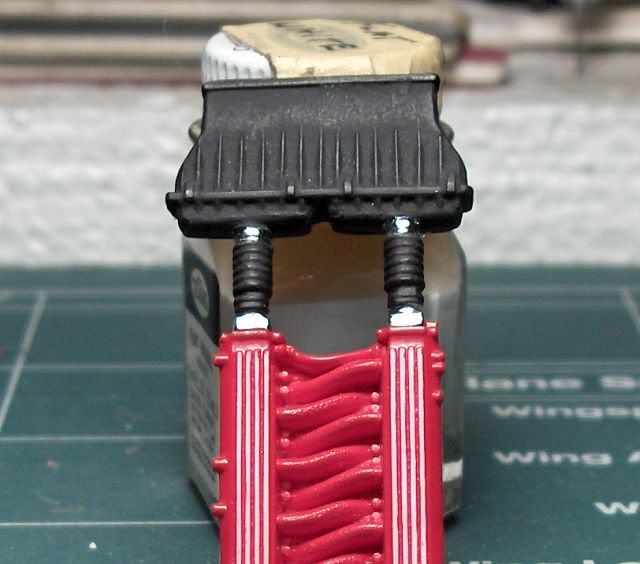 Turned out ok, Should be done with this tonight. |
|
|
|
Post by tim on Dec 4, 2011 21:27:12 GMT -5
Well, almost got it done tonight. Got the glass, interior in and on the frame. Engine all together. Then Bang! Found some paint under one of the lenses, tried to pry it off to fix, snapped it in half. Found one half, the other went the way of the buffalo! Still looking for it. Anyway, I made it this far. 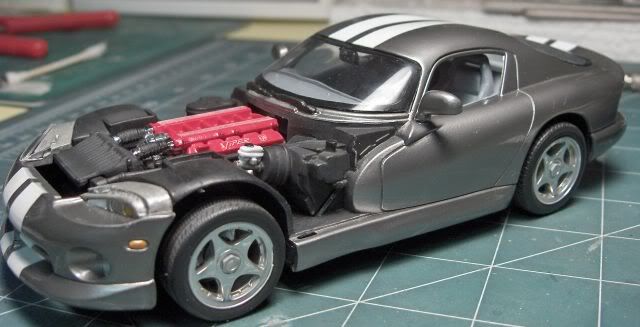 Broken lens 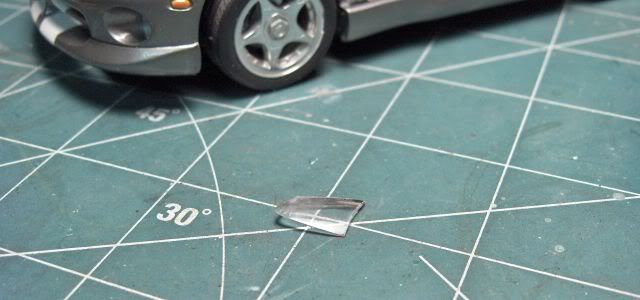 Pretty sad looking puppy right now, I'll figure something out. 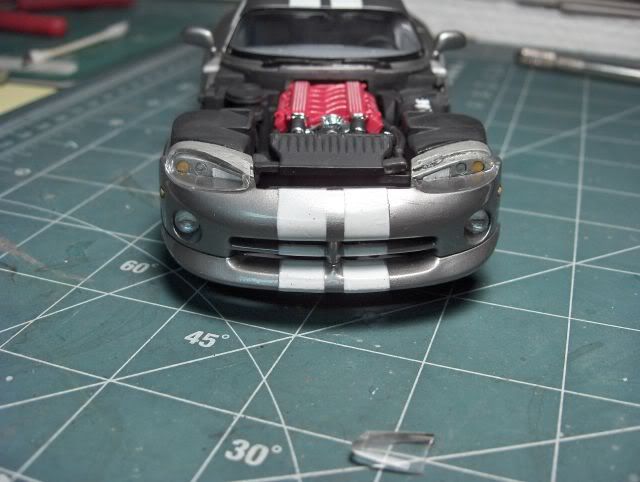 |
|
|
|
Post by whtchevy on Dec 5, 2011 21:20:31 GMT -5
Oh man just when you were so close and the gremlins bite and it is looking sooooooo good
|
|
|
|
Post by tim on Dec 9, 2011 12:01:48 GMT -5
Yea, the gremlins got me good! Well, I'll never say "Quick Build" again! Turned into a horrible kit. Anyway, I tried to figure out this lens. Found the other half, glued it and tried to sand and buff, broke again. 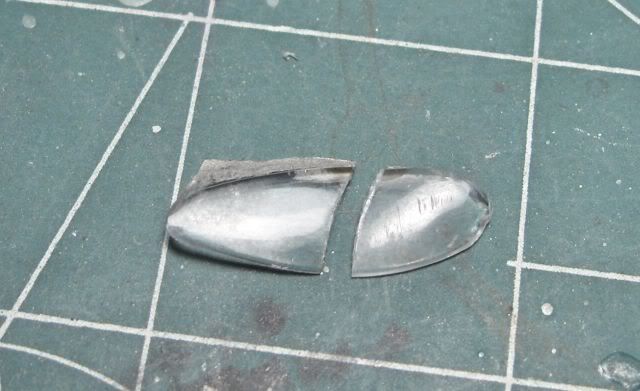 So I glued it back, and sanded smooth. 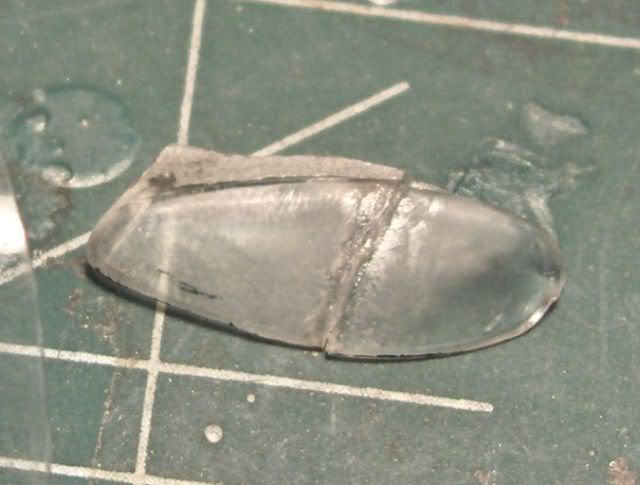  This is what I had at that point. |
|
|
|
Post by tim on Dec 9, 2011 12:18:43 GMT -5
So after thinking about it for a while...that's scary! I covered it with bare metal, to make it stronger. 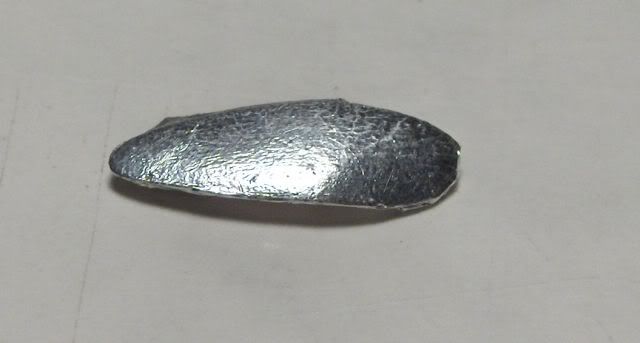 Put a piece of thin plastic sheet, out of a box a toy came in, over top of it. 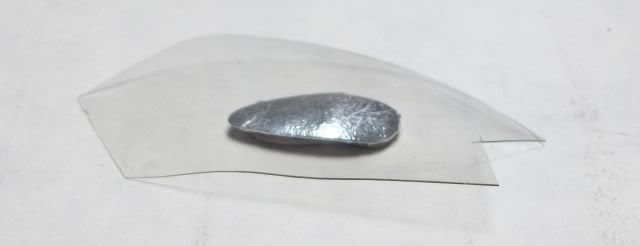 Got the trusty Daffy blow dryer. 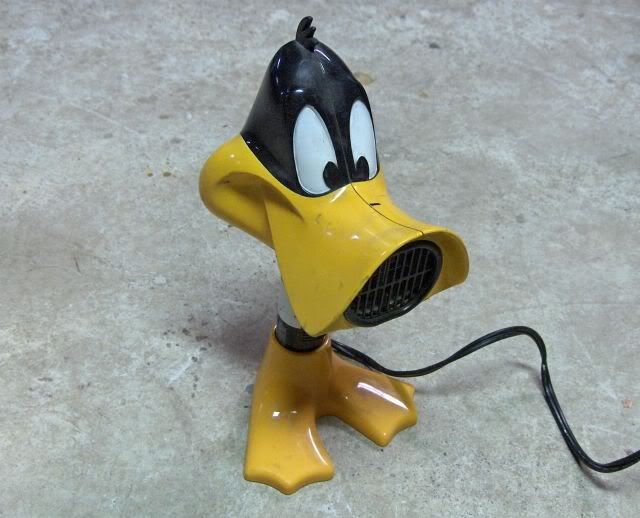 And melted it over the lens the best I could. It's not perfect, but close. Gluing it down was tough, had to cover the top with paint because of the glue marks. 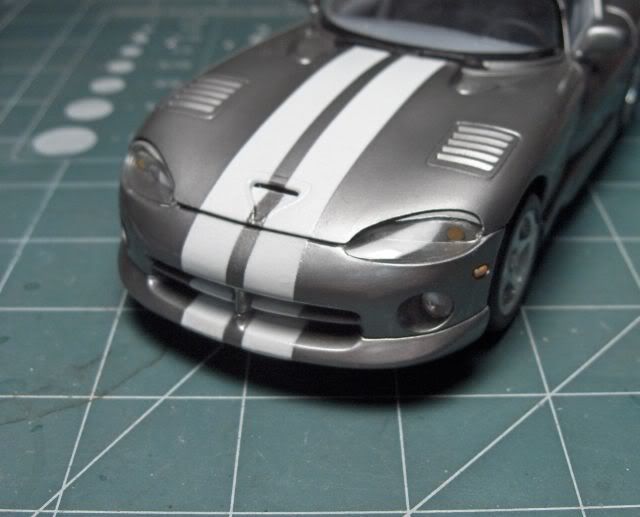 Like I said, horrible kit, great fitting until the end. Allot of it probably my fault, but I'll never build one again. It'll be finished later today, then far up on the shelf she'll go. |
|

