|
|
Post by tim on Sept 3, 2012 17:24:41 GMT -5
|
|
|
|
Post by tim on Sept 9, 2012 21:28:32 GMT -5
Those wheels just don't work with me anymore. May use them on my Cutlass and use these old Cragers on this 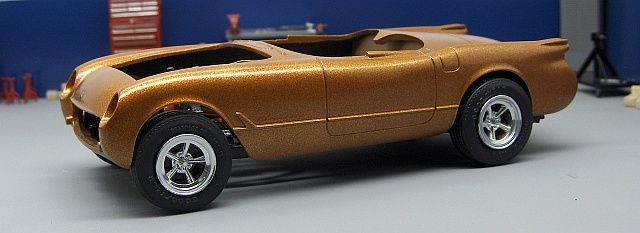 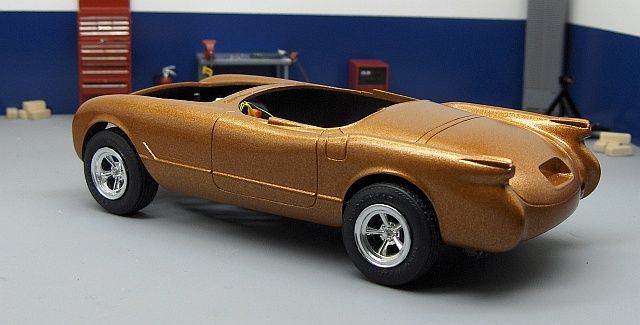 I'm hoping the front end will settle down a little after assembly. |
|
|
|
Post by 68chevy on Sept 10, 2012 14:05:33 GMT -5
It looking very nice.
|
|
|
|
Post by tim on Oct 5, 2012 20:03:11 GMT -5
|
|
|
|
Post by tim on Oct 27, 2012 15:05:54 GMT -5
|
|
dogfish7
Junior Member
  So many models.... so little time.
Posts: 119
|
Post by dogfish7 on Oct 28, 2012 2:03:02 GMT -5
Looks like you're almost there.  |
|
|
|
Post by tim on Oct 28, 2012 11:40:11 GMT -5
Yea, it's cold and windy here today. Looks like a good day to get some bench time in! Hopefully I'll be able to knock a majority of it out.
|
|
|
|
Post by tim on Oct 28, 2012 20:51:21 GMT -5
After three or four times moving the wheel pegs around...cutting, gluing, cutting, gluing...I finally got it sitting lower. Was hoping to get more done today. 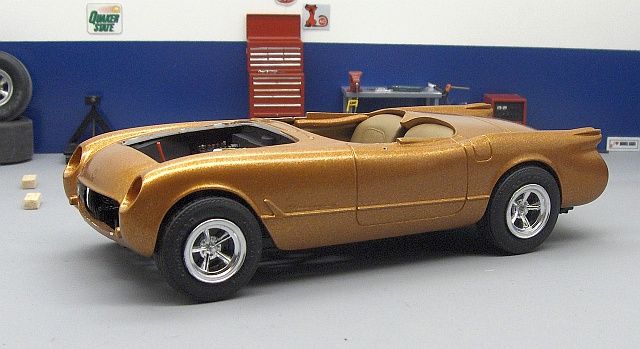 Here's a mock up with her top on 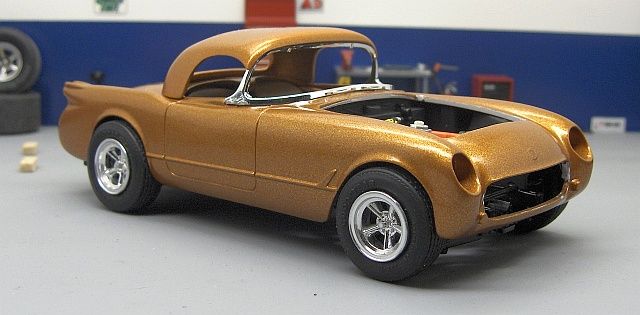 Thanx for checking in. |
|
|
|
Post by tim on Nov 4, 2012 12:41:11 GMT -5
Got the interior mostly done. Think I'm gonna leave it as is. 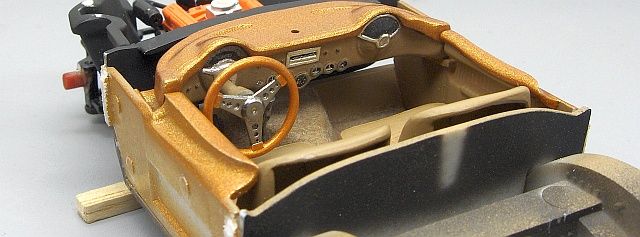 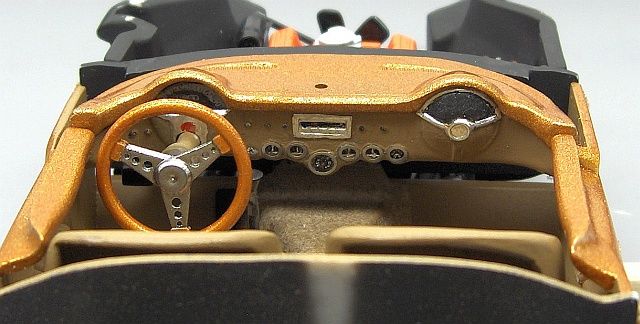 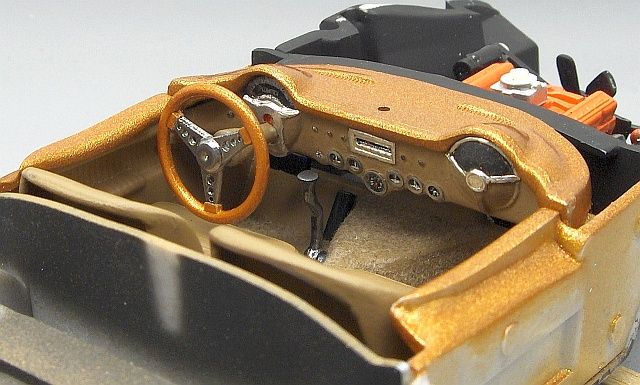 Had to put another coat of paint on the body from where it chipped off from test fitting parts. Hope to get more done today. |
|
timj
Junior Member
 
Posts: 64
|
Post by timj on Nov 6, 2012 19:26:00 GMT -5
Great job on the interior.
|
|
|
|
Post by tim on Nov 19, 2012 20:28:37 GMT -5
Thanx Tim. I need to cover the gap between the floor and firewall. Lookin like I need to take the dash back out and adjust the wheel and pedals. Anyway...I was hoping , with the extra month Bobby gave us, I thought I could finish it. But had some family deals and lots of work ties...plus being plum lazy after work! Just couldn't make the deadline. I did get the body glossed, started the foil, the engine bay still needs a little work. And got a few more little bits done. Here she is right now.  Just need to finish her up. Thanx! |
|
|
|
Post by tim on Nov 19, 2012 21:38:23 GMT -5
Congrats to Buck and Chip for some nice finished builds!
|
|
|
|
Post by tim on Mar 27, 2013 19:17:15 GMT -5
Thanx again for moving this over. Still hacking at it. started the chrome work. Put the rear bumper on with the wrong glue...fogged the clear up, my bad. Tried to cover it up with a brush of paint...even worse! So I masked over the bumper and tried to hit it with a quick burst of paint from the can. It covered ok 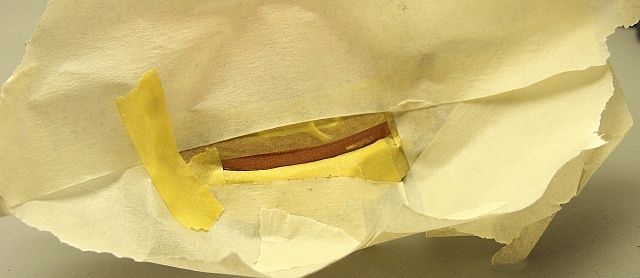 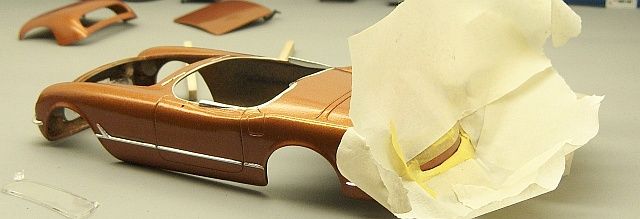 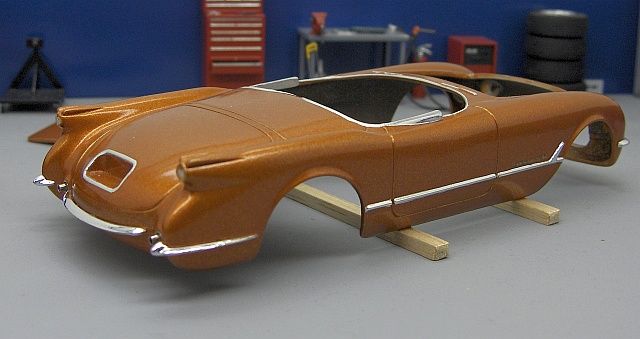 Started on the chrome at this time also |
|
|
|
Post by tim on Mar 27, 2013 19:31:49 GMT -5
Got the dash back out and filled the gauges with the testors clear stuff 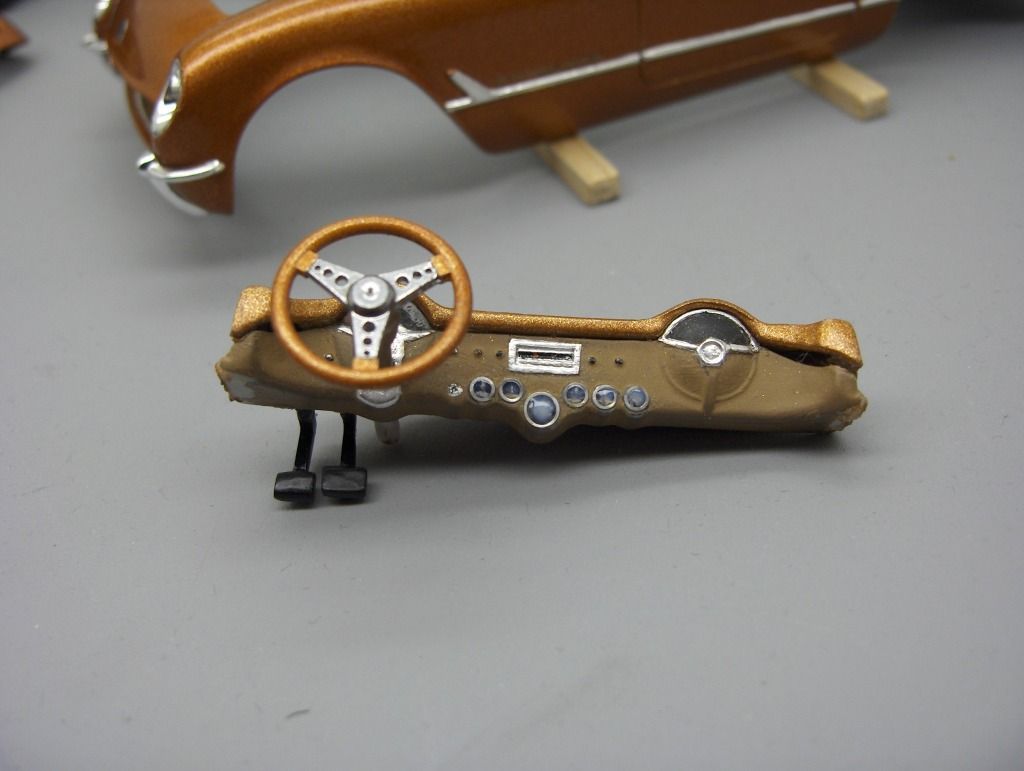 While they were drying, I cut the end off of a straight pin, to simulate the trunk lock I sanded off at the start of the build 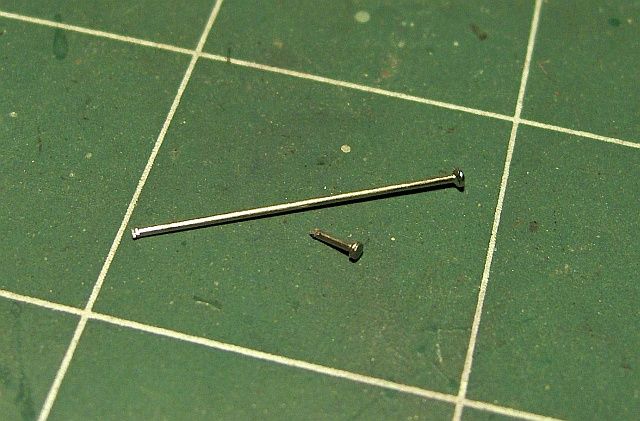 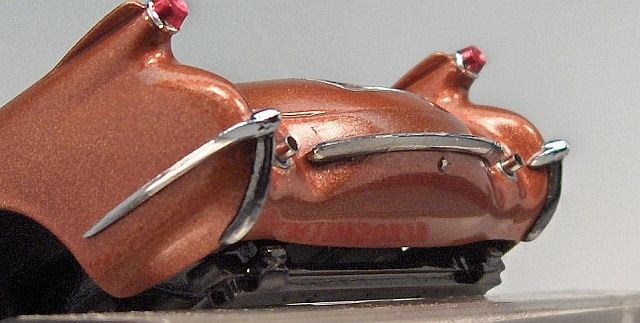 |
|
|
|
Post by tim on Mar 27, 2013 19:56:51 GMT -5
Worked on the top also. Went ahead and flocked it. The glass is real thick on this old kit so I did the buff and dip in future treatment to it, glued it into place, then covered it with some more flocking. Turned out ok 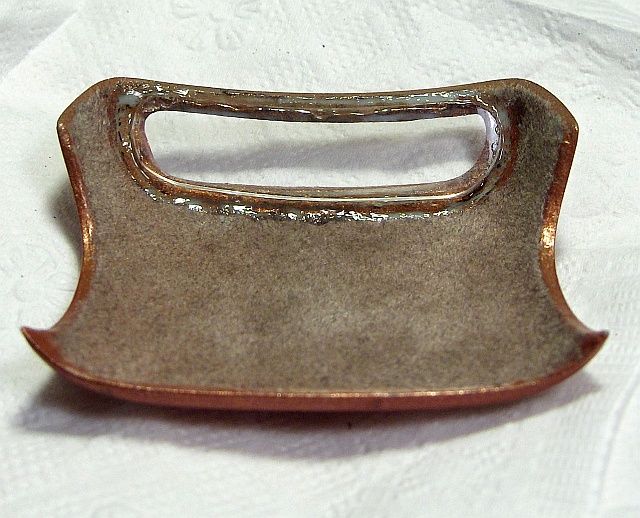 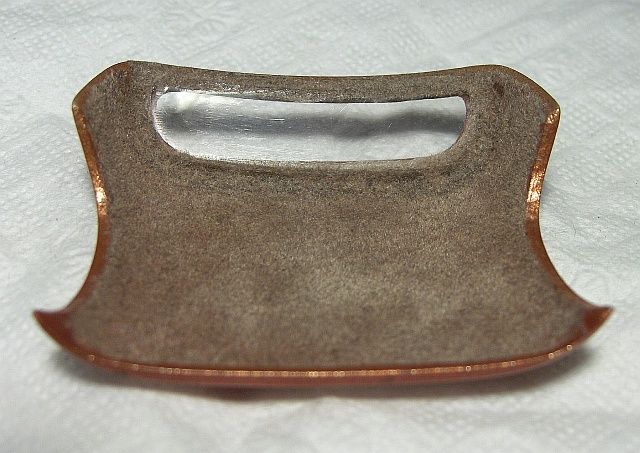 |
|
|
|
Post by tim on Apr 3, 2013 19:33:17 GMT -5
Did the same buff and future deal on the front window. As I said before, the glass is real thick but that treatment really cleared it up nice. Heck, looks better than it did out of the box. 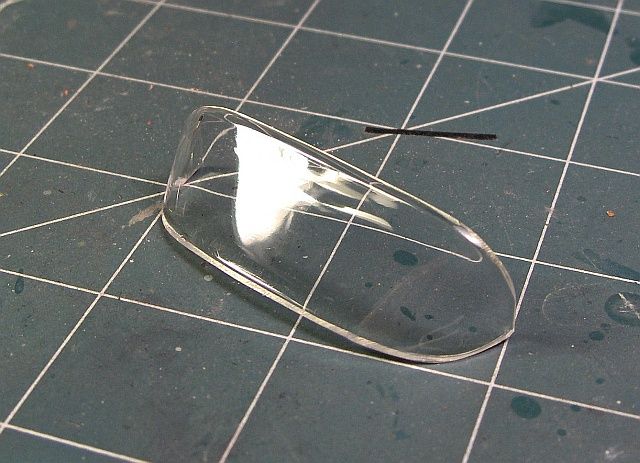 Tried Alclad on the frame, really didn't match up at all...figured it wouldn't. Decided going with the bare metal but the frame flexed so much that the foil crinkled in spots. So I'm gonna glue the window on and re foil. This is where I was before I tore the foil off of the window frame and started it over. 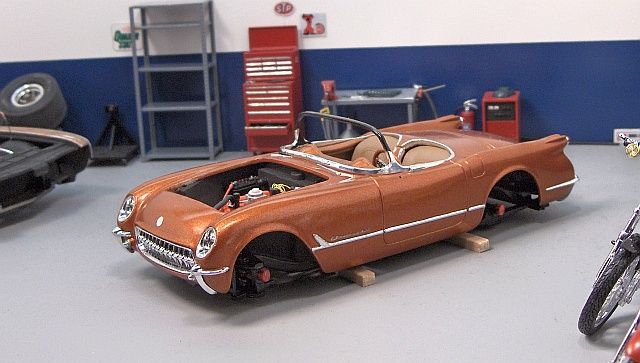 And after I started it over. Got the corners redone. Guess I should have left it alone, but it really did look bad at first. 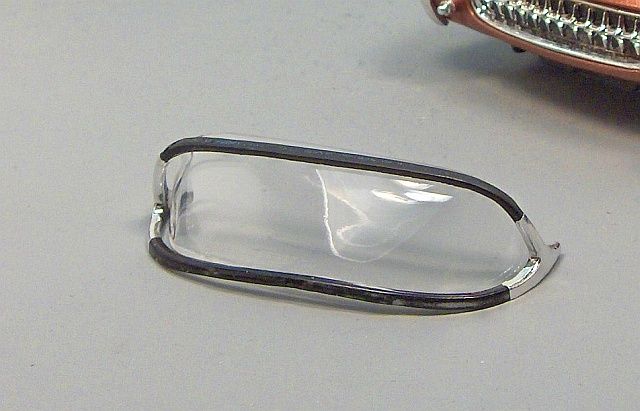 The kit started out good for the age of it, she's really starting to fight me now! |
|
|
|
Post by Nacho Z on Apr 4, 2013 4:42:06 GMT -5
She is looking good Tim. The Future really works well on glass. Yours looks nice. Nice job on the flocking too.
|
|
|
|
Post by snapper on Apr 4, 2013 16:23:05 GMT -5
Those are some rough curves to work around with that foil, but you sure have it looking good - nice work.
|
|
|
|
Post by tim on Apr 20, 2013 18:44:08 GMT -5
|
|
|
|
Post by Nacho Z on Apr 21, 2013 8:22:00 GMT -5
Coming along nicely. Looks like you have the ride height nailed. She looks good!
|
|
|
|
Post by fireguy14 on Apr 28, 2013 7:56:48 GMT -5
Very nice looking, best of luck with the windshield!
|
|
poet
Newbie

Posts: 13 
|
Post by poet on Aug 21, 2013 20:44:36 GMT -5
Fellow worker gave me a 57 T-bird today. I agree, those AMC kits require some extra TLC. I'll incorporate some of what you did on the 'vette.
|
|
|
|
Post by harron68 on Aug 22, 2013 7:51:14 GMT -5
Beautiful color! Engine work nice, but I've never been confident in picking the best transmission color. Yes, the oil filler looks high enuf to put a hole in the hood for fast fill-ups. Exhaust idea is great too. AMT seems to have tried to do a good job with quality of molded detail. Frame is impressive, it could even be part of a "body off" diorama display, like at some auto shows. Thanx!
|
|
|
|
Post by tim on Dec 6, 2020 10:38:40 GMT -5
 finished. hope this works |
|
|
|
Post by tim on Dec 6, 2020 10:50:12 GMT -5
|
|
|
|
Post by tim on Dec 6, 2020 10:56:38 GMT -5
ill put a few of these up in the finished section later. relearning all of this
|
|
|
|
Post by Nacho Z on Dec 7, 2020 18:41:07 GMT -5
Wow, 2012-2013. Try flies...lol. This really turned out nice! I enjoyed looking through the build thread again.
|
|
|
|
Post by tim on Dec 7, 2020 20:27:50 GMT -5
Thanx John. Yea started it for the 100 year chevy build. Well i failed at that deadline, But still got it done...7 Years later! Ill get it put up in a finished section soon
|
|
|
|
Post by Eddie on Dec 13, 2020 6:19:24 GMT -5
Wow, awesome detail.
|
|
|
|
Post by tim on Dec 13, 2020 17:23:39 GMT -5
Thank you Eddie. Had fun with it.
|
|

