|
|
Post by mercman on Aug 8, 2013 15:32:03 GMT -5
After getting the sub assembly done, today I got this one in the paint booth. Colors will be shades of Gray. This is the base coat freshly applied, with the trim another shade.   Plans right now consist of a simple build. The lower section will have bars on the windows, as this will be the holding area for those who get to rowdy in Mr Rogers Neighborhood. |
|
|
|
Post by harron68 on Aug 13, 2013 19:25:25 GMT -5
It's such a darn shame so many great things for dioramas are in 1/87th (HO) scale. All the stuff is so cool, well we have to live with what is and for most of us it's about 1/25th. Your fine edifices are riveting and make a number of us want to try our hands at doing a few, HOs. Maybe for Xmas some will get Ho Ho Hos!
|
|
|
|
Post by mercman on Aug 15, 2013 16:15:00 GMT -5
It's such a darn shame so many great things for dioramas are in 1/87th (HO) scale. All the stuff is so cool, well we have to live with what is and for most of us it's about 1/25th. Your fine edifices are riveting and make a number of us want to try our hands at doing a few, HOs. Maybe for Xmas some will get Ho Ho Hos! may I recommend this one.  It is a simple kit with nice details add a couple of HO cars, and you have a neat little display. Here is the same kit I got built that I redid.  This is the interior I did for it from scratch.  A word of warning though they can be very addictive.  |
|
|
|
Post by harron68 on Aug 15, 2013 20:18:35 GMT -5
I read you loud and clear, model railroaders absolutely luv their layouts. If you consider that really, each building is a scene, a diorama of its own. Together they make up a total picture. If only there were some way to build, modify and add good detail to HO scale vehicles, we'd all be doing them. The small scale gives up a degree of detail, but in trade, vehicles are smaller and easier to store. Thanx for your dedication to these grand buildings.
|
|
|
|
Post by mercman on Aug 16, 2013 20:58:13 GMT -5
You can add lots of detail to these little cars also. Here is a Merc I am in the process of doing. The yellow one is stock. 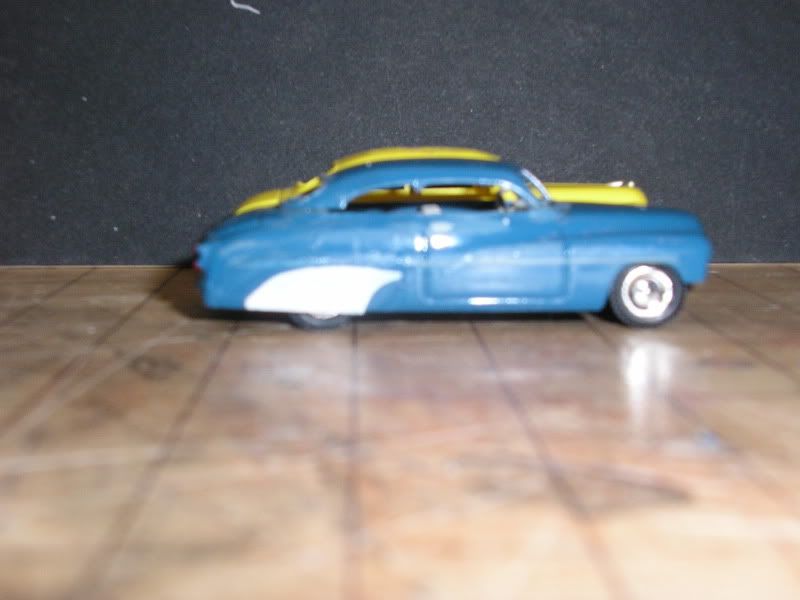 Or how about a A/FC this I made from 2 stock ones. 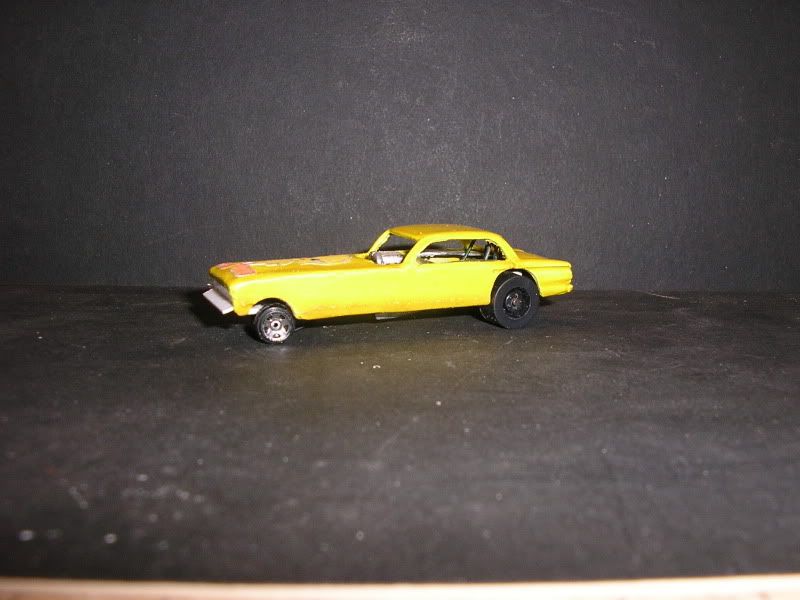 Or a race car hauler. 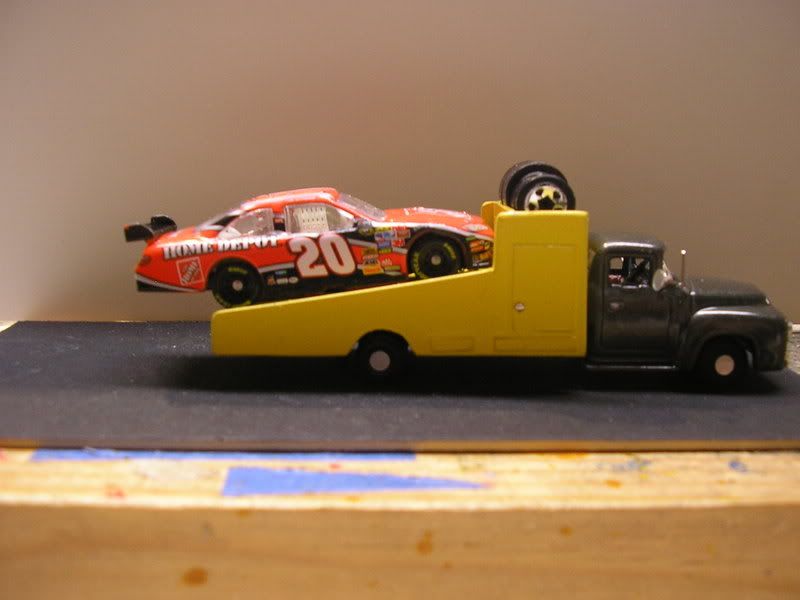 Or the water truck I did from a diecast toy. 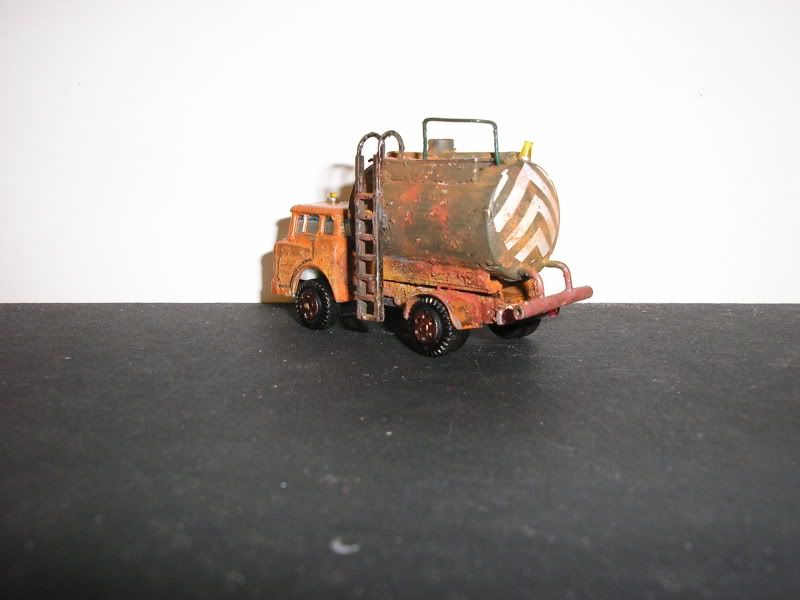 Here's a link to a load of HO vehicles I have , some being modified. s8.photobucket.com/user/mercman51/library/HO%20vehicles?sort=3&page=1 |
|
|
|
Post by mercman on Aug 25, 2013 18:46:00 GMT -5
Got some of the trim done this weekend.   Still needs a few more washes to weather it out a bit more, and have to paint the window frames, and doors. |
|
|
|
Post by Nacho Z on Aug 29, 2013 20:02:55 GMT -5
Looking good mercman. I really enjoy watching the progress on your builds.
|
|
|
|
Post by mercman on Sept 2, 2013 19:31:28 GMT -5
Put on a wash of Burnt Umber to add some aging to it. A few more washes of different shades yet to come. Also got all of the window, and door trim painted.   Going to cut the floor, and roof from plexiglass. |
|
|
|
Post by mercman on Sept 2, 2013 19:33:20 GMT -5
Looking good mercman. I really enjoy watching the progress on your builds. Thanks John glad you like item. |
|
|
|
Post by mercman on Sept 15, 2013 18:07:45 GMT -5
Well now that the Mustang build is done, and a few things rearranged in the shop, I got back to this one. The top inside just didn't look right, unfinished as you can see in the 1st pic. Note the black marks.  So I cut some new brick and glued in to even it out. The roof itself is cut from some scrap Plexiglas. I also had to add some extra bracing to get it right. The sides have a few gaps, but they will be hidden when the roofing material is added.  |
|
|
|
Post by mercman on Sept 25, 2013 19:52:05 GMT -5
Borrowing an idea of using the Fleck-It Stone paint I put it in the booth today and shot the roof.    While it was still wet I shot some Gray Primer, and some Flat Black to tone it down a bit, as I used a light color of stone paint on it. |
|
|
|
Post by mercman on Oct 5, 2013 18:17:52 GMT -5
While cleaning the shop I put a wash on the roof, and walls.  |
|
|
|
Post by mercman on Oct 27, 2013 16:55:18 GMT -5
Okay here is the sub floor.  Here you can see the second floor.  Enclosed the entry way.  Now I'm at a stand still as to how to finish the 2nd floor. So will have to work it out. |
|
|
|
Post by mercman on Oct 31, 2013 4:43:32 GMT -5
Finally came up with an idea for the windows. I used a freezer vacuum bag that I cut, and dtailed with ablack sharpie pen to make block like windows. It will block out the areas that wont be seen.  On the back I added window screen for the holding cells. then added the freezer material behind it. The odd looking brick I cut to fill in 2 of the windows as I lost one of the window frames.  In the front I will put in clear material as this will be visible. Now I have to find some office equipment.  Here is the floor, I used some scrap book paper that I picked up awhile ago.  |
|
|
|
Post by fireguy14 on Oct 31, 2013 5:19:52 GMT -5
That is looking great Junior! The paint work is the brick is fantastic, really like the areas above the windows. And the pieces of brick you added to the rear windows is a superb touch.
|
|
|
|
Post by mercman on Nov 3, 2013 16:08:30 GMT -5
Thanks Dave glad you like it.
|
|
|
|
Post by mercman on Nov 3, 2013 16:08:50 GMT -5
Cops have to have desks so.  Here's Officer O'Malley behind his.  Redid the front entrance.  |
|
|
|
Post by mercman on Nov 6, 2013 17:54:51 GMT -5
Wasn't happy with the rear door that was there so I replaced it. Replaced the rear door with this, still needs to be weathered.  Also opened up the front door, and repainted it. Also repainted the canopy above.  More coming soon |
|
|
|
Post by mercman on Nov 18, 2013 7:50:34 GMT -5
A little humor.  |
|

