|
|
Post by rodrigo on Dec 5, 2016 20:25:51 GMT -5
|
|
|
|
Post by halfpint33 on Dec 6, 2016 10:14:38 GMT -5
Looks like you are off to a good start. And I like your inspiration pic
|
|
|
|
Post by rodrigo on Dec 6, 2016 16:14:16 GMT -5
Taking advantage of the free time, let's update the day. -Seeing some Mustang mounts, people often glue the front of the car before painting the body, but I will not do it. I'll paint the parts separately and glue later to keep the front splicing lines with the fenders visible. So I put the front with crepe tape and sanded everything with the pieces in place to ensure that the front, hood and fenders are well aligned after everything is ready. I'm still wondering if I try to leak the grid, but I'm afraid to ruin the grid. 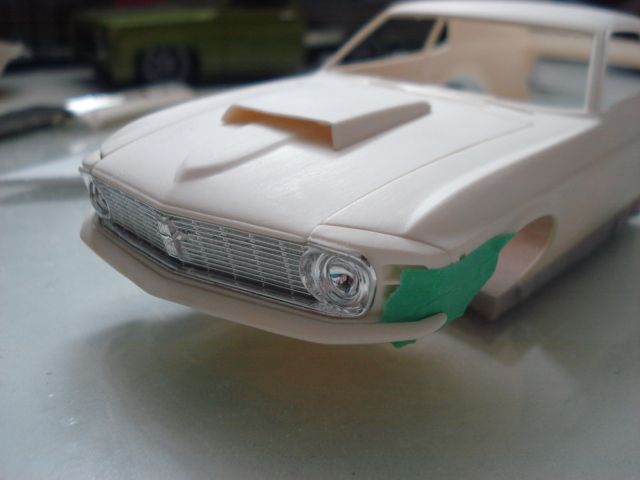 -One small detail that is wrong in this kit is the front spoiler. In fact the kit comes with the Mustang Boss 302 spoiler which is a little longer. 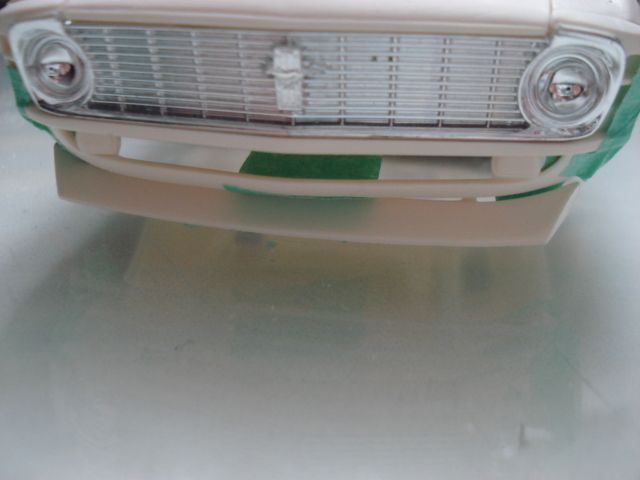 -Mustang Boss 302 spoiler comparison photo with Boss 429 spoiler photo. 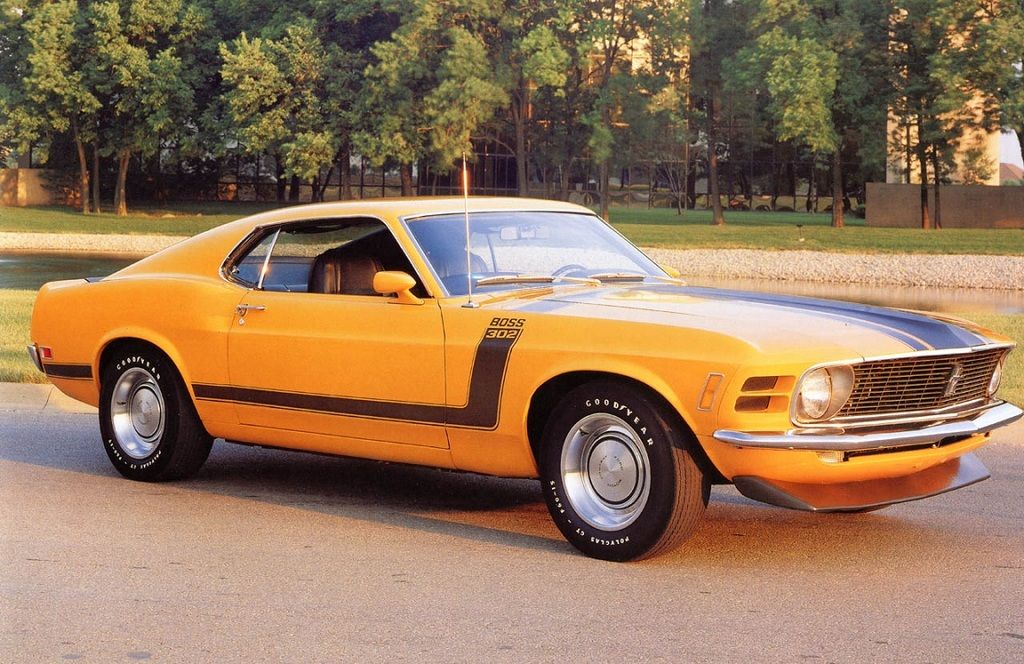 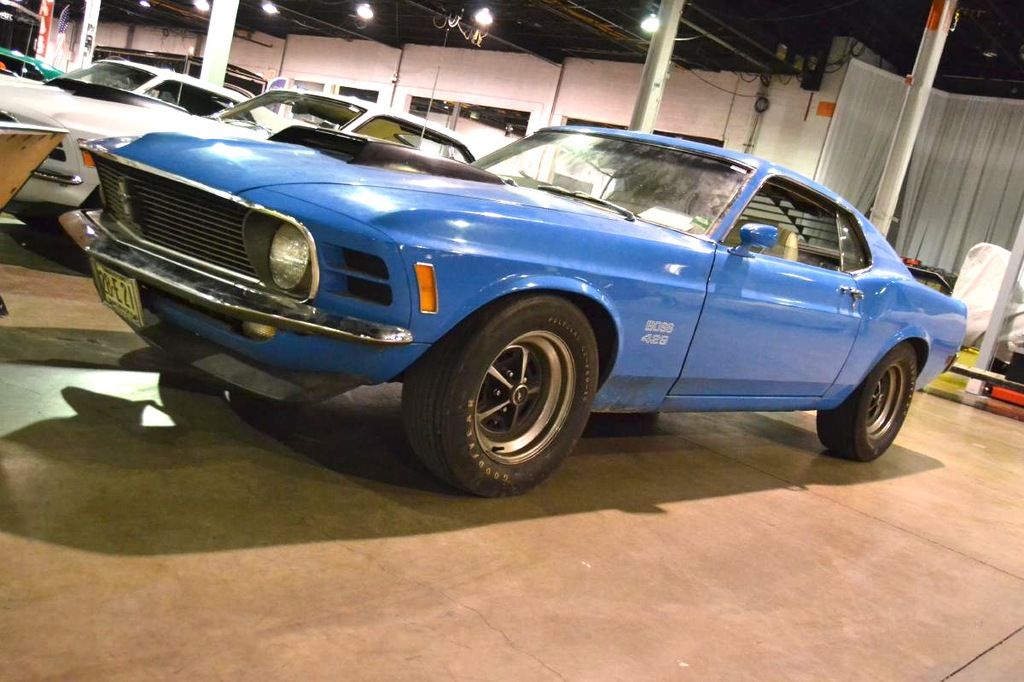 -I did the marking and I screwed about 2mm from the spoiler. 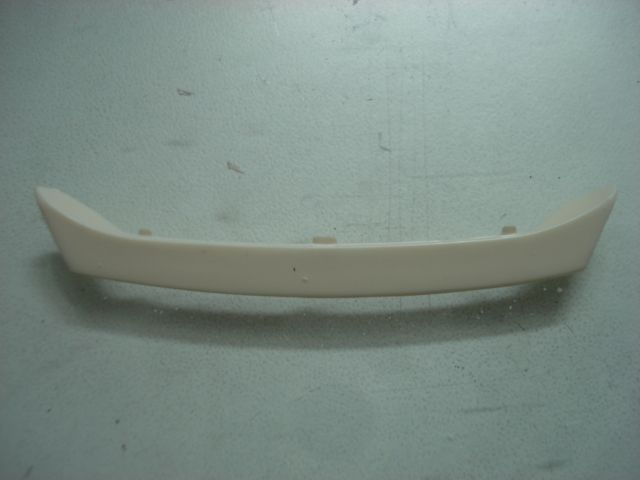 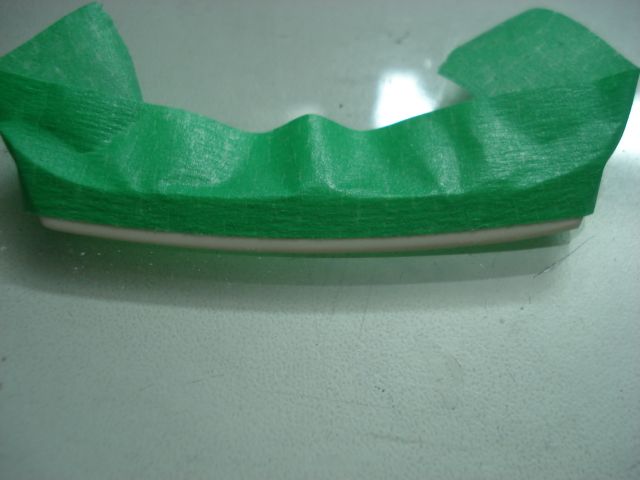 -It got much better. I forgot to photograph, but I pinned the spoiler using tattoo needle for better attachment in the front. 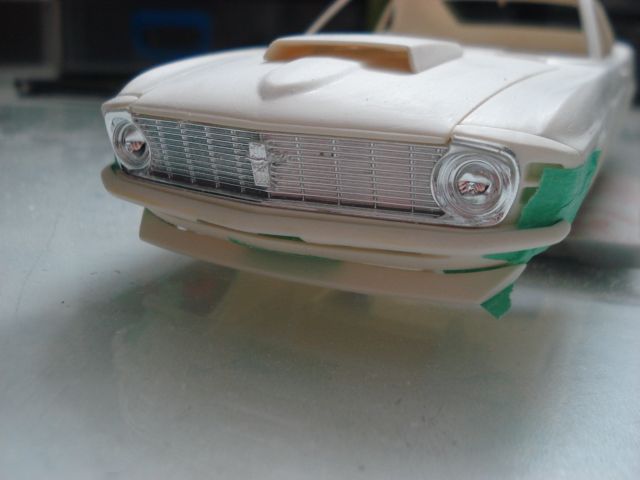 -Bodywork has been all sanded. Basically ready for painting. 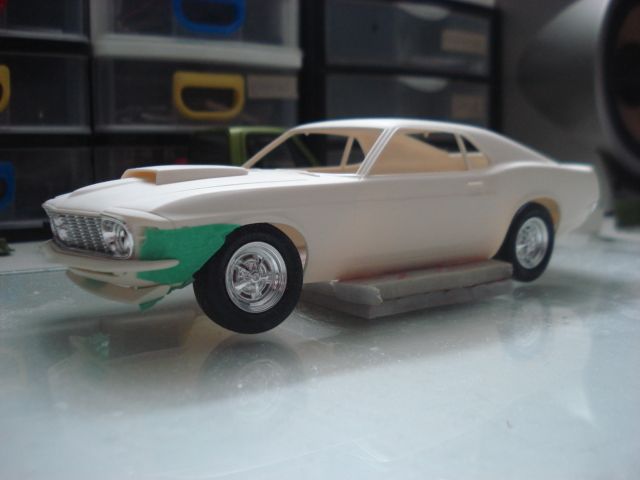 Rodrigo Maia |
|
|
|
Post by Nacho Z on Dec 6, 2016 17:46:15 GMT -5
I'm really looking forward to seeing your work on this Mustang. I really think those wheels look GREAT! It is sweating the details, like on the front splitter/chin/spoiler, that really make an outstanding model. Keep up the good work!
|
|
|
|
Post by rodrigo on Dec 7, 2016 17:37:35 GMT -5
Thanks for the comment Nacho Z. Let's go on a little update. -Another detail that is wrong in the kit are the front turn signals. 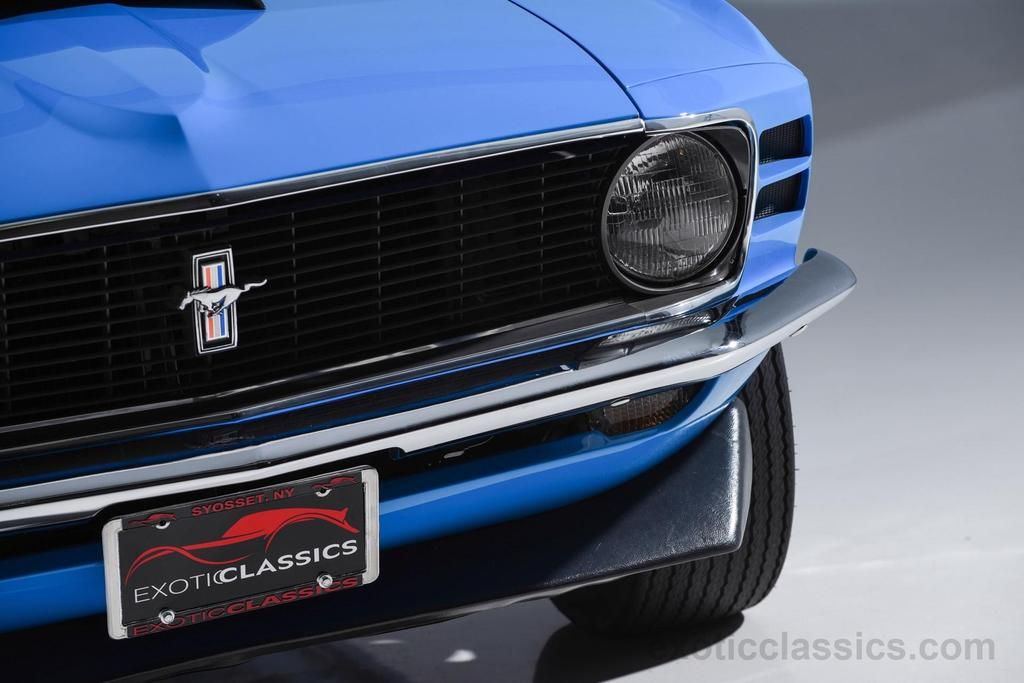 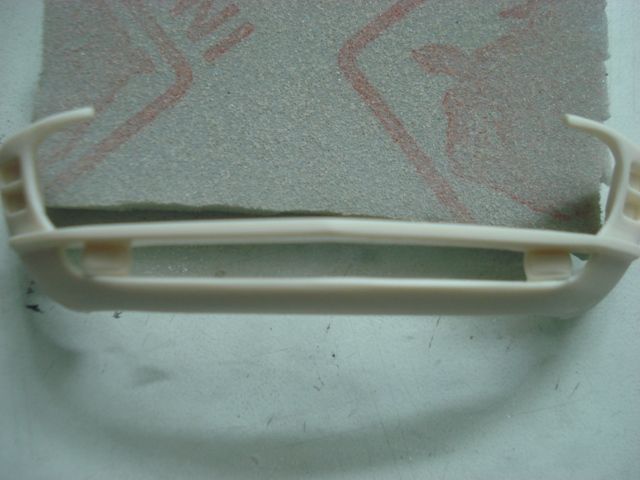 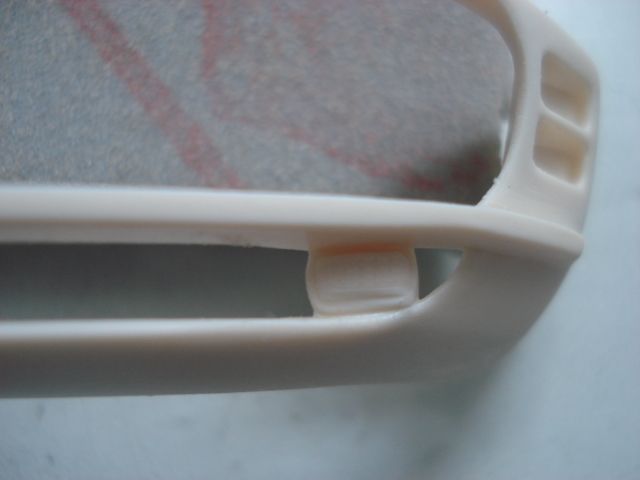 -I removed the turn signals. 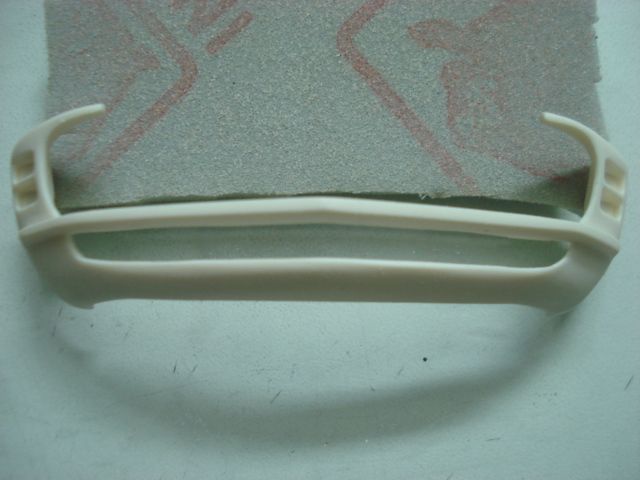 -This one in the photo is just a prototype, to see how the new turn signals should look. 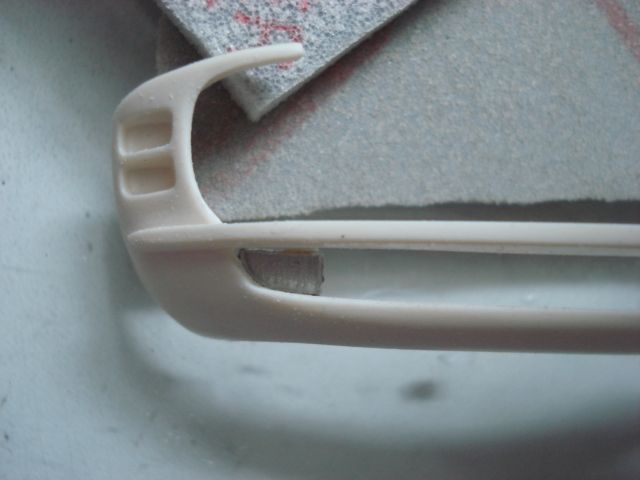 -Put pins on the mirrors with a tattoo needle. 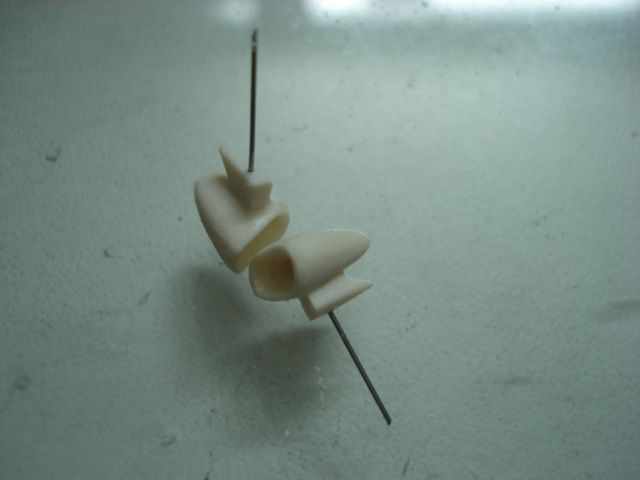 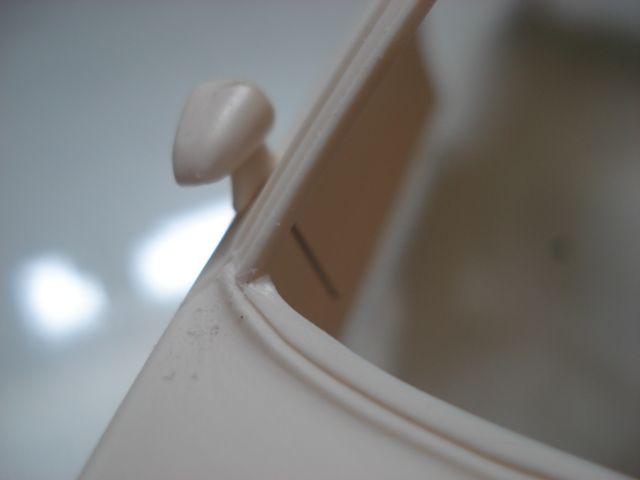 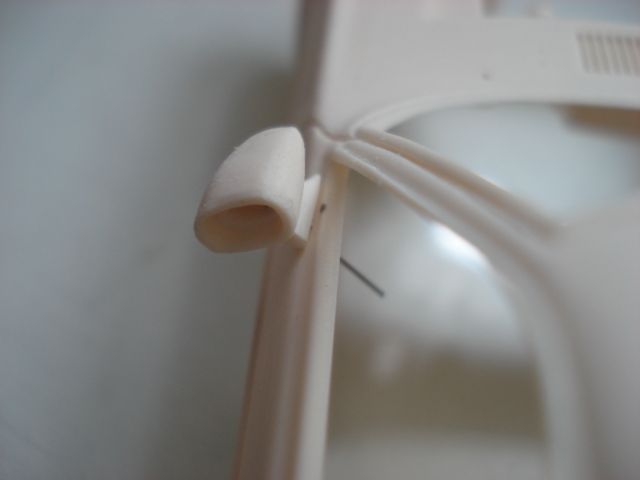 Rodrigo Maia |
|
|
|
Post by rodrigo on Dec 8, 2016 19:30:19 GMT -5
Update of the day. -One detail that was bothering me was the windshield wipers. 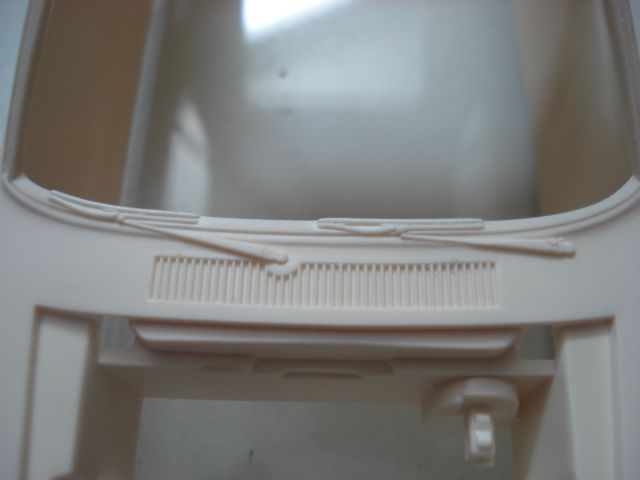 -So I took them out and I'll put P.E. wipers. 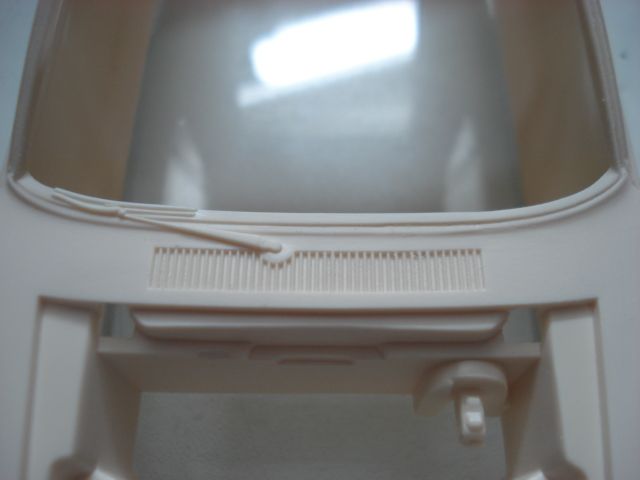 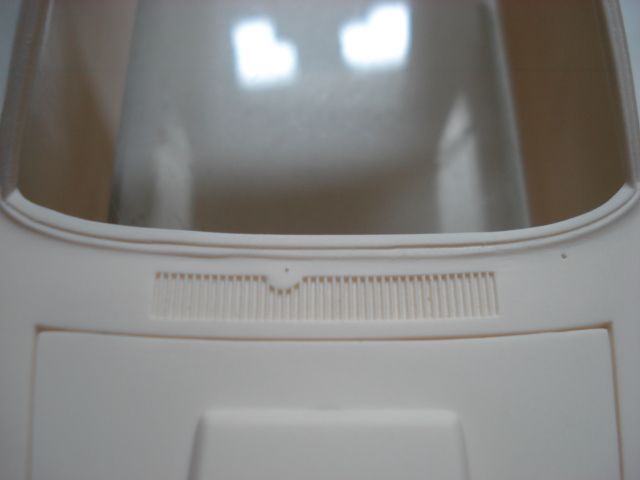 Tomorrow has more. Rodrigo Maia |
|
|
|
Post by rodrigo on Dec 9, 2016 20:58:53 GMT -5
New update -I leaked the fake air plugs next to the headlights. 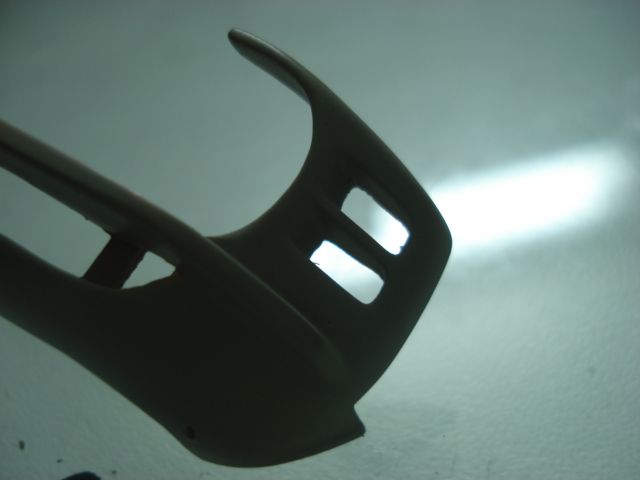 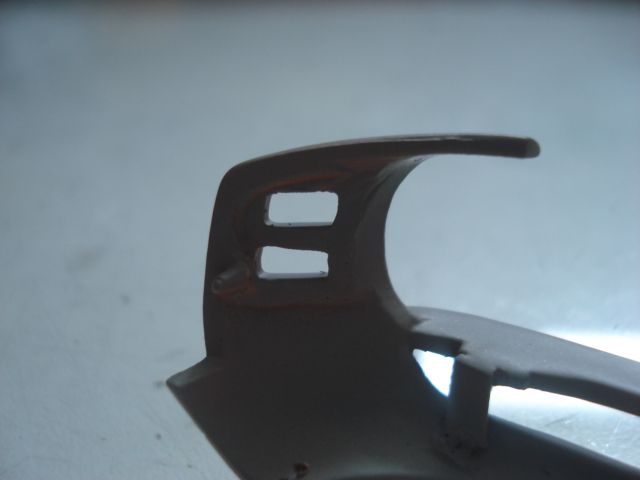 -In the real car this detail is closed even, not leaked. After painting I will put a canvas or mesh to simulate the small black grid. 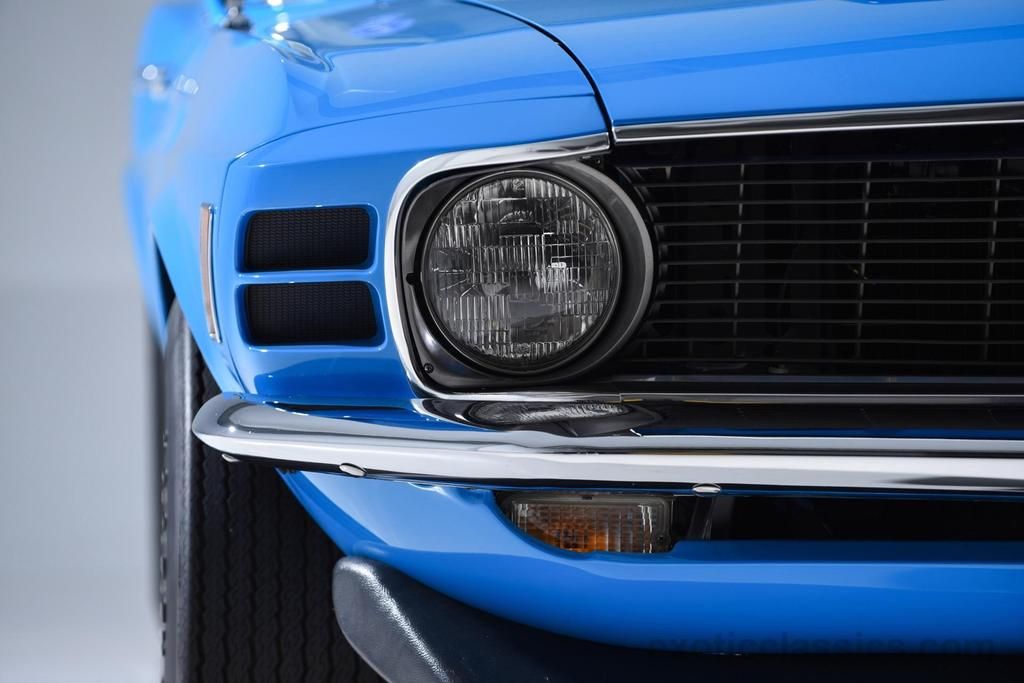 -Another part that I will only glue after painting is the back panel. 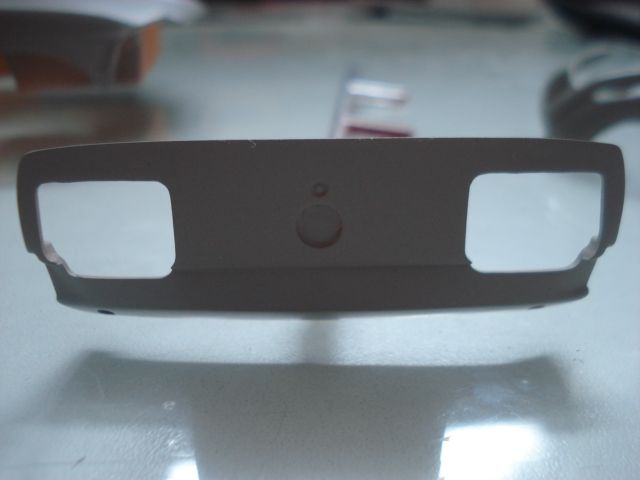 -As the fitting of this part is quite annoying, because there is no fit in the part, I pasted a piece of styrene inside the body to fit parts in the right place and aligned. 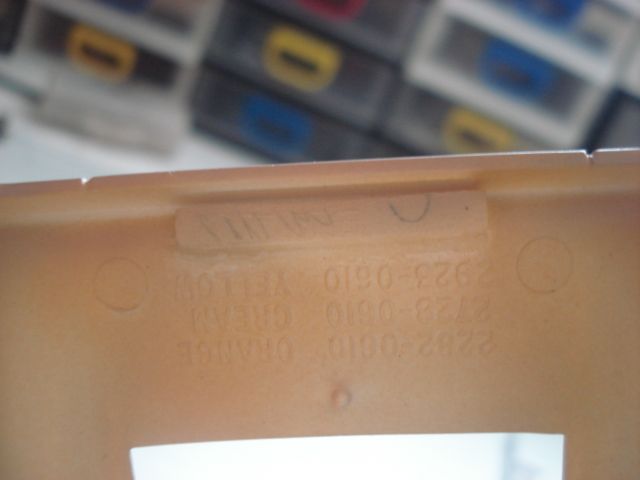 -Now the piece is seated in the right place. 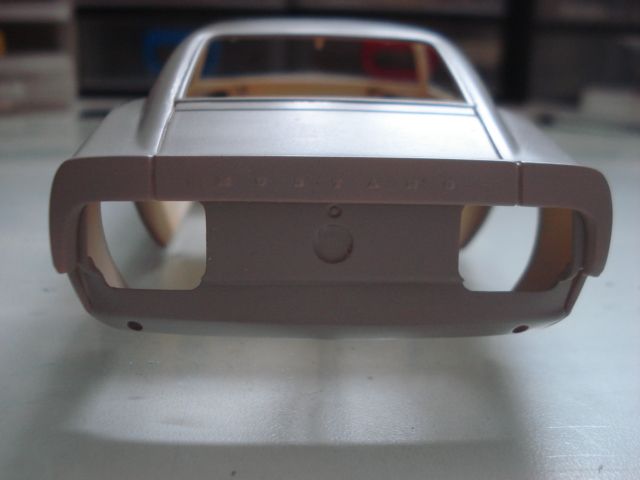 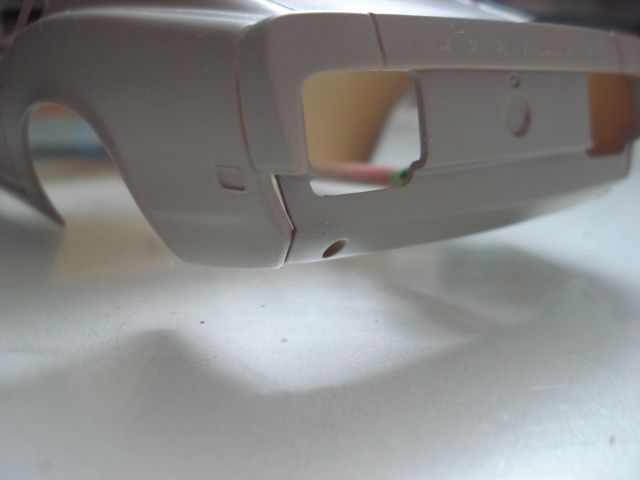 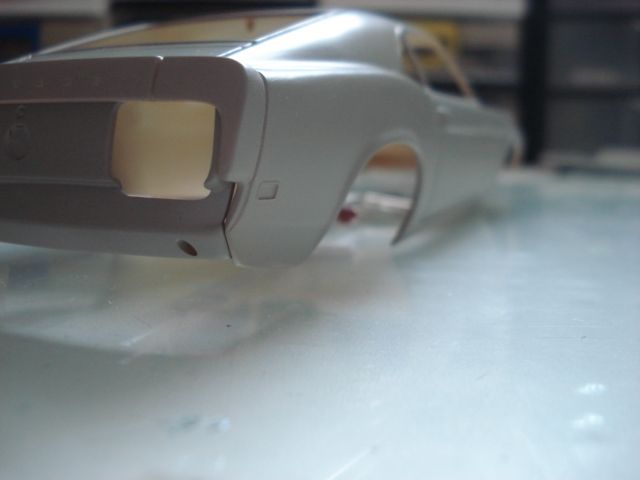 To the next. Rodrigo Maia |
|
|
|
Post by halfpint33 on Dec 10, 2016 15:27:36 GMT -5
Your attention to detail is outstanding. Awesome job
|
|
|
|
Post by Nacho Z on Dec 11, 2016 14:45:41 GMT -5
A lot of fantastic work going on here. I am blown away by your work on the wipers. Were they actually molded in and you removed the molded in wipers? If you did, I am totally impressed. Wow!
|
|
|
|
Post by rodrigo on Dec 12, 2016 10:59:07 GMT -5
Thanks for the comments friends.
I used scalpel blade to scrape the wipers. It was not a very difficult job, but I did it with a lot of attention and patience so as not to lose the details of the body.
|
|
|
|
Post by rodrigo on Dec 12, 2016 11:01:29 GMT -5
Hi everyone, let's go for one more update. -Body with primer applied and sanded, ready for painting. 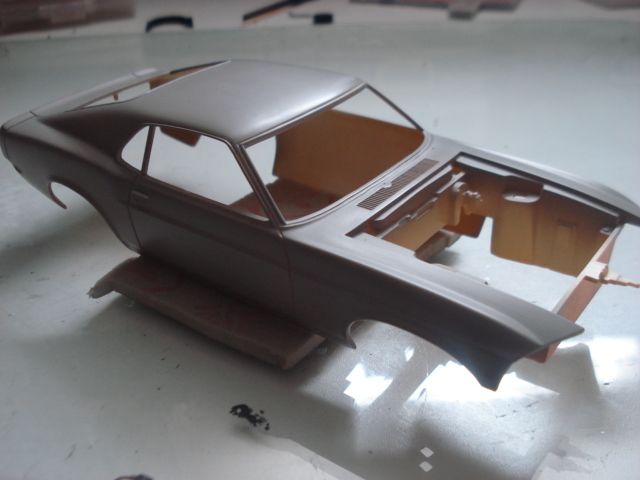 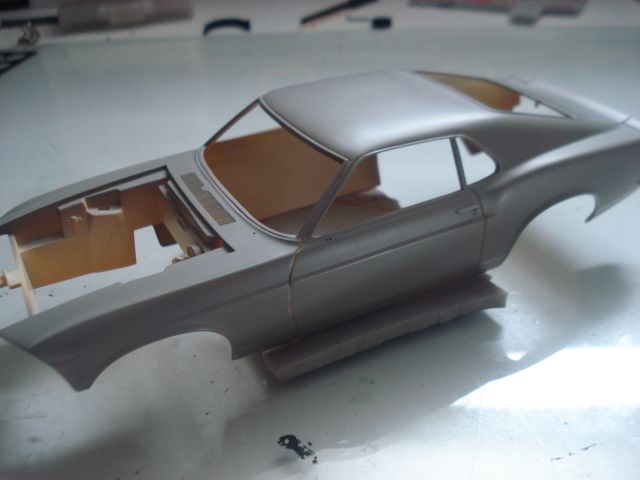 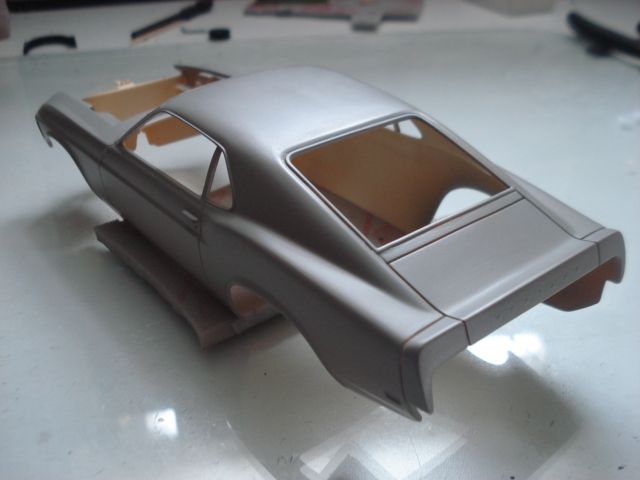 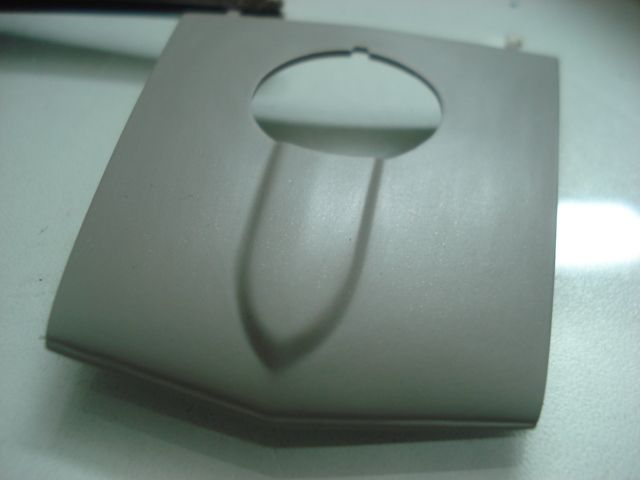 -Painted body, the next update shows more photos of the painting. 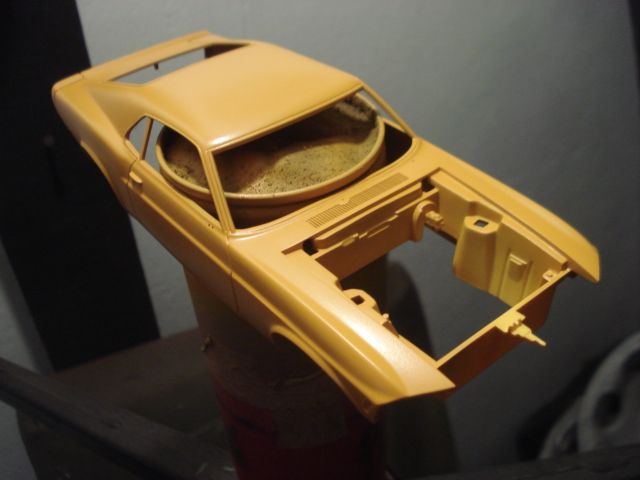 Rodrigo Maia |
|
|
|
Post by Nacho Z on Dec 14, 2016 18:03:59 GMT -5
As with all of your work, this one is looking good!
|
|
|
|
Post by rodrigo on Dec 15, 2016 0:12:20 GMT -5
|
|
|
|
Post by rodrigo on Dec 16, 2016 19:28:24 GMT -5
|
|
|
|
Post by Nacho Z on Dec 17, 2016 17:18:20 GMT -5
I know I sound like a broken record, but you really are doing some nice work on this model. One thing that really strikes me is how nice the panel lines look on the body. They really stand out. The chassis and suspension are going to look great too!
|
|
|
|
Post by Eddie on Dec 17, 2016 20:40:37 GMT -5
Wow, your work is amazing, I can't wait to see how this turns out!!
|
|
|
|
Post by rodrigo on Dec 24, 2016 14:13:41 GMT -5
Hi friends, thanks for the comments. Let's go for one more update. -Continuing in the front suspension, I used needles and small lighter rubbers to make the new struts. Still little adjustments are needed. 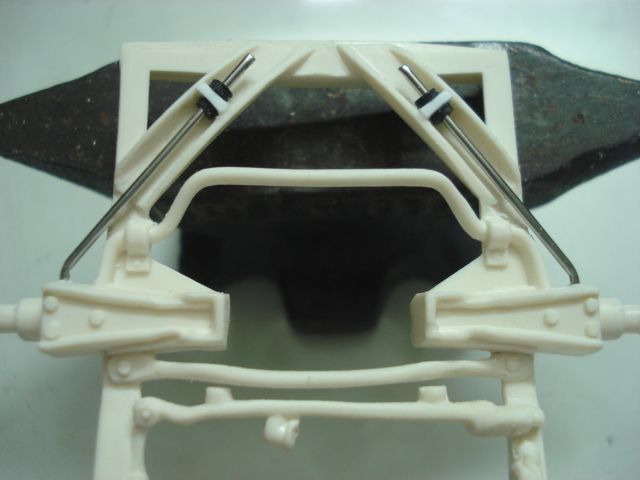 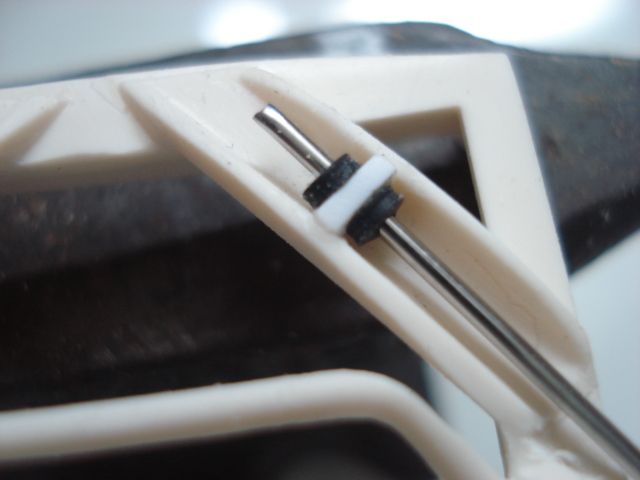 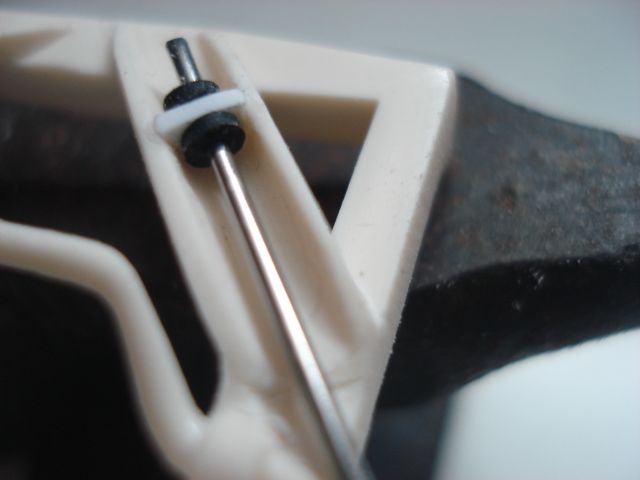 -The steering arms I got from my scrap bin, there's not much to do here. 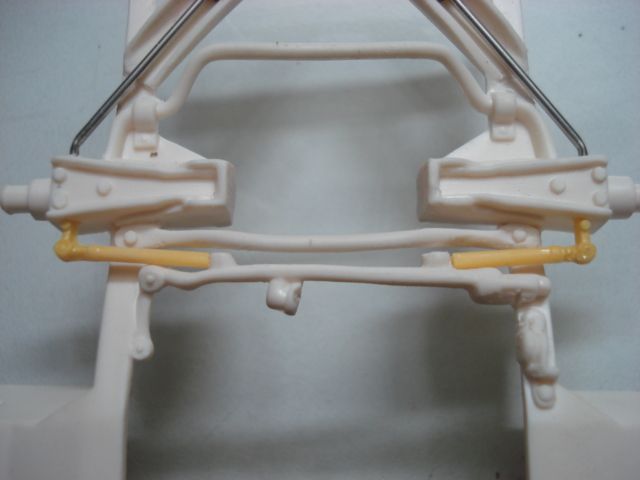 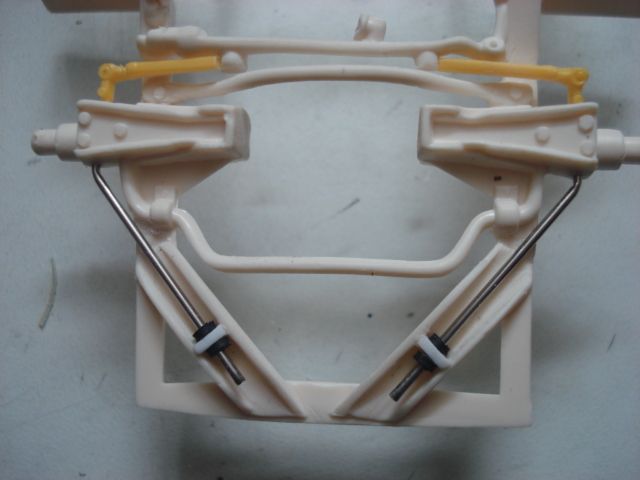 -Now it's time to move on the rear suspension. The one in the kit is very bad. 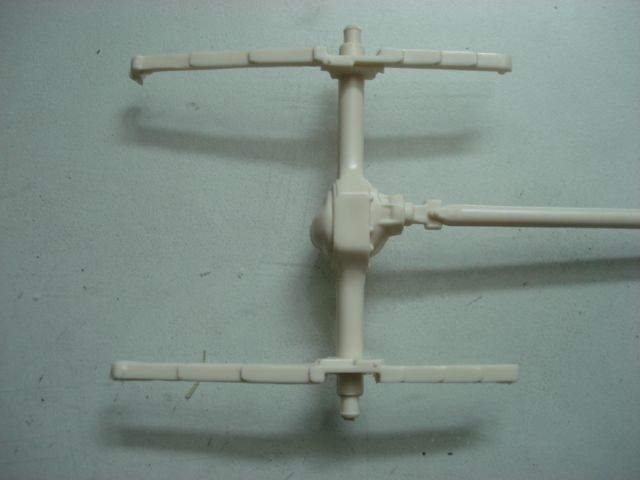 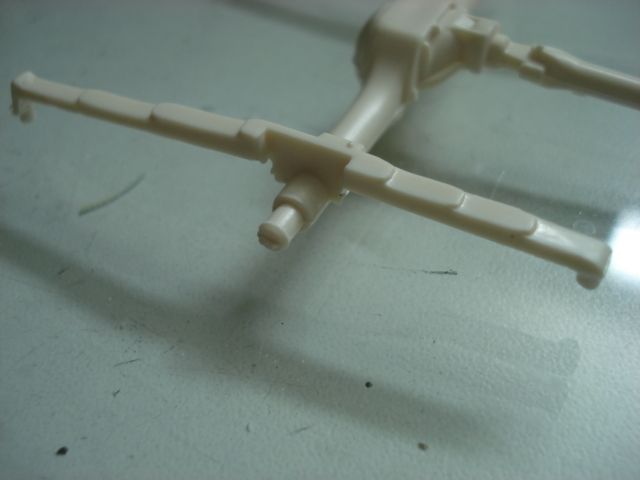 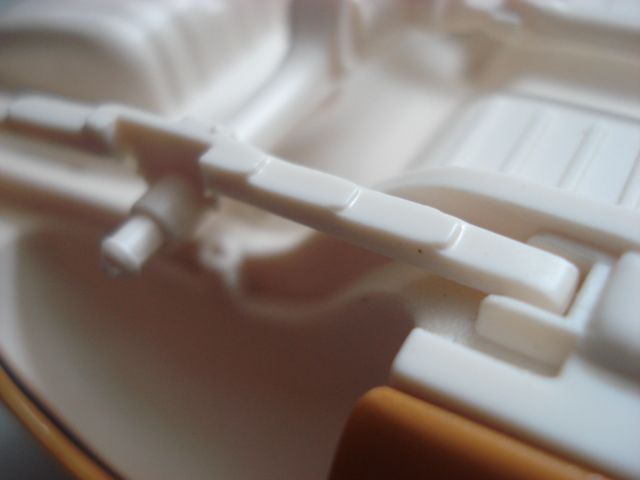 -Reference photos. 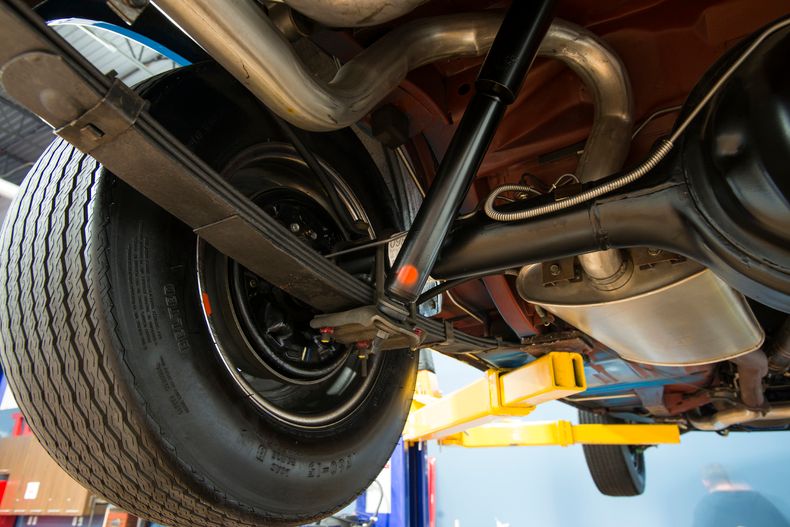 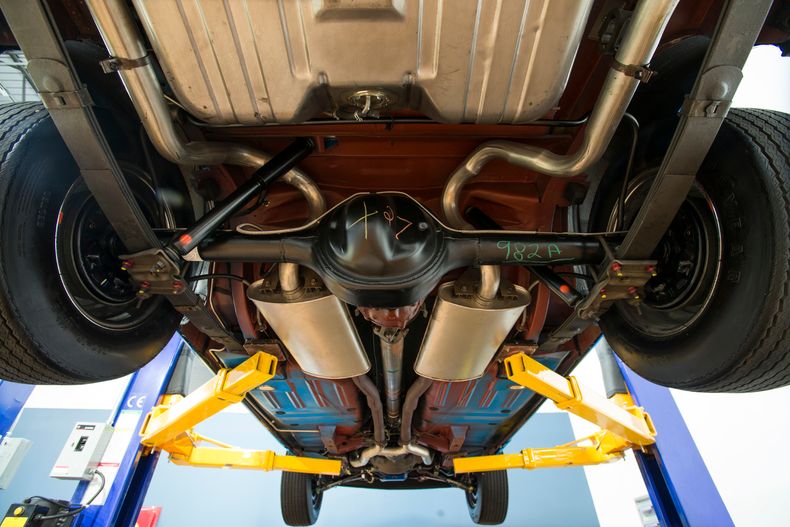 -I was going to do everything using styrene, but I thought it was a good opportunity to use a 1mm brass plate that I had saved. 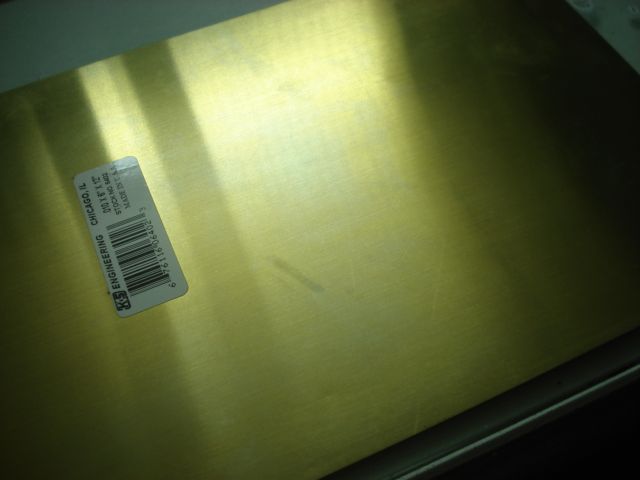 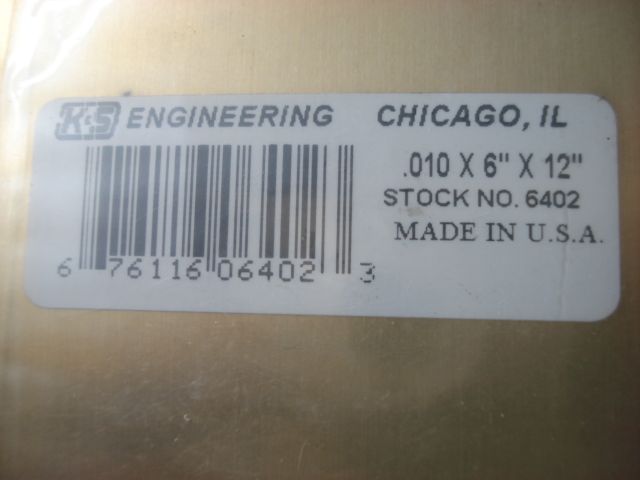 -I had never worked with brass before. ready rear springs 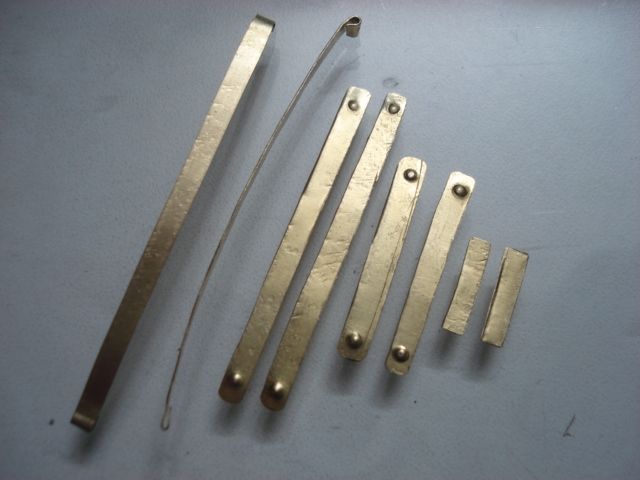 -I did not use glue to attach the blades, they are only fitted and fastened by the straps. 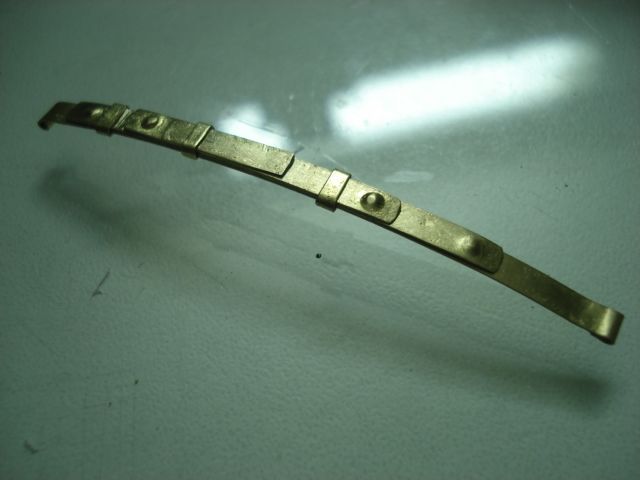 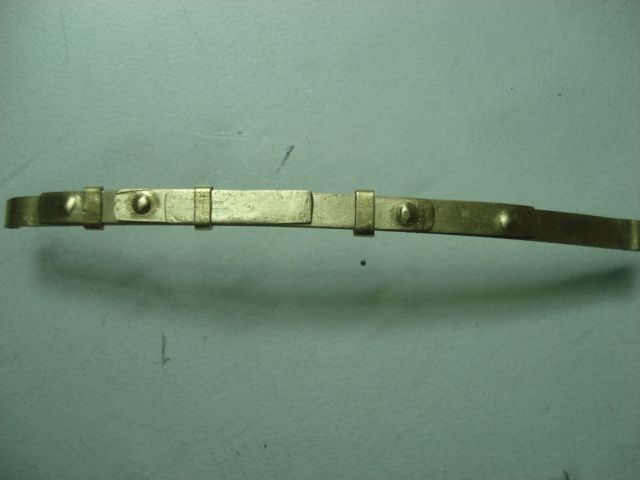 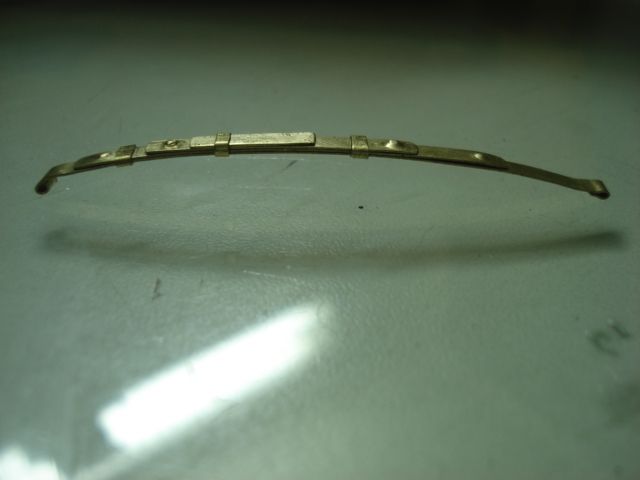 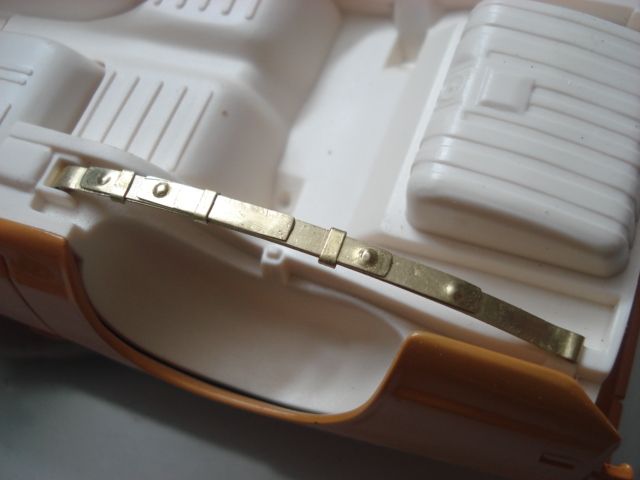 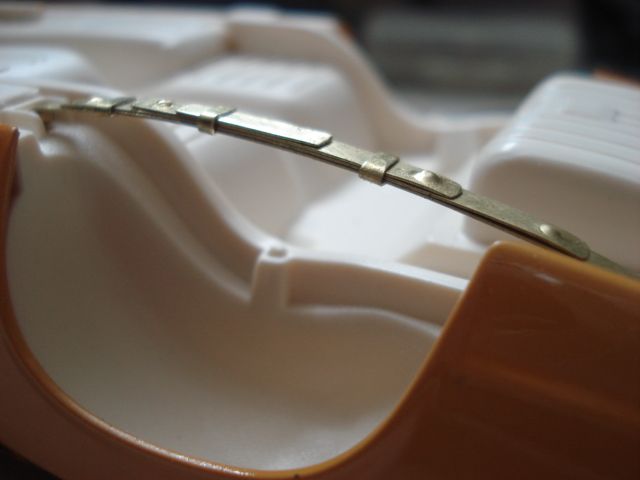 -Comparison with the one that comes in the kit. 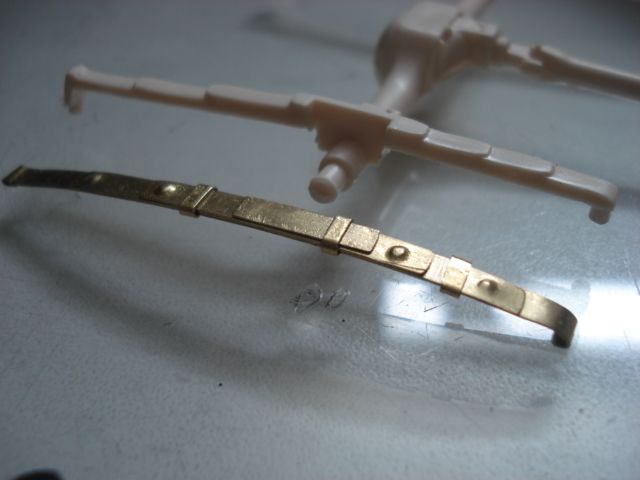 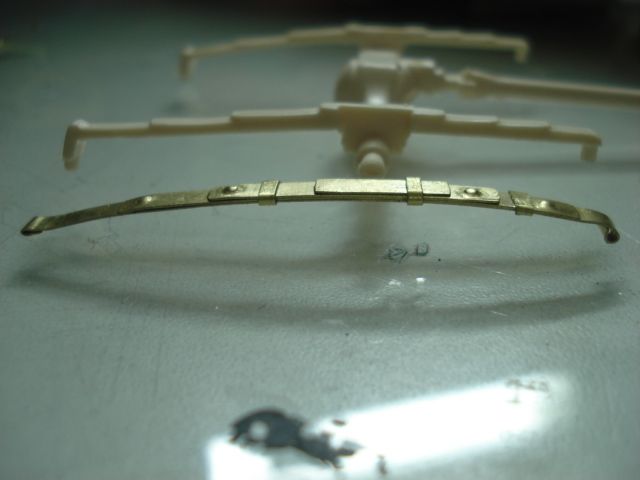 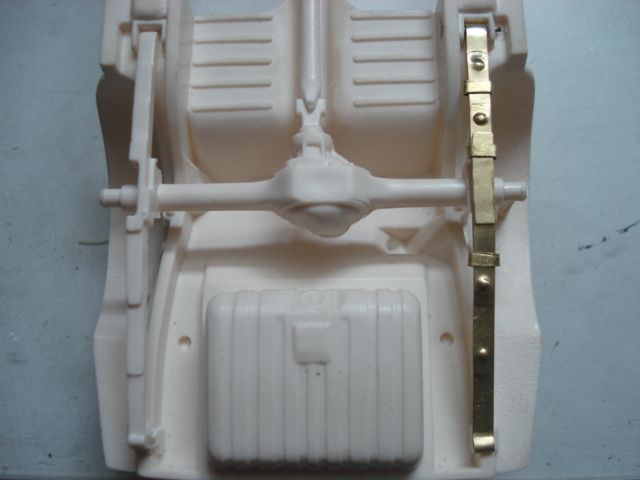 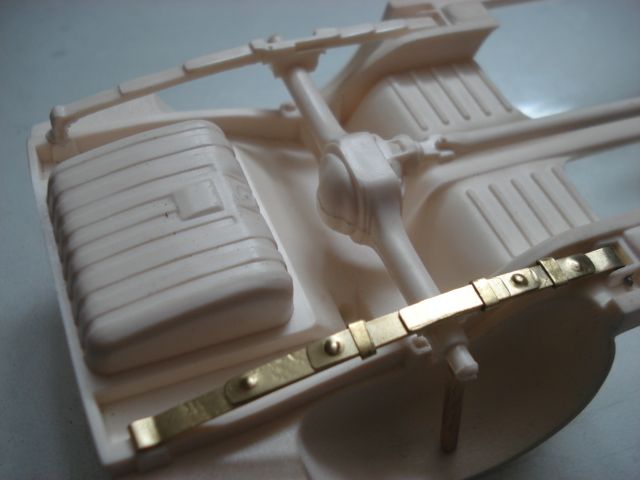 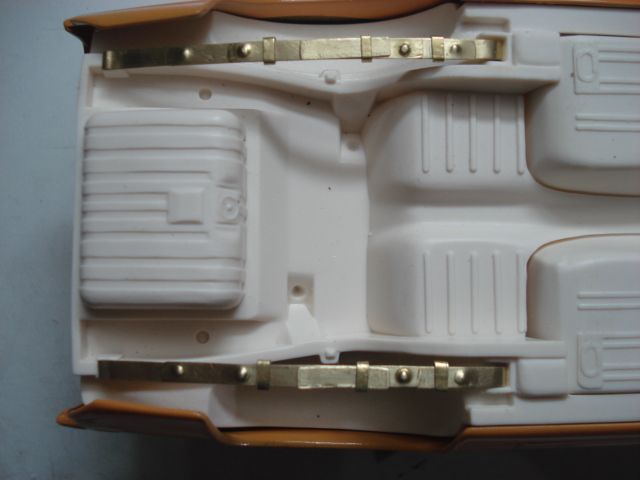 -For the fitting I used a pin that will be embedded in the chassis. 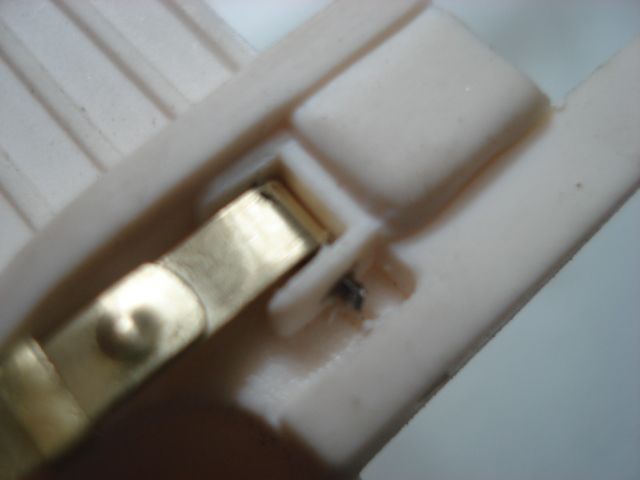 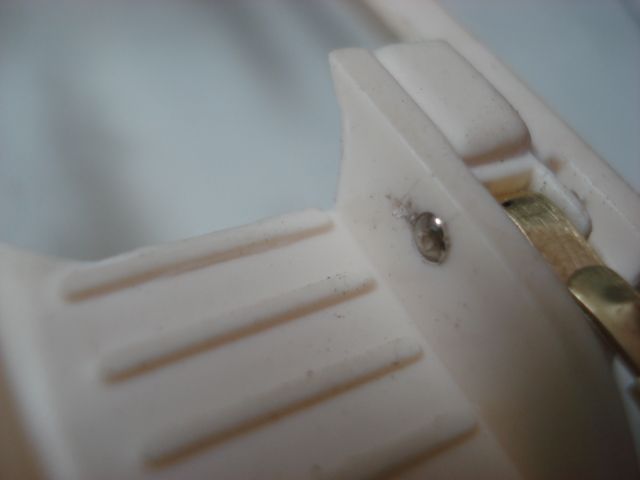 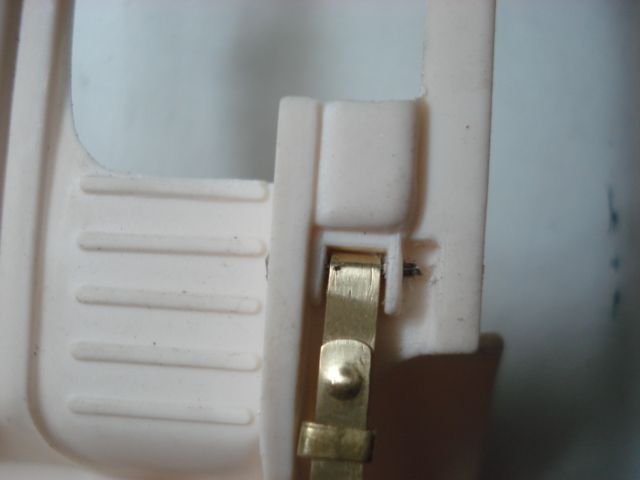 -Leaf springs in place, as I did not use glue, the suspension was functional, but I'll lock it with the shock absorbers that comes in the kit. 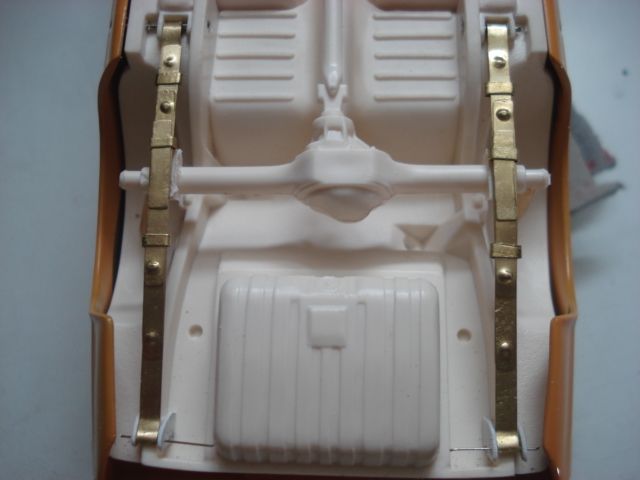 -Speaking of shock absorbers, I started making the brass shock absorbers. 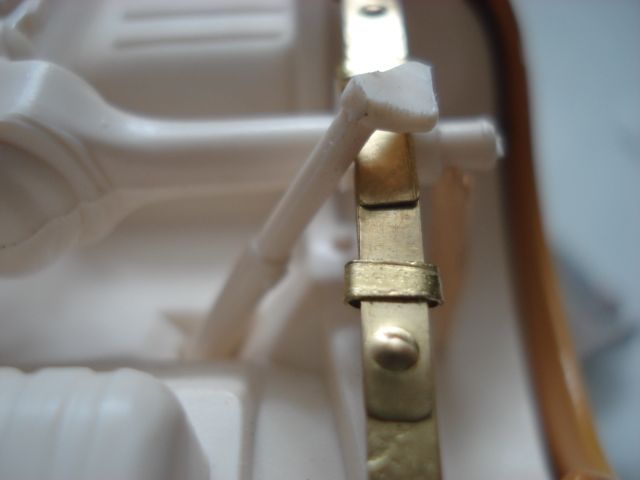 -Reference picture.  -I started with a styrene template. 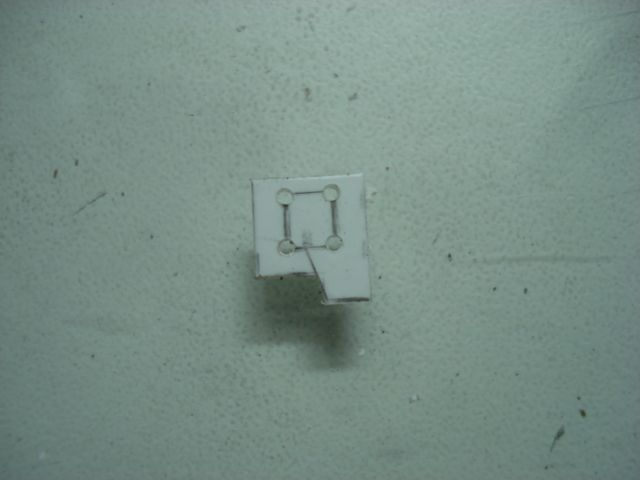 -After the second attempt. 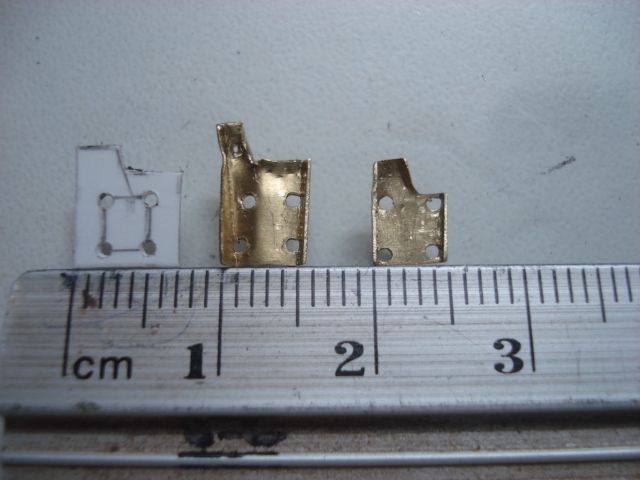 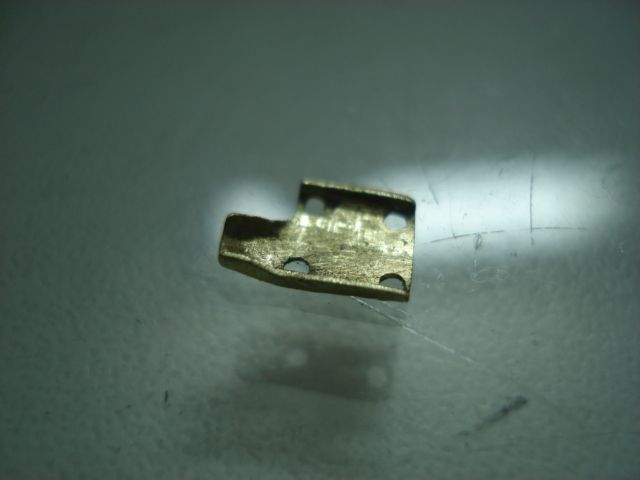 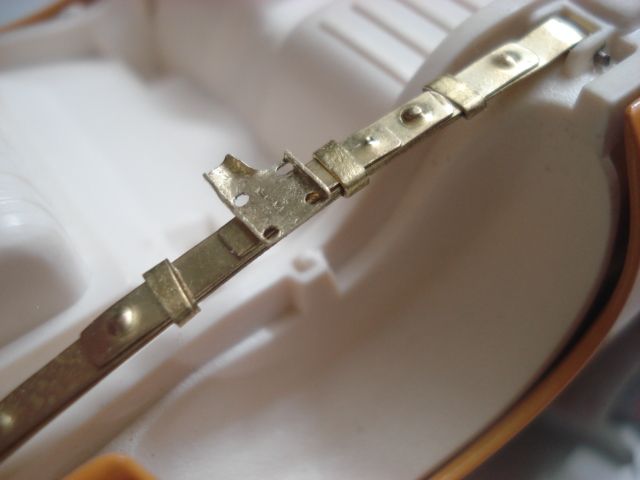 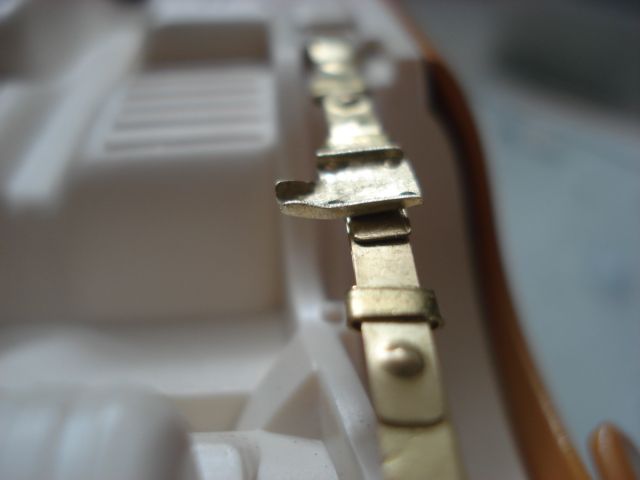 -But I will have to make another support, the shock absorbers are on opposite sides of the shaft, so I lack an angle that I forgot so the shock absorbers do not hit the axles. 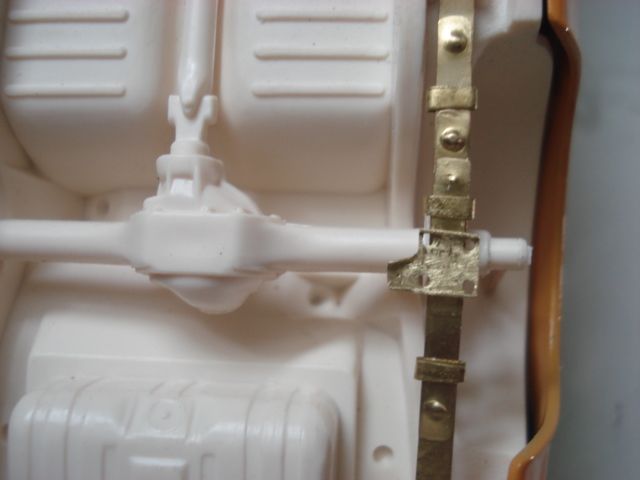 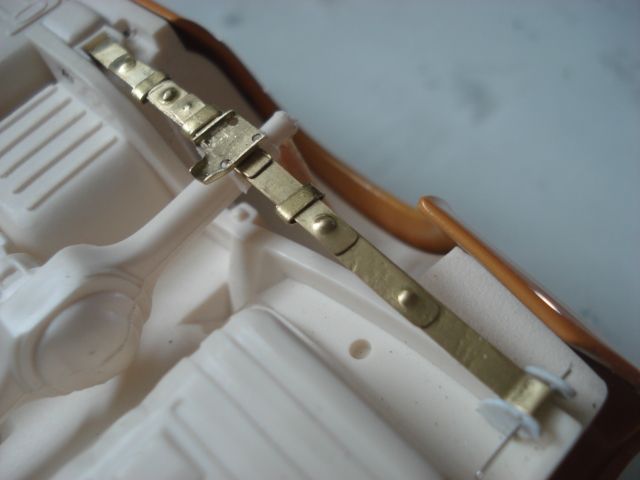 To the next. |
|
|
|
Post by rodrigo on Dec 24, 2016 14:19:48 GMT -5
Small update. -In this assembly I tried a technique that I had never tried before, but I've seen it in assemblies of other modellers. To make the little letters of the Mustang name on the back of the car, reference photo. 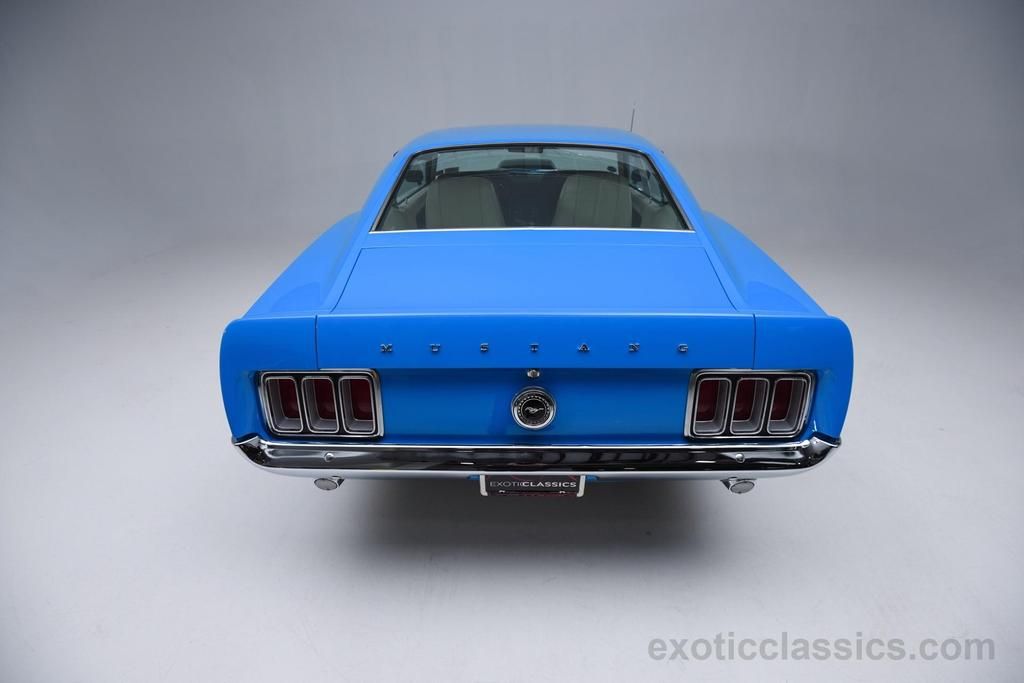 -I applied a strip of barrel metal in the letters before starting the bodywork painting. 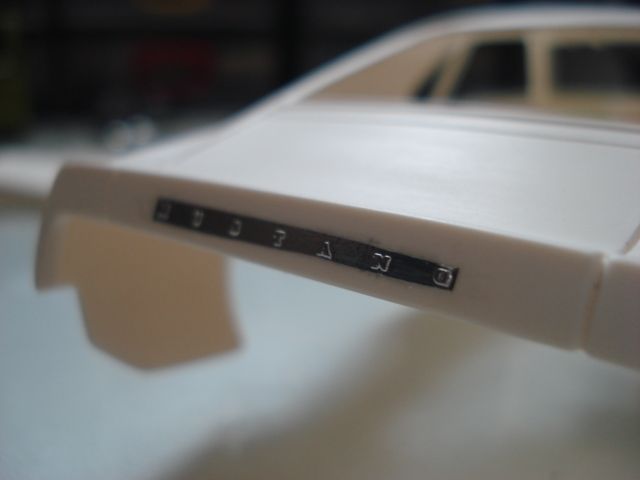 -Photo with the primer applied from above. 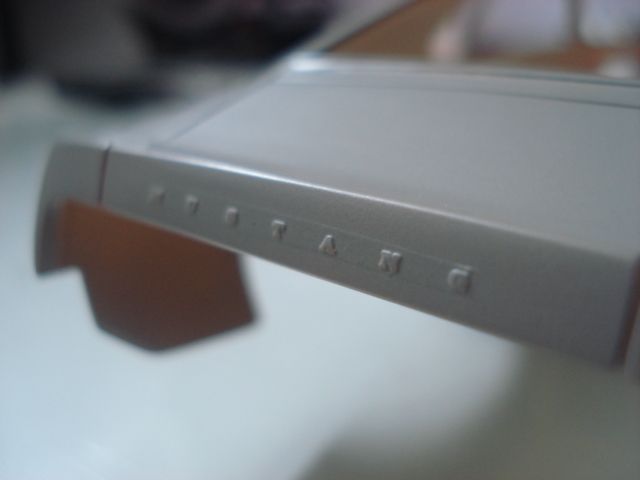 -Photo with applied paint. 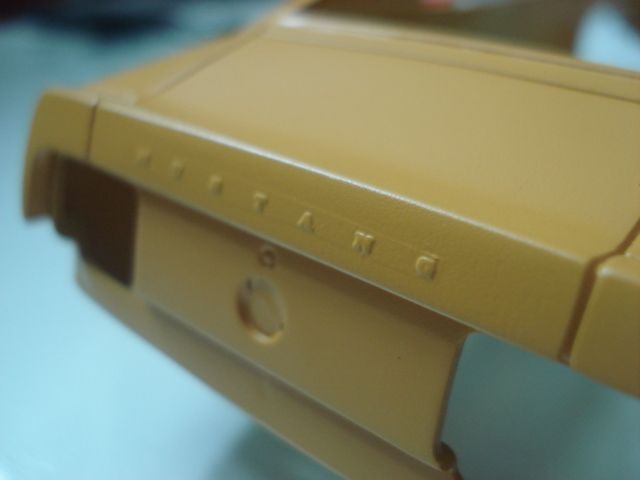 -With the body painted and before applying the varnish, I mask the letters. 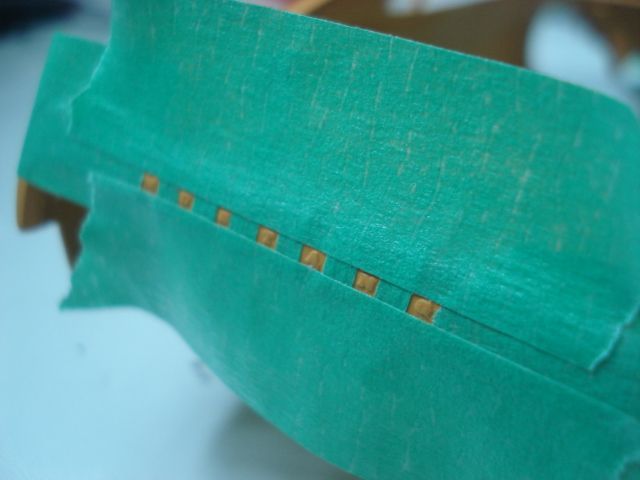 -Then to remove the excess paint and primer from above the letters, instead of sanding or removing with acetone, I resolved to polish with cotton and polishing dough. 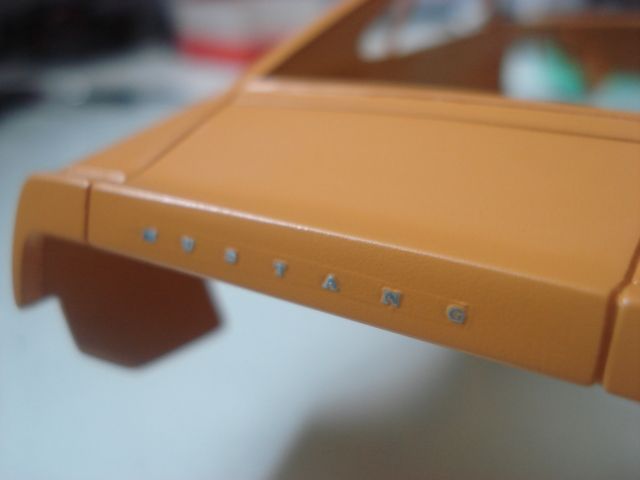 -Finally I applied varnish on top, and the result is this. 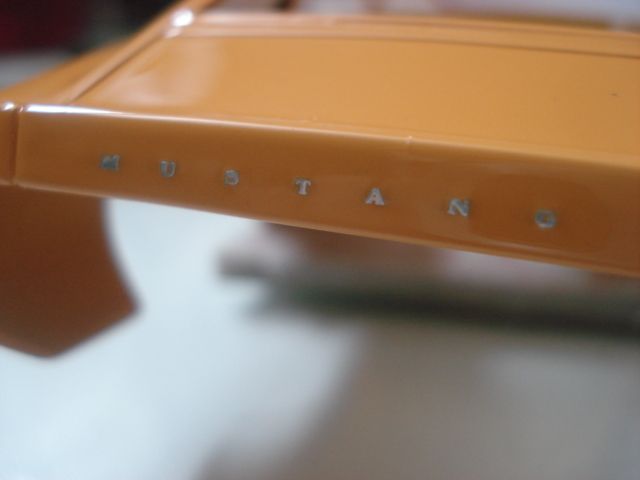 -That's it folks. Feliz Natal a todos. < In Portuguese  |
|
|
|
Post by Nacho Z on Dec 27, 2016 15:20:46 GMT -5
Nice work on those leaf springs. They look so much better than the kit parts. Also, the "MUSTANG" letters turned out very well. I bet you had to be very careful when sanding the paint and primer off the BMF.
|
|
|
|
Post by halfpint33 on Dec 29, 2016 18:14:43 GMT -5
Wow you are going over the top on this build. You're doing a fine job.
|
|
jerry
Junior Member
 
Posts: 111 
|
Post by jerry on Dec 29, 2016 20:00:57 GMT -5
This is a beautiful build up, waiting to see it finished!!!!!!
|
|
|
|
Post by rodrigo on Jan 22, 2017 16:13:38 GMT -5
New update -I started to move the engine, first I changed the original coil of the kit to an aluminum machined one. 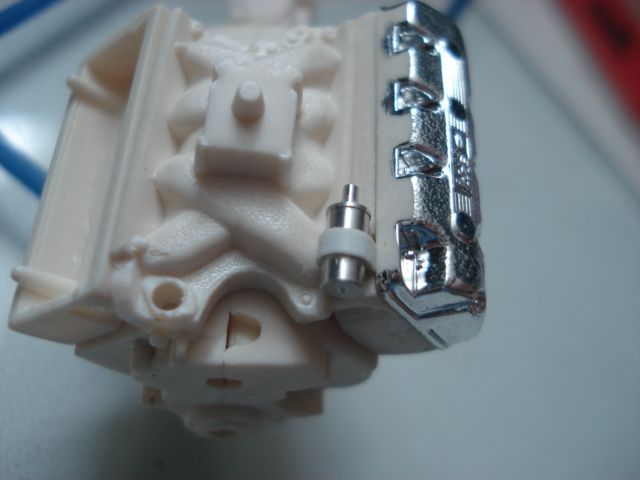 -I separated the alternator and fixed it in place with a tattoo needle and made a styrene holder that has yet to be finished. 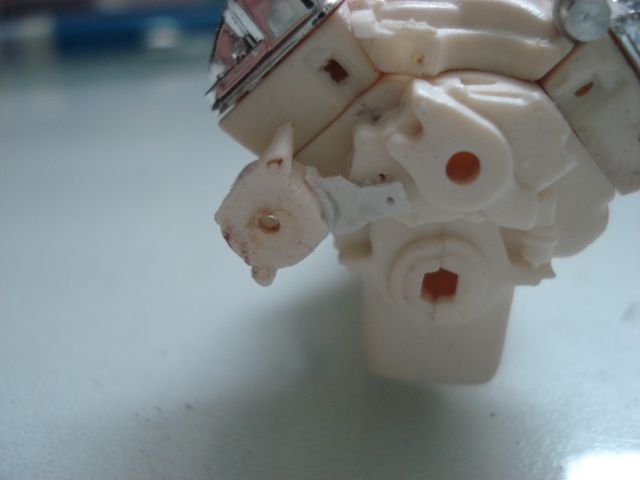 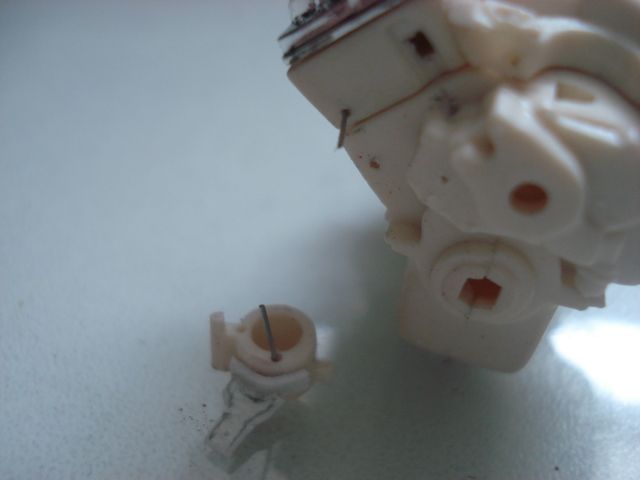 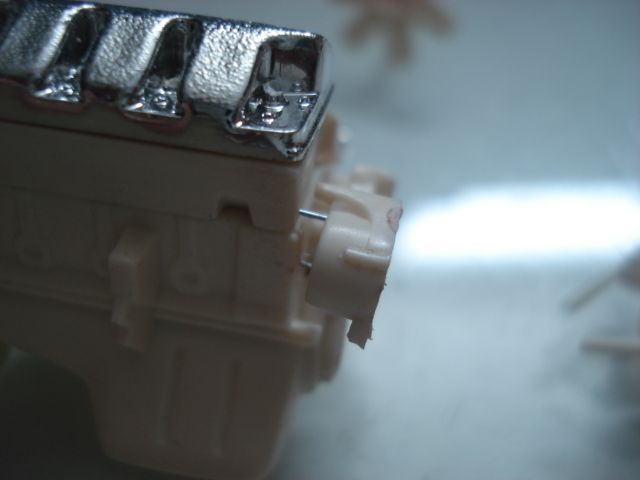 -One of the bizarre things about this kit is that the engine does not have a carburetor in the "stock" version of the kit, but the kit comes with 2 carburetors that only fit the second "custom" kit version of the kit. Then the air filter is in a very low position. 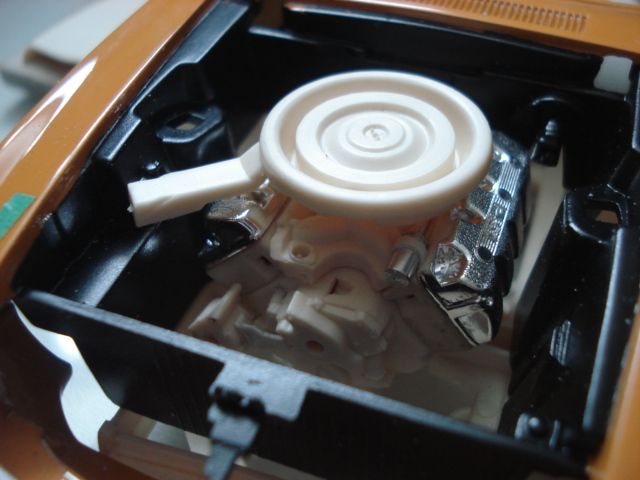 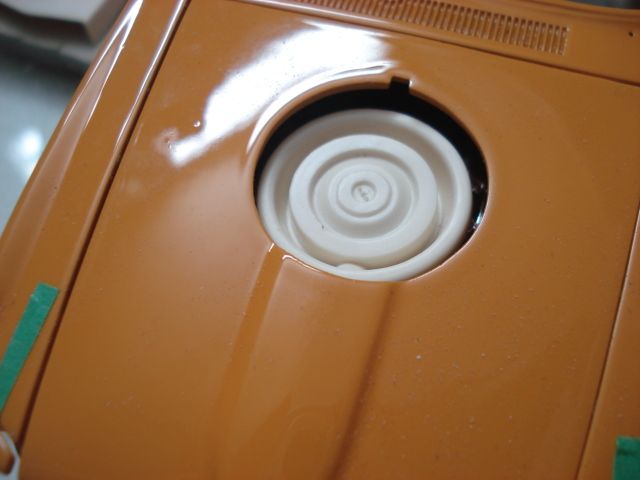 -So with minor adjustments I added a carburetor to make it more suitable. 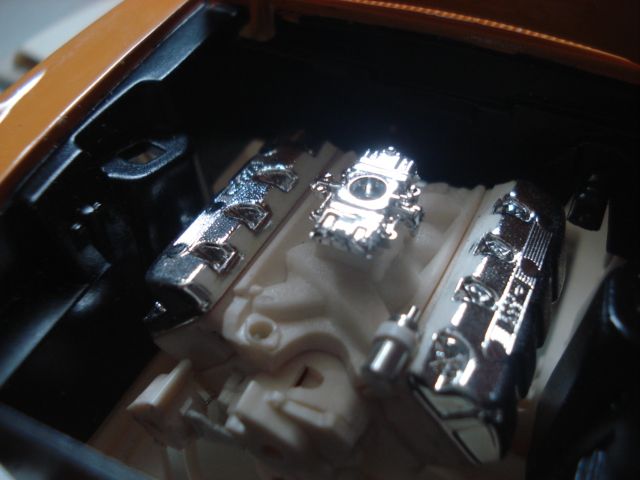 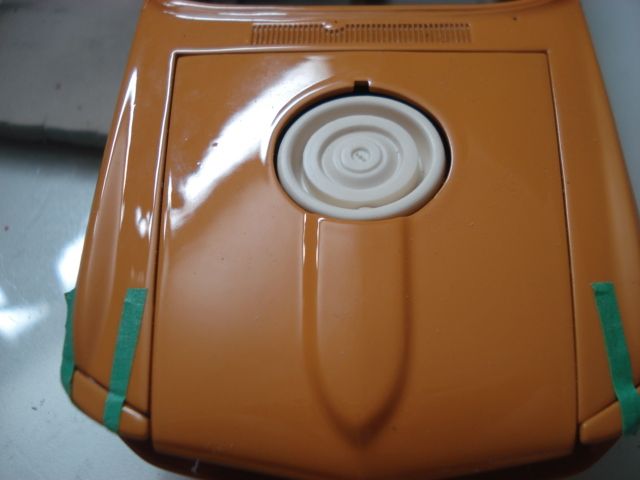 -Even with the filter at this point the hood closes perfectly. 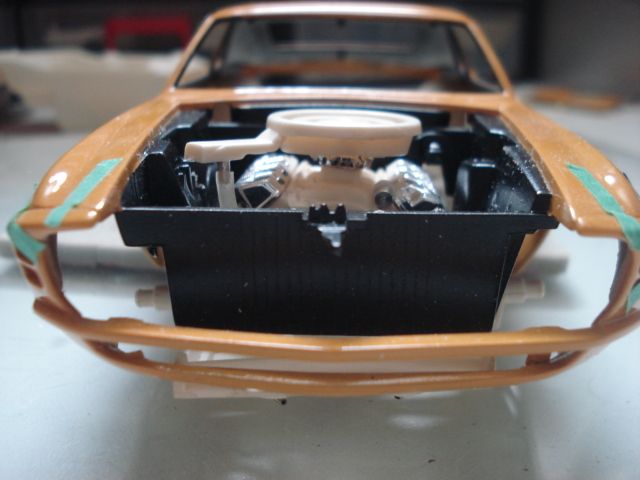 -I also separated the compressor from the air conditioner and fixed it with tattoo needle in the correct place and made the hose that connects the head to the air filter. 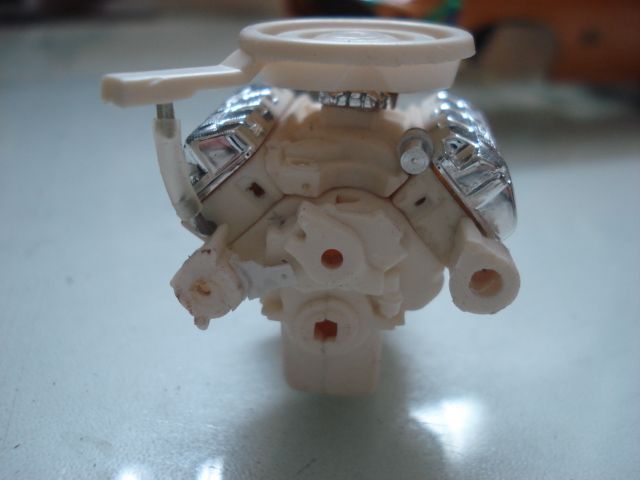 -Some reference pictures of the engine. 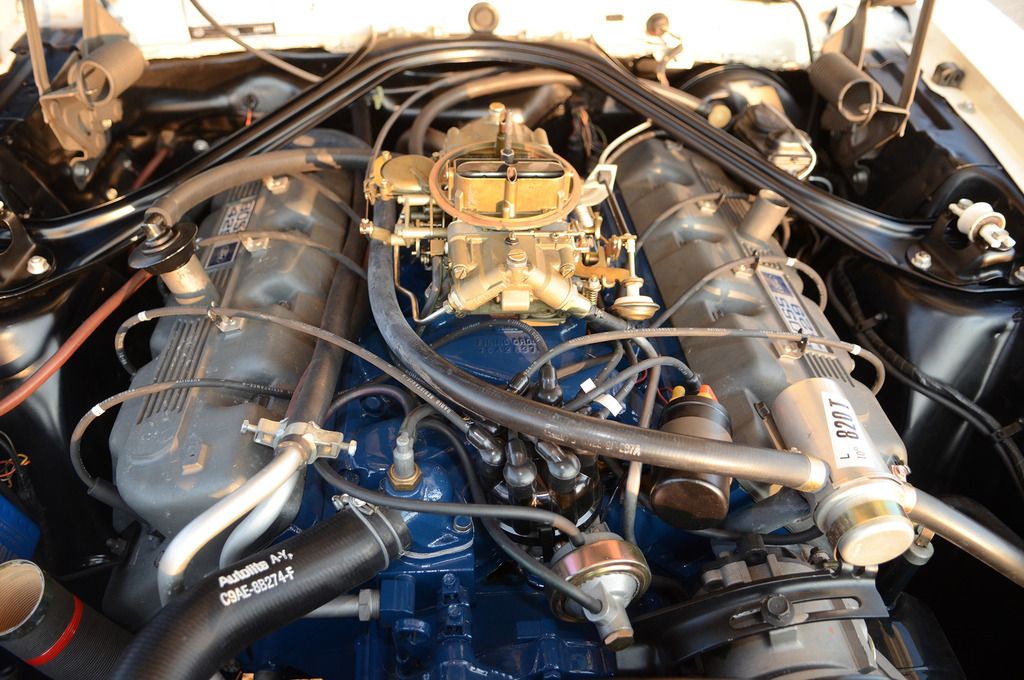 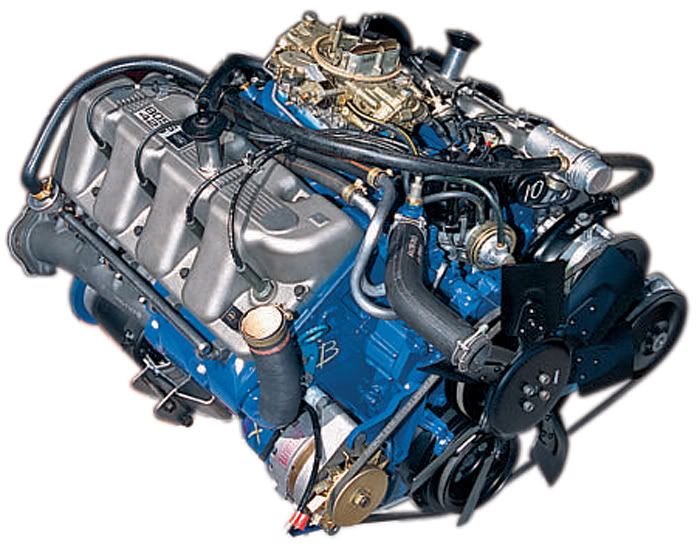 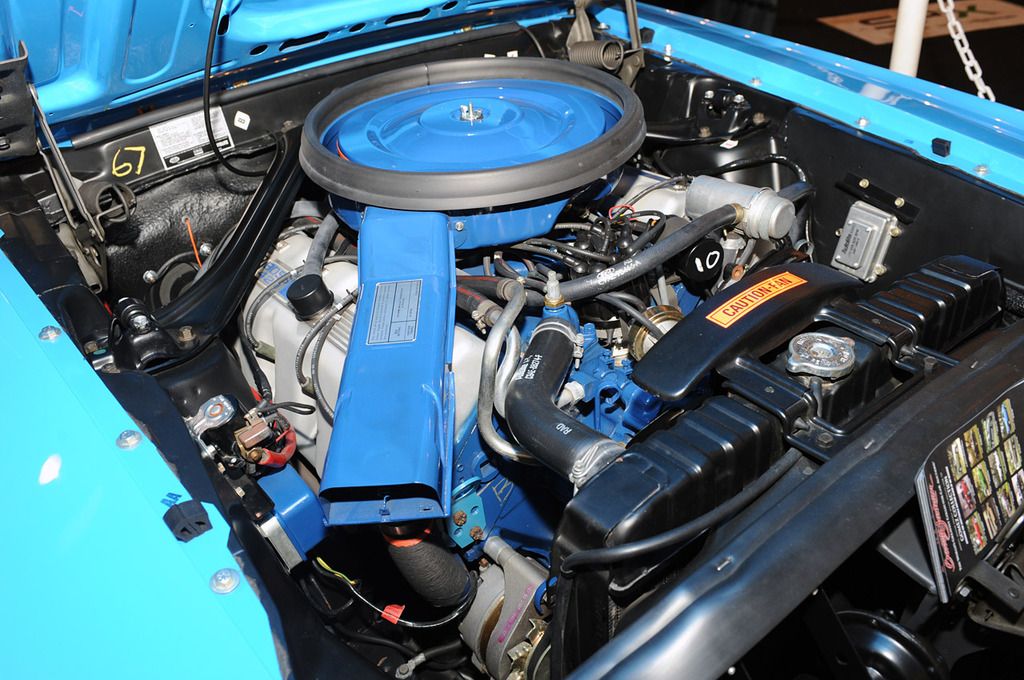 -And the paint on the engine. 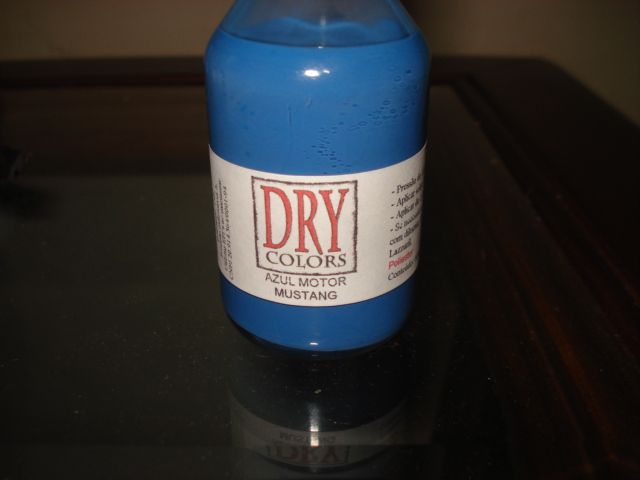 Some things in the engine are still going to change a bit, maybe it also gets power steering and maybe I'll improve the air filter a bit. That's it for today. |
|
|
|
Post by Eddie on Jan 25, 2017 5:36:52 GMT -5
Wow, your attention to detail is amazing!!
|
|
|
|
Post by Nacho Z on Jan 30, 2017 10:10:42 GMT -5
This build just keeps on getting better and better. I always enjoy the progress updates and the explanation of what you have done.
|
|
|
|
Post by rodrigo on May 25, 2017 20:32:40 GMT -5
Hello again friends, the Mustang was kind of stopped because I had to remove the paint from the bodywork and start over again the paint, so I lost the decals of the body and it took me to get new decals and this time I got the correct decals of the car. 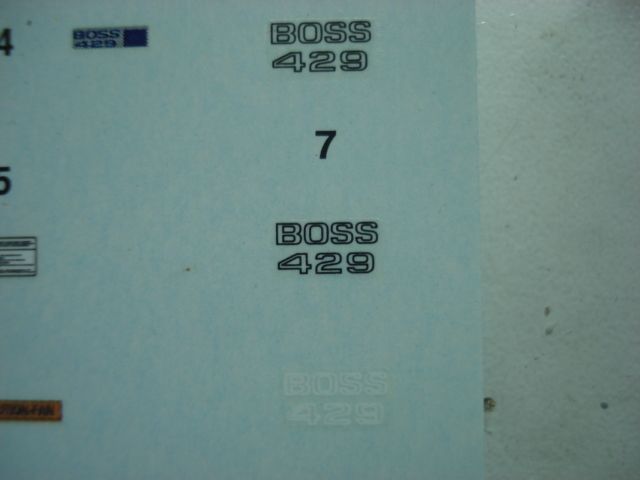 Well, actually I ended up buying a second kit, this time from Revell. As the decals card has the same "BOSS 429" decals in two different colors, I decided to assemble the two Mustangs together, alternating the color combination to take advantage of the two different color decals. 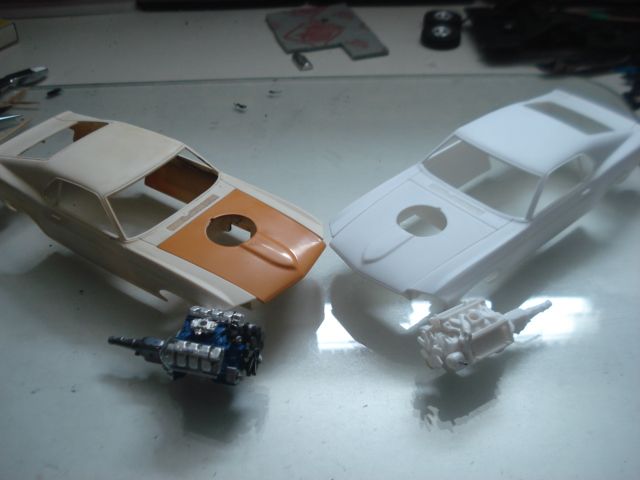 I already ordered the paint for the second Mustang and had to make all the modifications that I had already done in the first Mustang, so a little delay in updating the topic, as the modifications are identical there is no need to create another topic, I'm trying to sync the assembly of the two to update the assembly. Right now both are like this. 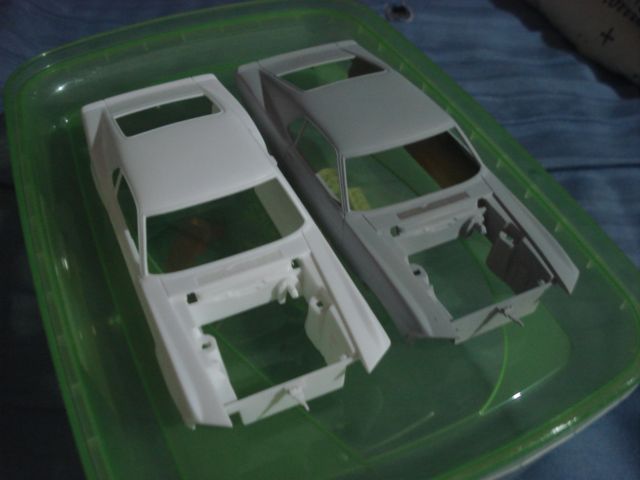 |
|
|
|
Post by rodrigo on Jun 26, 2017 23:03:28 GMT -5
Hi friends, thanks for the comments. Let's go for another Mustang upgrade. -The two chassis are already 90% completed and almost ready for painting. All modifications I made in the first chassis were done the same in the second. 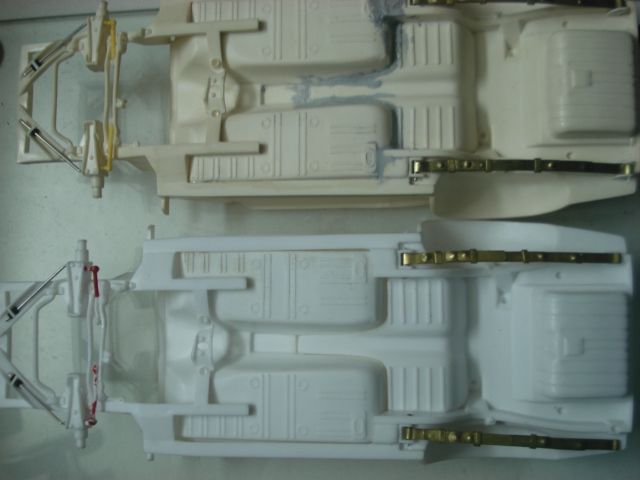 -Body with clear 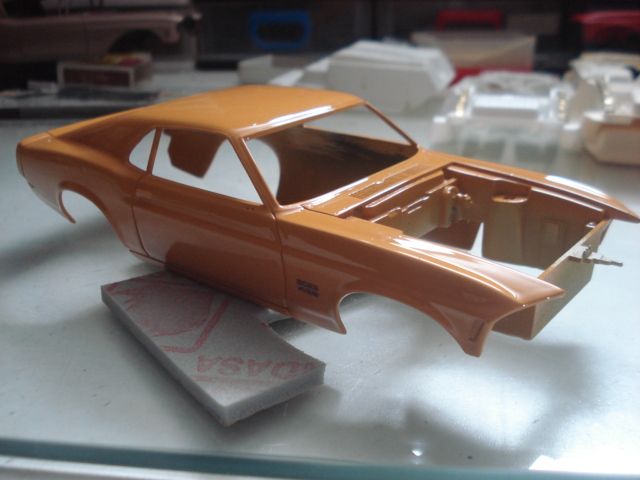 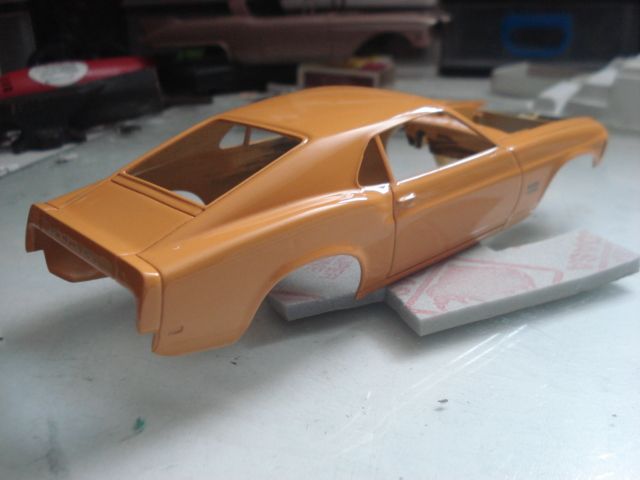 -I have already painted the body of the second Mustang in the original Calypso Coral Red color of the car. As it will have the interior in black this is one of the 76 Mustang Boss 429 1970 in this color setting that went out of the manufactures of a total of 500 manufactured. Remembering that the Mustang Grabber Orange with black interior that I am also mounted is one of 58 fabricated in this configuration. 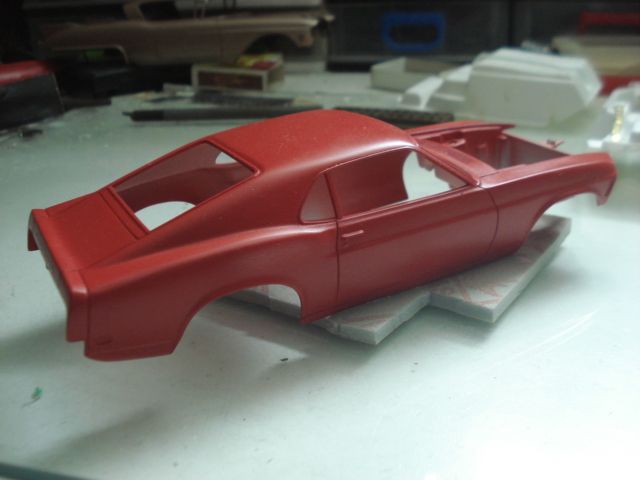 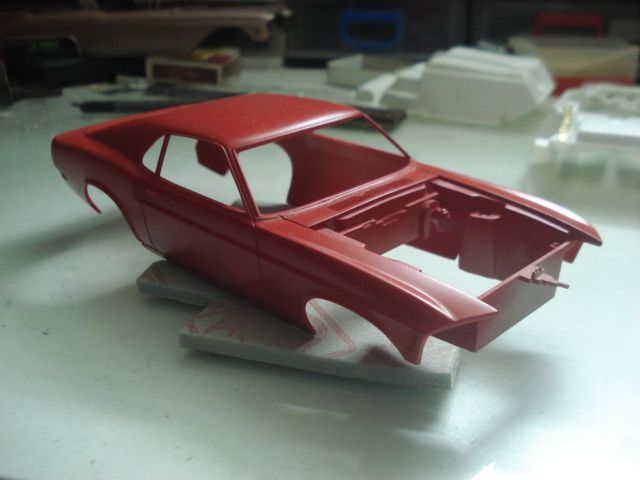 -I've applied varnish to parts of the red Mustang like the hood, the front, and the rear panel. 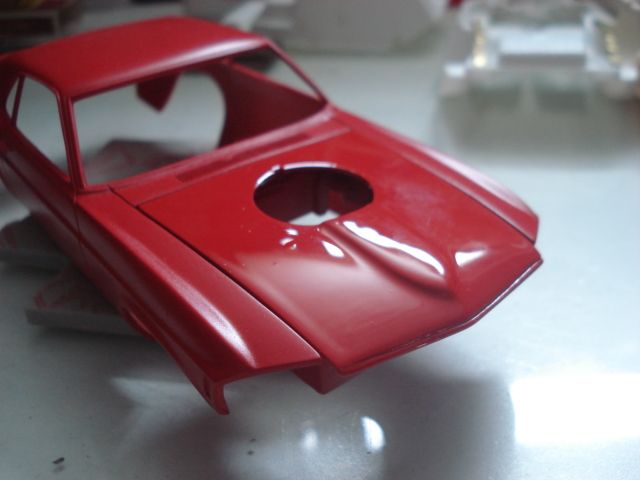 -Both in the current phase. 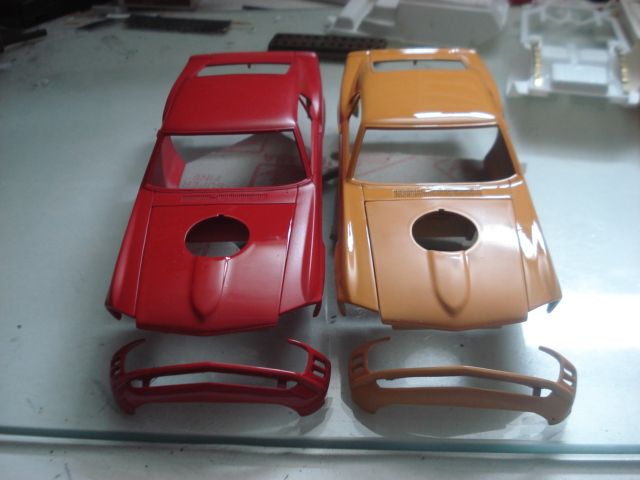 |
|
|
|
Post by Nacho Z on Jun 28, 2017 19:47:31 GMT -5
Very nice progress, Rodrigo! Thanks for sharing.
|
|
|
|
Post by rodrigo on Sept 7, 2017 12:12:24 GMT -5
Hi everyone, thanks for the messages, even if the pictures are gone. And I apologize for the somewhat abandoned topic, but I promise as soon as I finish the Cadillac I will try to bring the old photos back to the topic. F@#$% Photobucket. And no, I did not forget this assembly so let's enjoy the bump and make a little update of what has been rolling with the Mustangs. -I painted the inside of the 2 in black, now it's missing the details.   -Front seats ready, I used 2 shades of black on the seats, most of them in black semi gloss and the details in matte black, you can not see right in the photo.  -I did not resist and did a preassembly.    -Engine compartment painted black.  -On the bottom I did the same Caddy scheme, rusty background and over spray in the color of the body, the red did not make so much difference, but I made them both alike.  -Now I'm in the stage of detailing the bottom.  |
|
|
|
Post by Nacho Z on Sept 10, 2017 18:16:53 GMT -5
I can appreciate all of the work you are doing. Your Mustangs are really looking great. It is a shame about what PBucket did. Many of us have lost pictures in our threads. Thanks for sharing your work.
|
|
|
|
Post by halfpint33 on Sept 13, 2017 10:08:05 GMT -5
As I've been saying all along you do outstanding work. Well done.
|
|

