|
|
Post by 67impala427 on Oct 10, 2009 23:26:49 GMT -5
Thanks for all of the compliments guys. They really mean a lot to me. I intend to start casting that supercharger assembly real soon Bruce. I'm going to make 3 versions. The Mopar version pictured, one for the later model Mustangs and of course one for Chevy's that will be modeled after the Kenne Bell supercharger for late model Vettes.
Alex.
|
|
|
|
Post by Nacho Z on Oct 11, 2009 8:51:42 GMT -5
Great stuff Alex! I always enjoy these updates.
|
|
|
|
Post by 67impala427 on Apr 16, 2012 22:19:45 GMT -5
Hi all. These are the first updates I've done on this build since October 9 2009. I have been very busy working on my LSM website and Ebay store and have not been able to continue this build. I tried to get back into the building mode by getting back to work on my '69 Chevelle Custom but soon lost interest on that as I have been really thinking about this GTX a lot lately. Well any way, back to the update. As you can see I have already incorporated the rear seats of the Revell '06 Dodge Magnum unto the interiorbucket of the X. Instead of the stock dash I will modify the dash of the AMT '05 Chrysler 300c and graft it to the bucket and custom console. More updates asap. Alex. 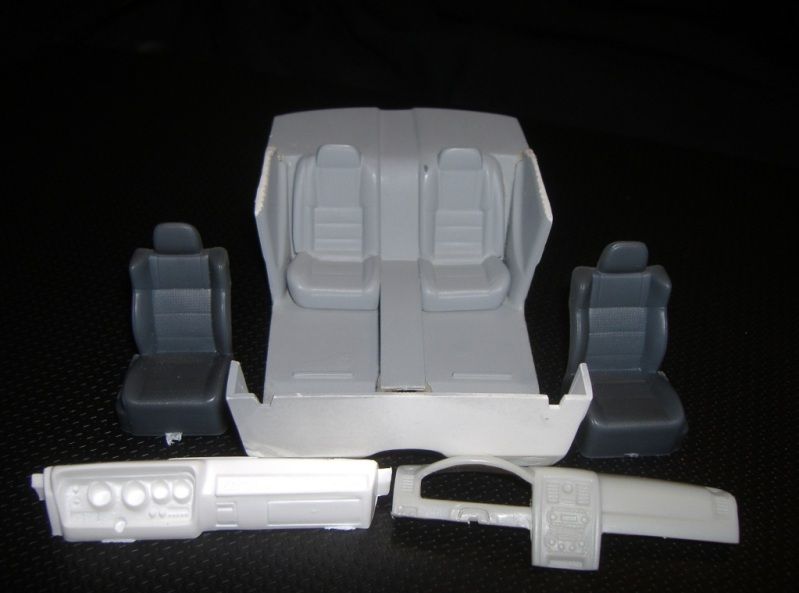 |
|
|
|
Post by 67impala427 on Apr 19, 2012 0:37:42 GMT -5
More on the dash. I cut the dash into three different pieces for two reasons. The first was to lengthen it to fit in the interior bucket. The second is to re-position the 3 pieces so that they will flow with the sculpted rear package tray. I lengthened it with sheet styrene. Alex. 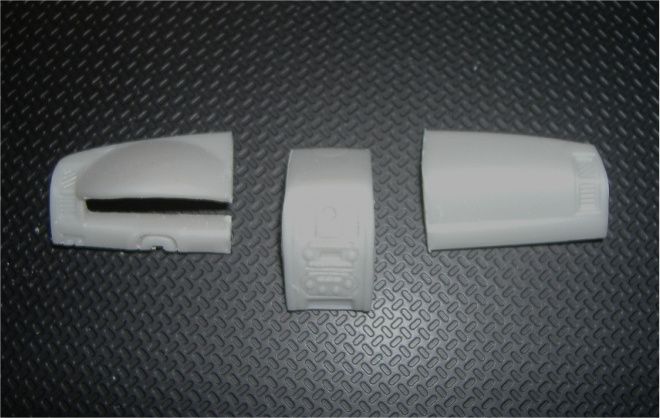 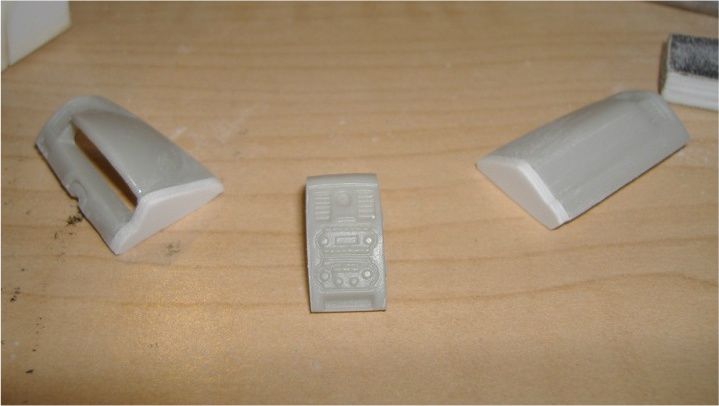 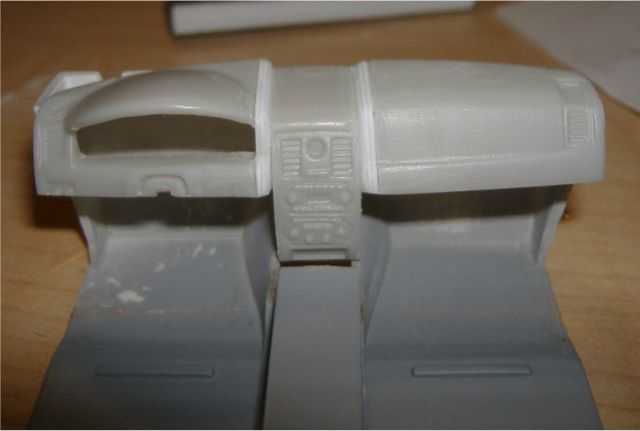 The modified dash now flows with the sculpted package tray. 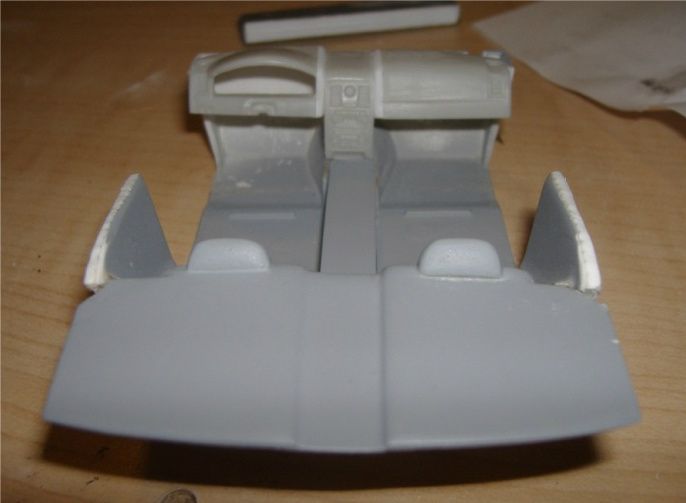 Before  After 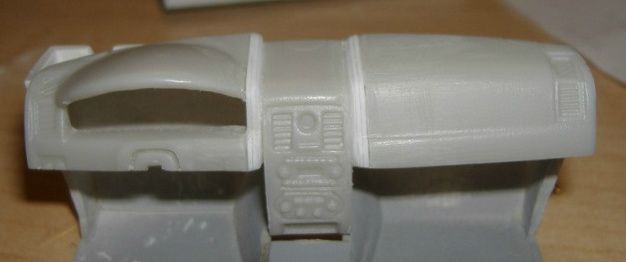 |
|
|
|
Post by zbuckster on Apr 19, 2012 10:42:52 GMT -5
Nice work. Looking good.
|
|
|
|
Post by fireguy14 on Apr 20, 2012 17:30:38 GMT -5
Nice work!
|
|
|
|
Post by 67impala427 on Apr 25, 2012 23:06:11 GMT -5
Now for more updates to the dash. I extended the lower portion of the dash to match the upper portion. It sits too low so I will have to cut material from the bottom of the dash for proper fit. Alex. :chev:  |
|
|
|
Post by zbuckster on Apr 26, 2012 11:34:43 GMT -5
Looks good.
|
|
|
|
Post by stumay309 on Jun 11, 2012 7:58:31 GMT -5
really nice project nice work cant wait to see some more of this build
|
|
|
|
Post by tim on Jun 11, 2012 20:00:26 GMT -5
Glad to see your still building, lots of hard work on this one's paying off...nice!
|
|
|
|
Post by 67impala427 on Jun 19, 2012 20:58:21 GMT -5
|
|
|
|
Post by zbuckster on Jun 20, 2012 11:52:59 GMT -5
I think it looks great. That's a lot of work on an interior.
|
|
|
|
Post by 67impala427 on Jun 20, 2012 19:16:39 GMT -5
I think it looks great. That's a lot of work on an interior. Yeah you are right and I have a lot more to do on it. Stay tuned. Alex. |
|
|
|
Post by 67impala427 on Jun 24, 2012 1:33:57 GMT -5
OK, i got a little more progress done. I used the front seats form the Revell '06 Dodge Magnum. I cut away the excess material on the side of the front seats to narrow them to fit. I then filled in the cut away area with sheet styrene. As with the rear seats I found that the front seats were taller than I needed for this build so I cut away approximately 1/8" from the bottoms. In the second picture you can see the original height of the seat on the left and the new shorter one on the right. Additionally I filled in the rear cup holders and repositioned them more to my liking. I then cut an opening for the shifter. Comments welcome. Alex.    |
|
|
|
Post by zbuckster on Jun 24, 2012 11:45:55 GMT -5
Cool.
|
|
|
|
Post by 67impala427 on Jun 24, 2012 22:10:23 GMT -5
After modifying and shortening the front seats I put everything together to see how it looks. I repositioned the rear cup holders and added cupholders up front to. What do you think? Alex.    |
|
|
|
Post by 67impala427 on Jun 26, 2012 23:43:26 GMT -5
|
|
|
|
Post by zbuckster on Jun 27, 2012 11:54:17 GMT -5
Man-O-Man, that is one fine interior.
|
|
|
|
Post by Nacho Z on Jun 30, 2012 6:11:54 GMT -5
Nice work as always Alex.
|
|
|
|
Post by stumay309 on Jun 30, 2012 18:15:31 GMT -5
interiors looking mighty fine now cant wait to see more pics
|
|
|
|
Post by 67impala427 on Jul 11, 2012 0:35:17 GMT -5
|
|
|
|
Post by zbuckster on Jul 11, 2012 11:32:54 GMT -5
Never noticed it before but you are right. It looks a lot better.
|
|
|
|
Post by 67impala427 on Jul 11, 2012 12:16:21 GMT -5
Never noticed it before but you are right. It looks a lot better. Thanks. It was more about praticality. The old way just was too bulky and created fitment issues underneath the windshield. After redoing it, it fit with no problems and it's a cleaner look that flows with the rest of the interior. Alex. |
|
|
|
Post by 67impala427 on Jul 11, 2012 17:18:00 GMT -5
|
|
|
|
Post by 67impala427 on Jul 11, 2012 22:50:49 GMT -5
Besides the need to rechrome the wheels which will be done by Chrome Tech USA in a few weeks there are four areas of concern on this build that needs to be fixed on the body. The first two are the A pillars which were broken at the base when I opened the doors. The third area is on the drivers side wheel opening which was damaged with my Dremel tool when cutting away the stock wheel well. The last area is just in front of the hood opening which was also damaged with the Dremel tool. Alex.  |
|
|
|
Post by z24dude on Jul 12, 2012 8:06:29 GMT -5
Lookin good, but I would stay away from dremels!!!  |
|
|
|
Post by 67impala427 on Jul 13, 2012 22:38:40 GMT -5
I repaired the damaged areas that I mentioned earlier at he A pillars, left front wheel wheel and at the front of the hood opening. The repair at the base of the wheel opening took quite a bit of patience as I had to reproduce the finned pattern on the body side moulding. Alex. :mopar: 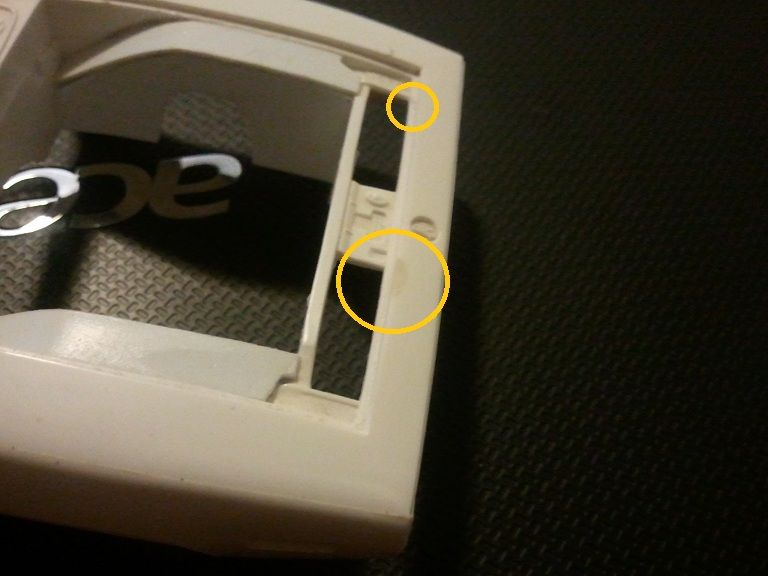 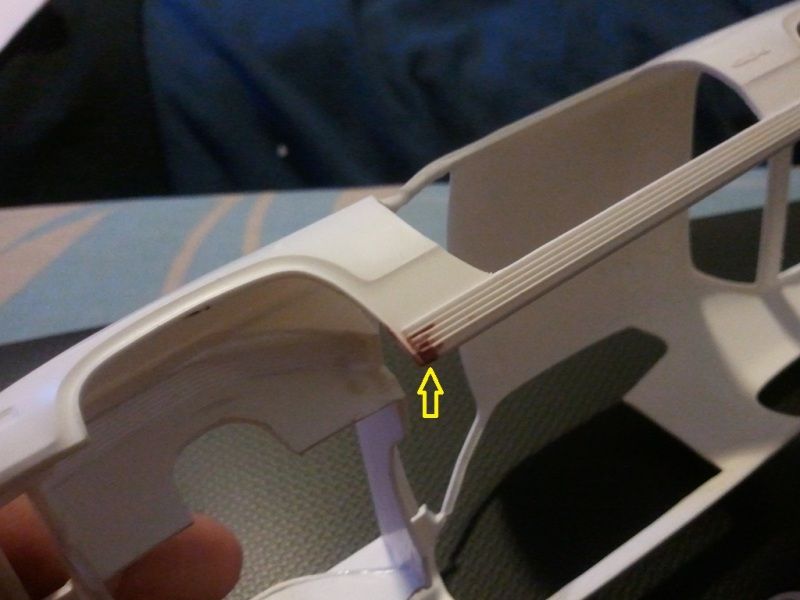 |
|
|
|
Post by 67impala427 on Jul 13, 2012 22:40:19 GMT -5
After spending a good amount of time repairing the damage at the wheel well I decided that I wanted a cleaner look so I removed all of the lower body molding including the repaired molding and the trim around the wheel wells. Alex 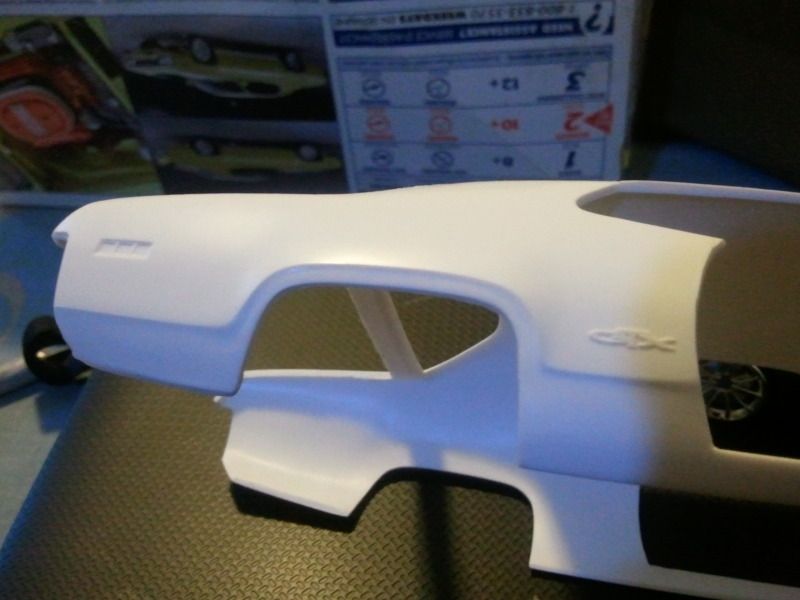 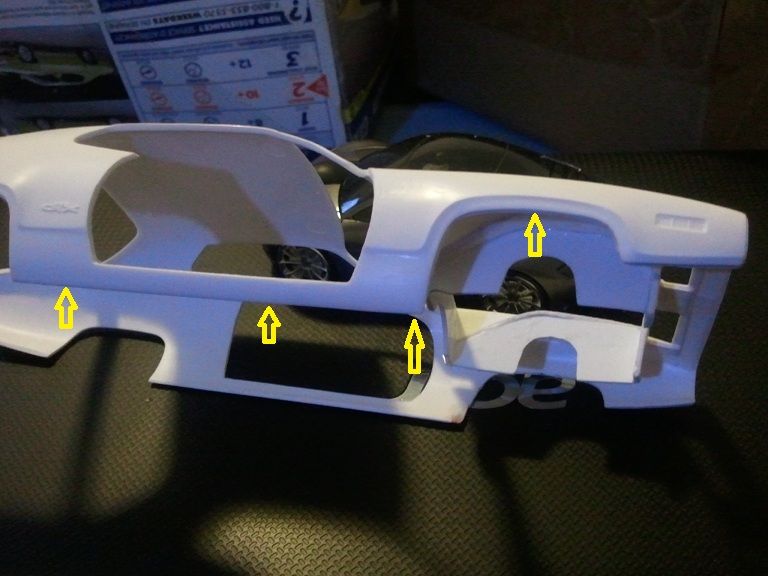 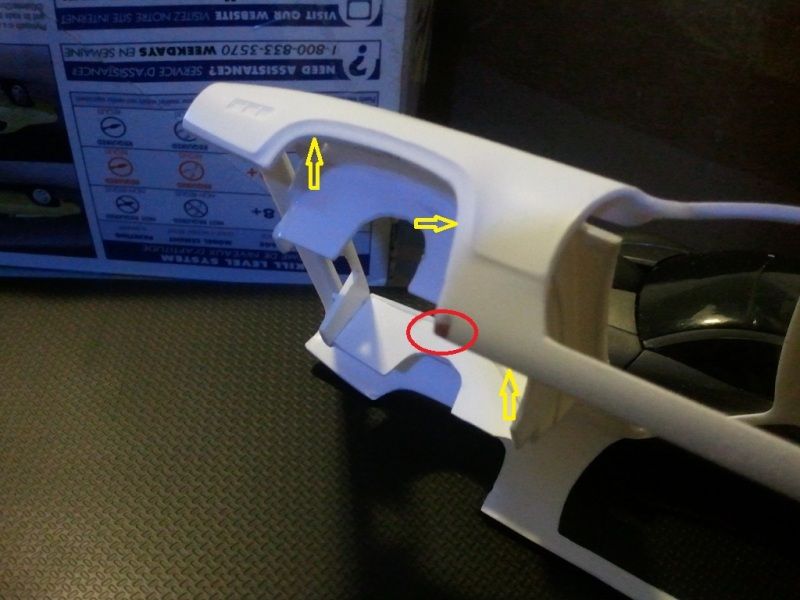 |
|
|
|
Post by zbuckster on Jul 14, 2012 11:13:30 GMT -5
Nice and smooth. Looking good.
|
|
|
|
Post by 67impala427 on Jul 17, 2012 23:13:56 GMT -5
Back to the interior. Time to do the inside door panels. I cut the panel from the interior tub when I first started this build. I used the reverse side of them to make the new sculpted arm rest and door handles. the original right side is now on the left and vice versa. I used sheet styrene for the arm rest and door handle pocket. Alex 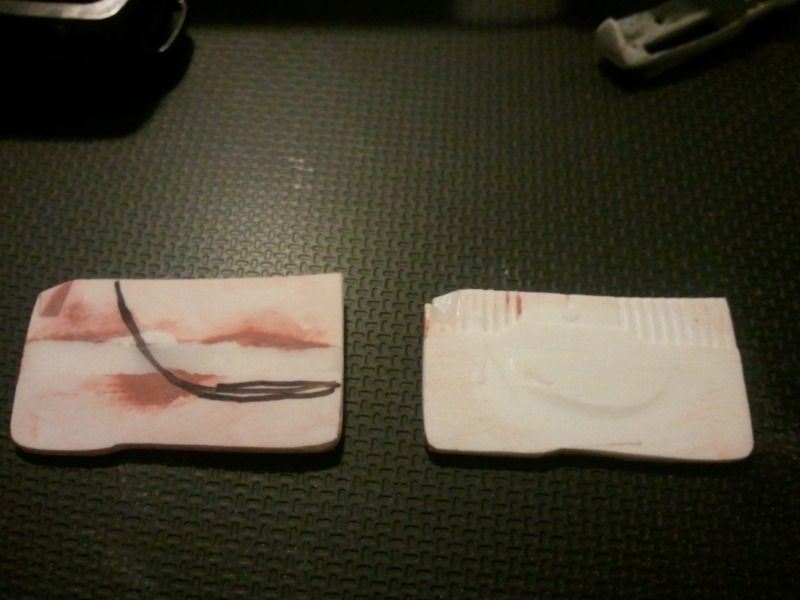 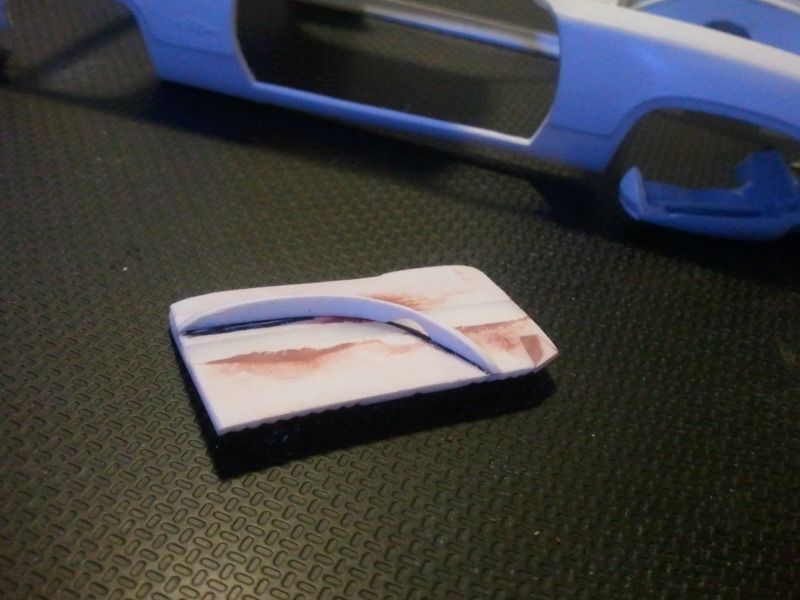 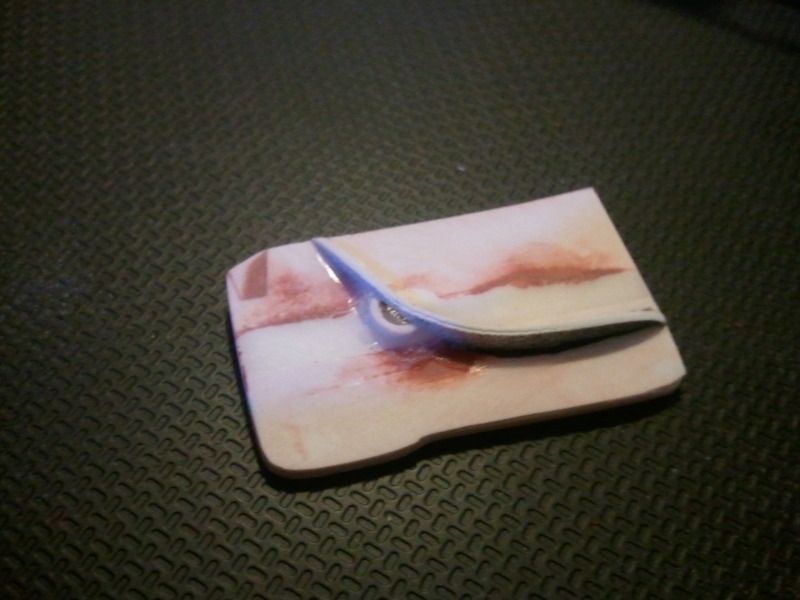 |
|

