|
|
Post by 67impala427 on Jul 17, 2012 23:15:28 GMT -5
|
|
|
|
Post by zbuckster on Jul 18, 2012 11:48:16 GMT -5
Nice.
|
|
|
|
Post by 67impala427 on Jul 20, 2012 3:09:45 GMT -5
Every time I try something new I learn new things also I discover that I may forget a thing or two. In this case I forgot to allow space for the sides of the dash board as it relates to the door panels. I had to cut away material in order for the doors to close properly. I also scribed in the inner door handle. Alex. 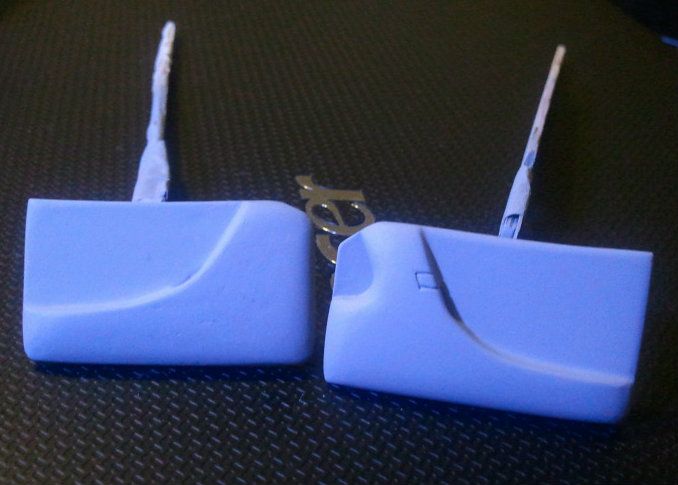 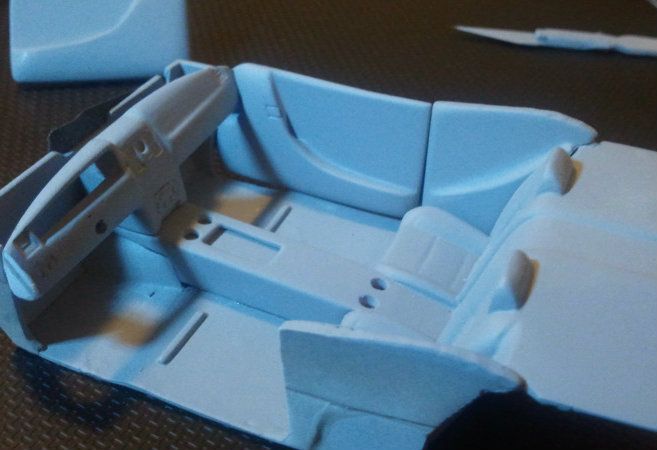 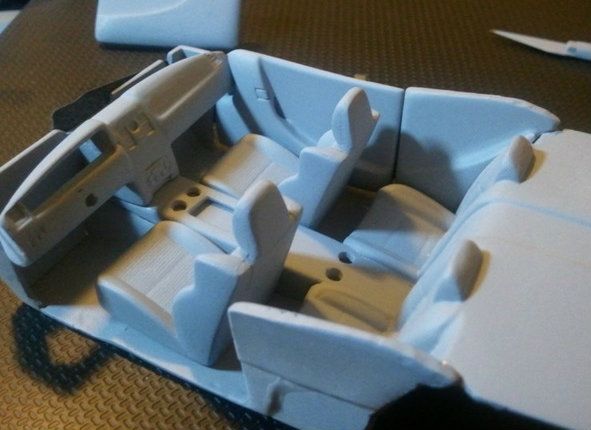 |
|
|
|
Post by zbuckster on Jul 20, 2012 10:26:31 GMT -5
I am strill following along and you are still looking good. The whole thing just works. The door panels, dash, buckets, all of it really looks right.
|
|
|
|
Post by 67impala427 on Jul 20, 2012 12:44:00 GMT -5
I am strill following along and you are still looking good. The whole thing just works. The door panels, dash, buckets, all of it really looks right. Thanks Buck. I really am satisfied with this interior as well as the other aspects of this build. It's taking a lot longer than anticipated as I keep coming up with ideas. It's my most ambitious build to date and I am really testing myself. Alex. |
|
gautreau
Full Member
   Mini-Trucker
Posts: 252
|
Post by gautreau on Jul 20, 2012 23:15:26 GMT -5
Another great looking build Alex!
|
|
|
|
Post by 67impala427 on Aug 7, 2012 2:11:04 GMT -5
After more than 2 years I finally made the molds and cast the first few Kenne Bell style super chargers that I mastered for this build. I'm pleased with the results and have them available on my website and they will soon be on my Ebay page.They'll be perfect for Vette's, older Camaro's, 'Stangs and the late model Hemi's. What do you guys think? Alex. 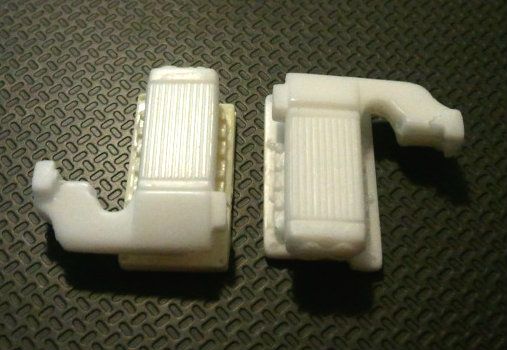 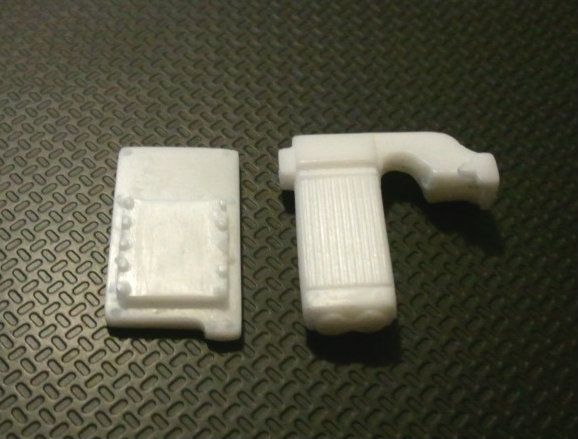 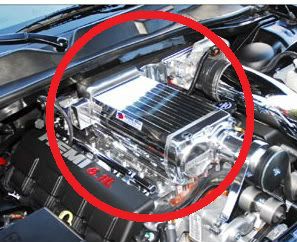 |
|
|
|
Post by zbuckster on Aug 7, 2012 9:19:22 GMT -5
Good looking pieces.
|
|
|
|
Post by z24dude on Aug 7, 2012 9:21:49 GMT -5
Oh yeah, gotta get me some of these!!!
|
|
|
|
Post by 67impala427 on Aug 7, 2012 12:37:41 GMT -5
|
|
|
|
Post by 68chevy on Aug 10, 2012 14:28:45 GMT -5
Excellent build is awesome.
|
|
|
|
Post by 67impala427 on Aug 13, 2012 21:48:05 GMT -5
Guess what all. I just got 4 sets of pretty, shiny wheels from Chrome Tech USA today and one of those sets is for this build. After 3 years of handling these wheels for this w.i.p. they lost some of their luster. I can't say that now. I am very pleased with my new chrome and should get back to building soon. Alex. 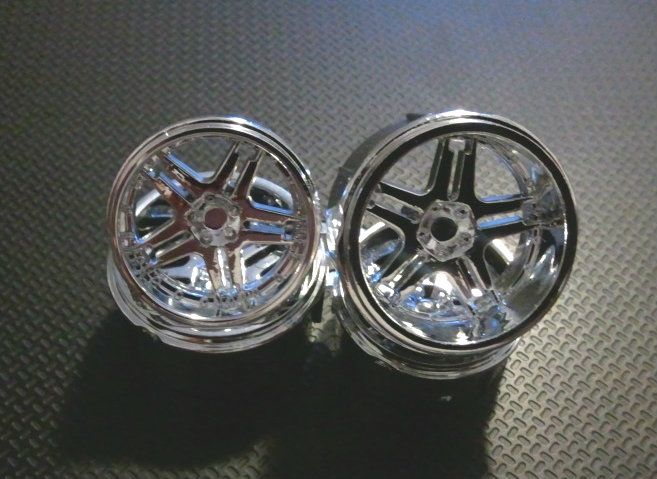 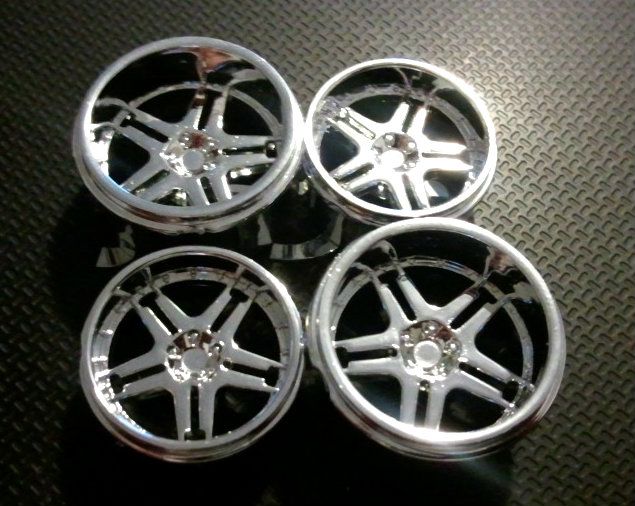 |
|
|
|
Post by 68chevy on Aug 14, 2012 6:19:34 GMT -5
Very nice looking wheels.
|
|
|
|
Post by zbuckster on Aug 14, 2012 11:31:41 GMT -5
Sweet.
|
|
|
|
Post by 67impala427 on Oct 17, 2012 21:36:59 GMT -5
|
|
dogfish7
Junior Member
  So many models.... so little time.
Posts: 119
|
Post by dogfish7 on Oct 28, 2012 2:26:30 GMT -5
Sure like the new style hood!  |
|
|
|
Post by 67impala427 on Nov 20, 2012 2:50:53 GMT -5
|
|
|
|
Post by 67impala427 on Jul 3, 2014 10:37:20 GMT -5
Well after about 20 months I've started to work on this build again. Not much to show as far as pictures because most of the work I've done for the last two days was massaging the body and doors. I removed mold lines and the exterior door handles. I also cleaned up the door openings and the door edges to make them look more realistic. I did make the door hinges last night and will post pics asap.
Alex.
|
|
|
|
Post by 67impala427 on Jul 3, 2014 10:40:17 GMT -5
Finally got the door hinges in and they work perfectly. They open and close without binding on the body. Next I'll start the door sills and jams. Alex. 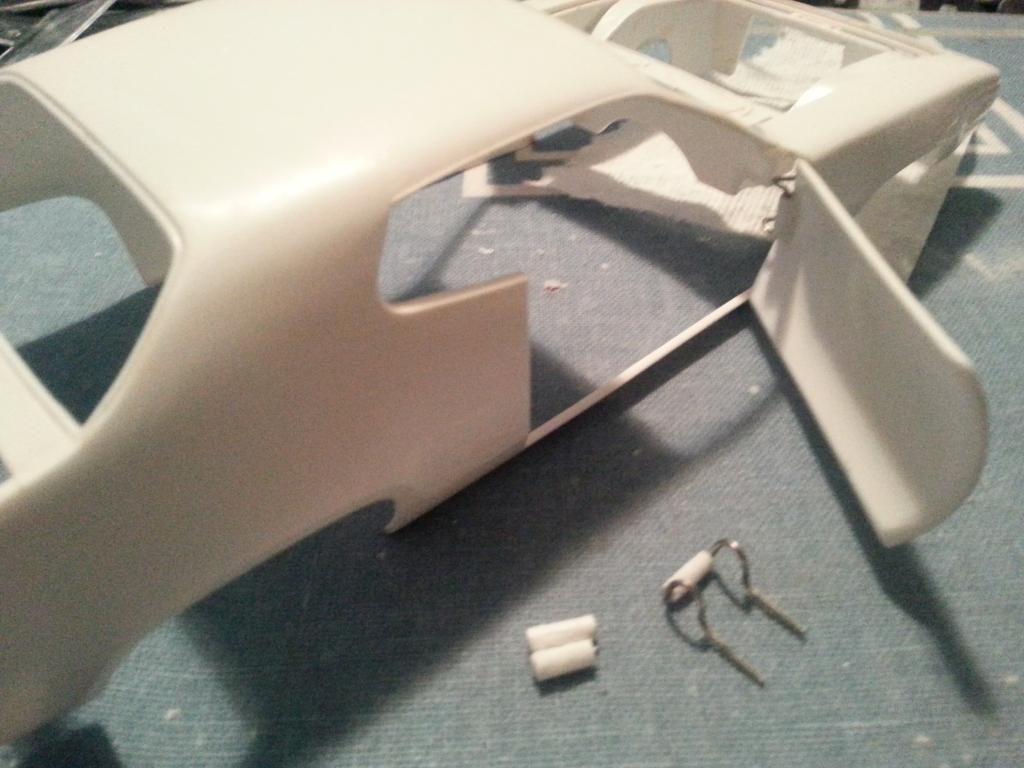 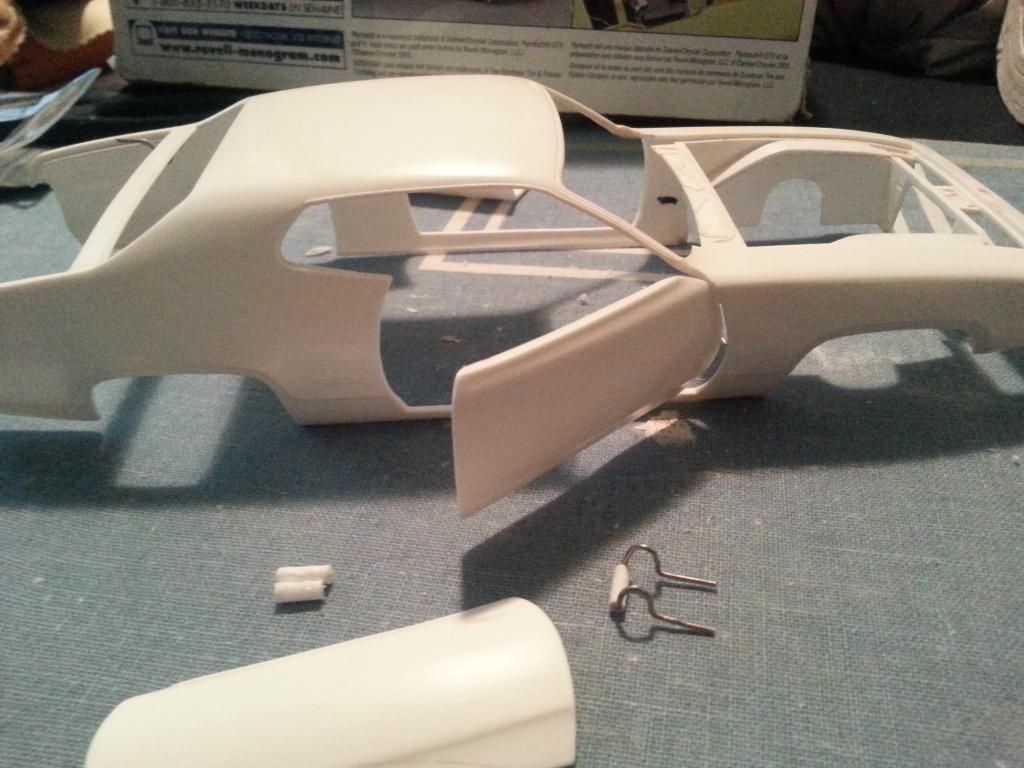 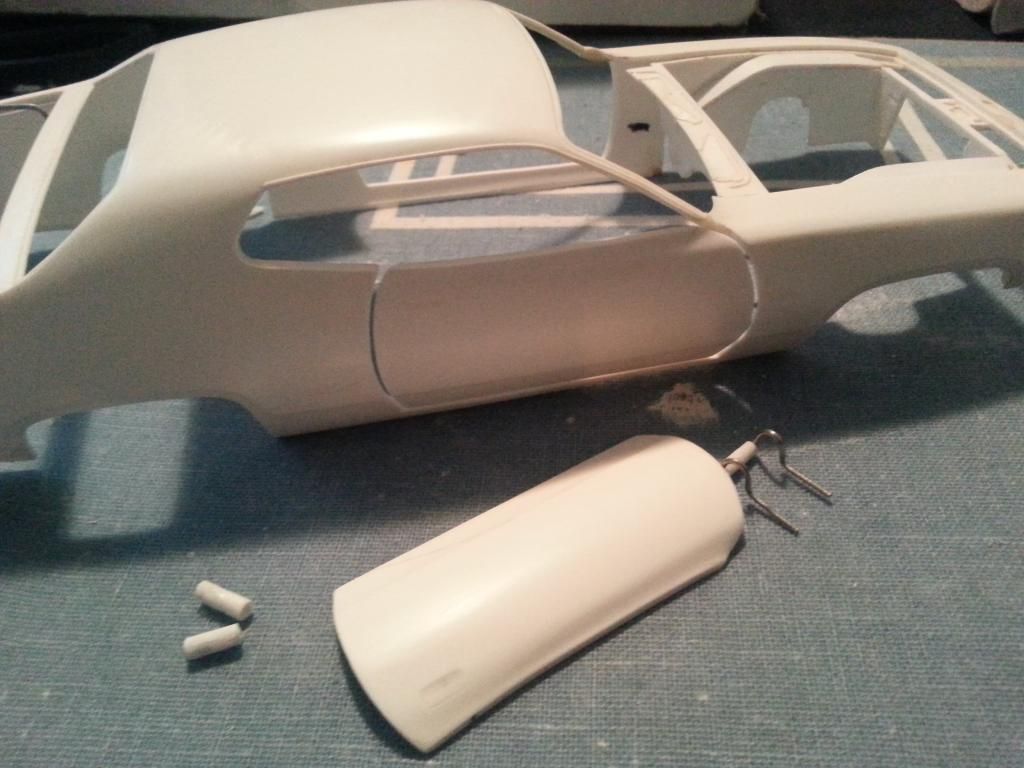 |
|
|
|
Post by 67impala427 on Jul 3, 2014 21:54:49 GMT -5
I've finished the the door jams and sills. Now on to more massaging of the body. Alex. 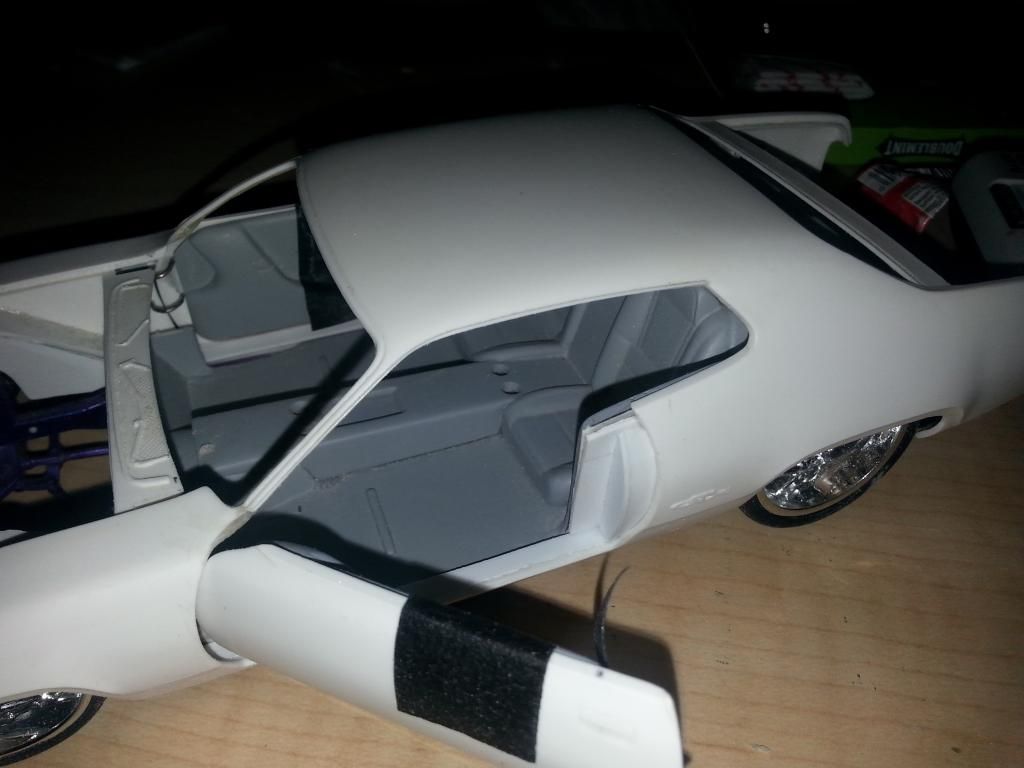 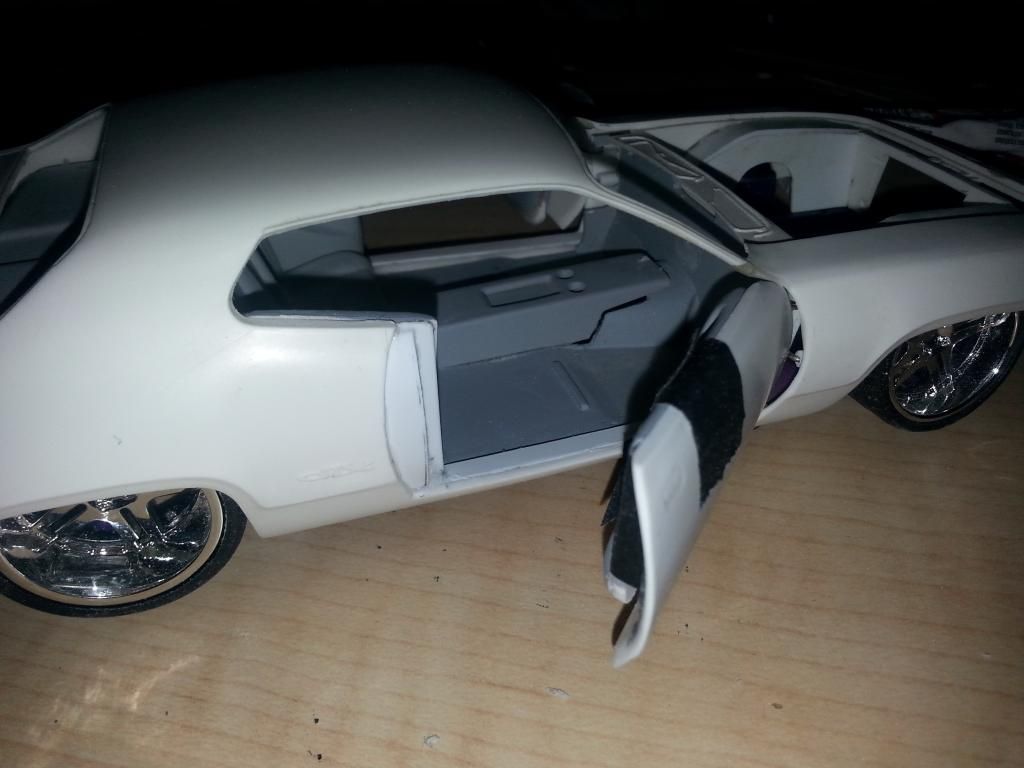 |
|
|
|
Post by 67impala427 on Jul 7, 2014 16:39:51 GMT -5
I really liked the way the trunk area of my Custom '69 GTX came out when I built it a few years ago. So I decided to do something similar on the '71 X. I'll add a couple of driver subs like I did on the '69 and I think I'll put a couple of amps under glass in too. I liked the way I painted the interior of the '69 instead of the traditional way of doing it. I'll paint the trunk area on the '71 body color also. Here's picture's of the '69 GTX trunk w/o the battery cover. Alex. 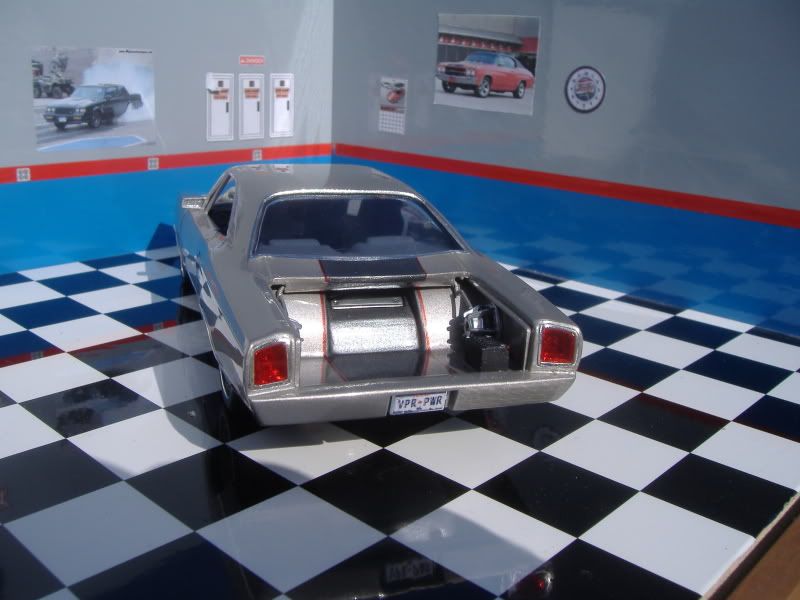 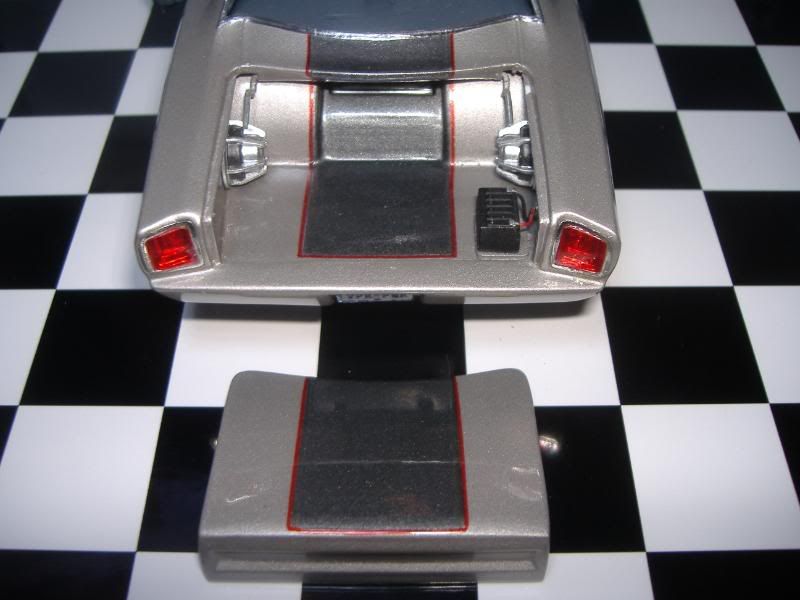 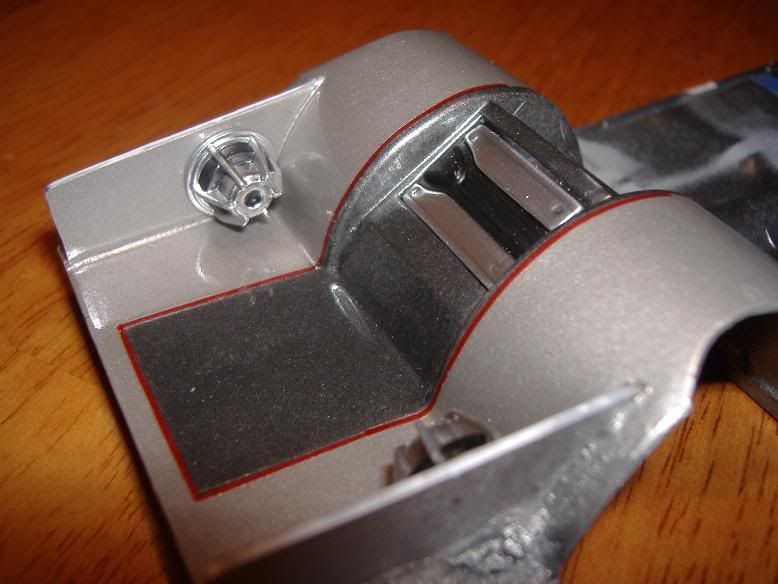 |
|
|
|
Post by 67impala427 on Jul 7, 2014 16:40:31 GMT -5
|
|
|
|
Post by 67impala427 on Jul 12, 2016 0:15:38 GMT -5
I'm back. Its been over 2 years since I worked on this build. As promised I am starting back on it. At least for a few days. This is the first real mock up with all of the available parts. With all of the custom work on the chassis, interior, engine, etc. I realized that I didn't do much to the body other than the custom cowl, opening doors and trunk and smoothing here and there. To me compared the rest of the kit the body is a bit anticlimactic. I have a few ideas on what to do with the body. Additionally I will need to complete the trunk area with some subs and amps. The custom cowl hood is available In resin at the LSM eBay Store and the LSM Website. Alex. 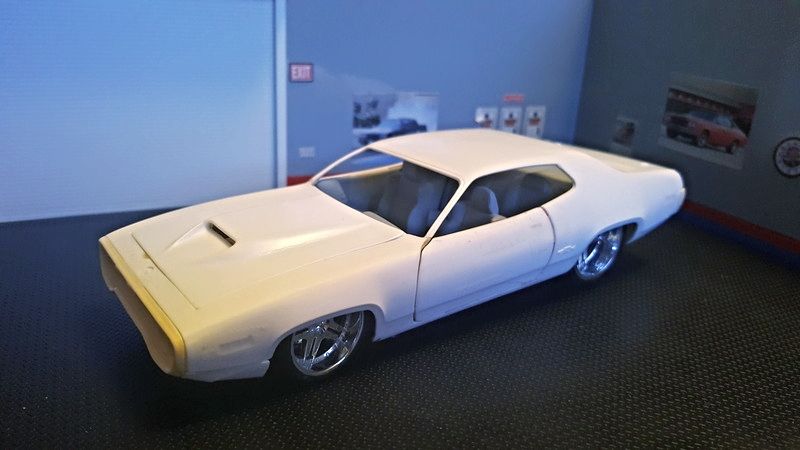 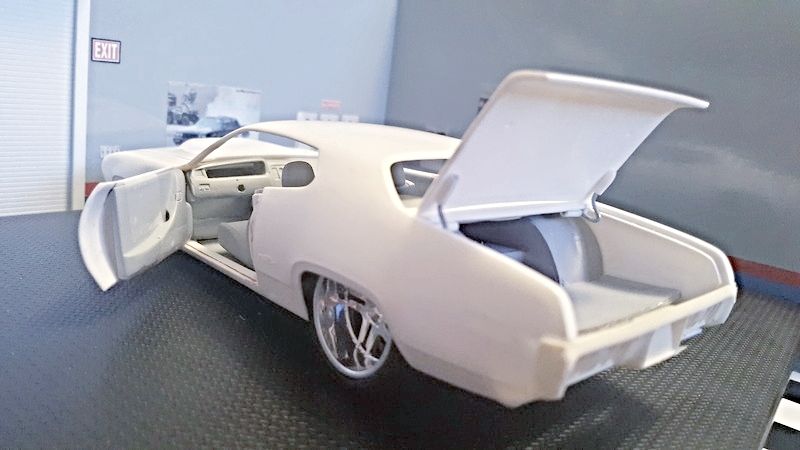 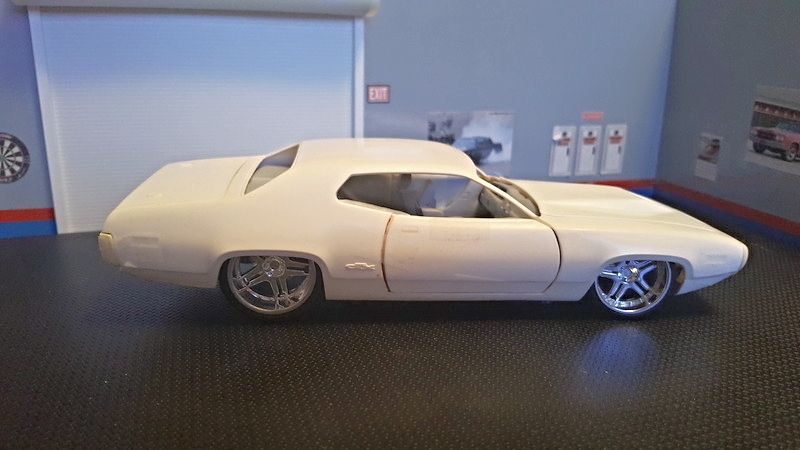 |
|
|
|
Post by 67impala427 on Jul 12, 2016 0:17:53 GMT -5
|
|
|
|
Post by 67impala427 on Jul 12, 2016 0:19:02 GMT -5
I'm going to be sending some pieces out to be chromed to Chrome Tech U.S.A. in a couple of days including these 3 resin Kenne Belle superchargers and these 4 sub woofers. I'll use one of the superchargers as well as the subs on the GTX. Alex. 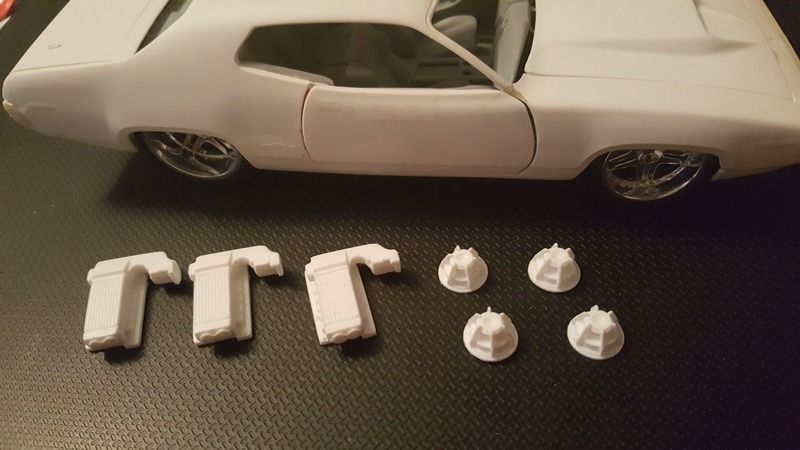 |
|
|
|
Post by 67impala427 on Jul 12, 2016 0:19:50 GMT -5
I never really liked the rear bumper on this car. With my smoothing and modifying parts of the body it was natural for me to attack the bumper. I am going to modify it by cutting out the liscense plate holder area and smooth it down. I'm also going to blend the entire bumper especially both corners of it into the body and make it look less heavy and cumbersome. I want it to flow with the body instead of look like some thing thats just mounted onto it. Alex. 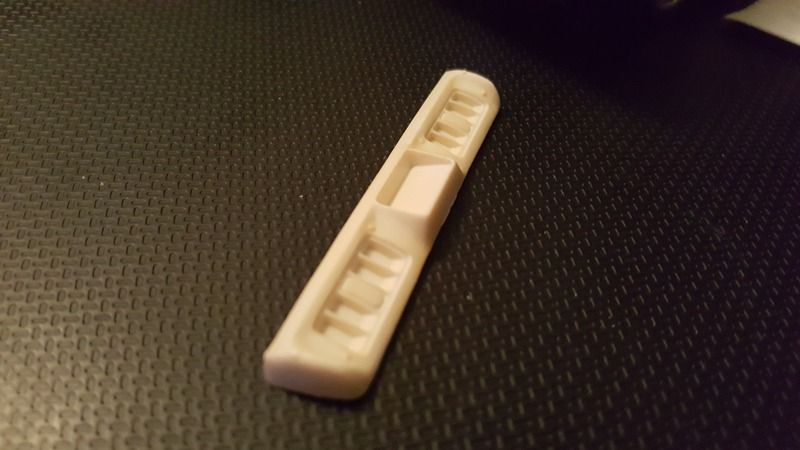 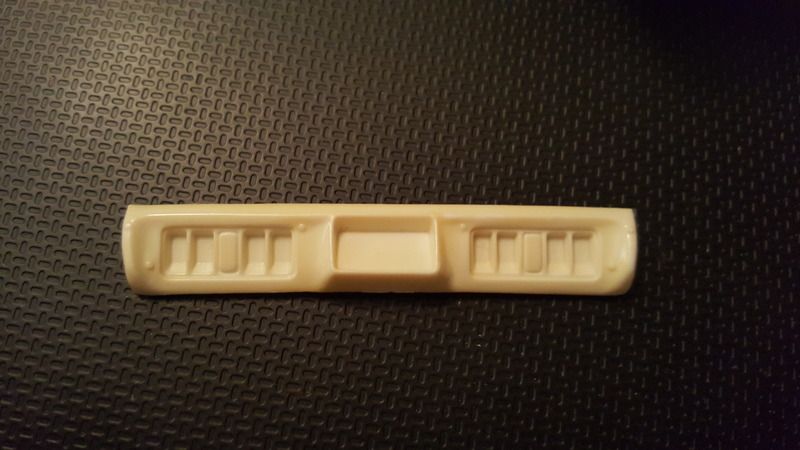 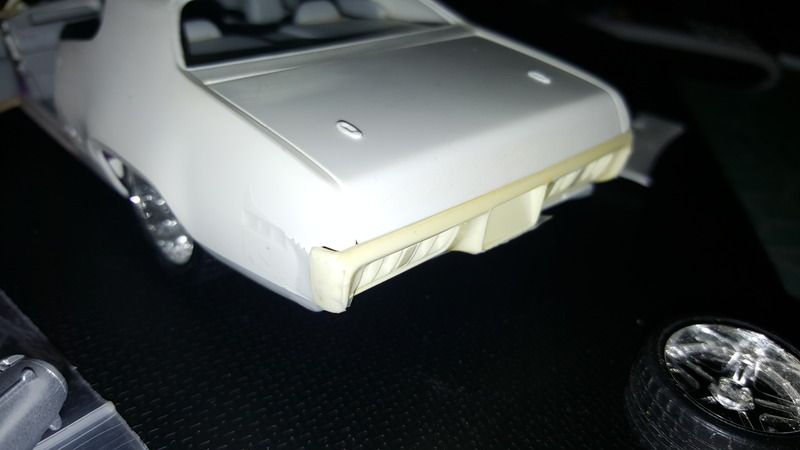 |
|
|
|
Post by 67impala427 on Jul 12, 2016 0:22:49 GMT -5
|
|
|
|
Post by 67impala427 on Jul 12, 2016 0:24:39 GMT -5
Before and after pictures. Obviously there is going to be some clean up. Additionally the seams will be filled in and blended from the body to the bumper. The liscense plate holder has been recessed into the bumper. Lastly the rear body skirt will be modified and added. It will be smoothed and blended as well. I think this is a cleaner, less heavy and more modern look. Alex.  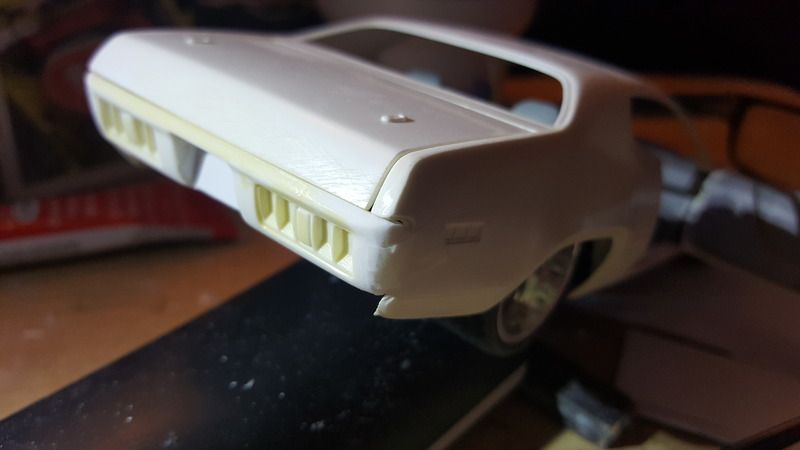 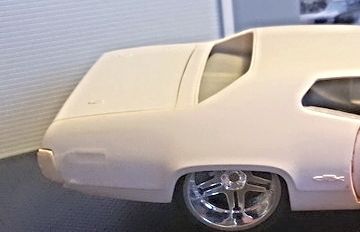 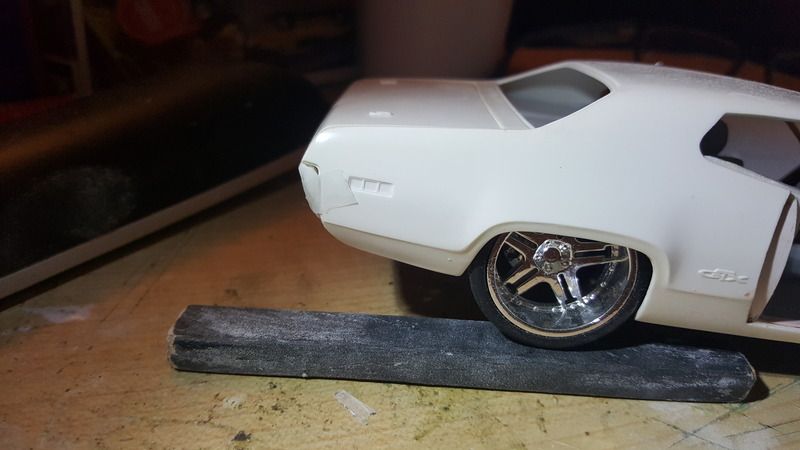 |
|
|
|
Post by 67impala427 on Jul 12, 2016 0:25:44 GMT -5
Well, so far so good. I filled in the gaps between the bumper and the fenders then scratch built a rear body skirt. More progress soon. Alex. 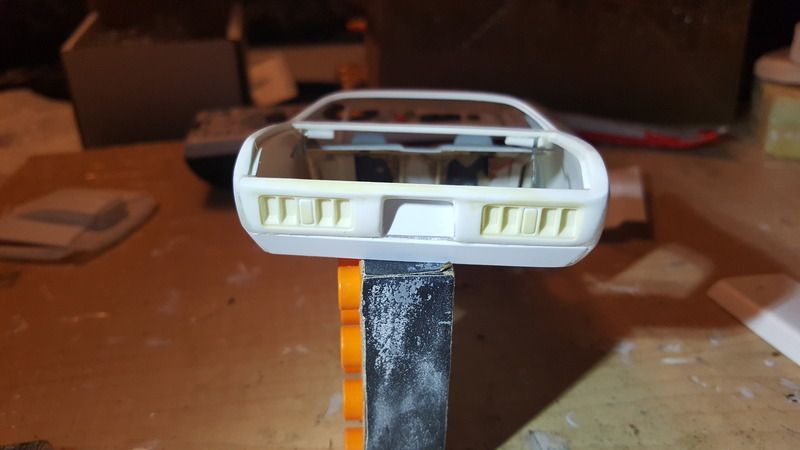 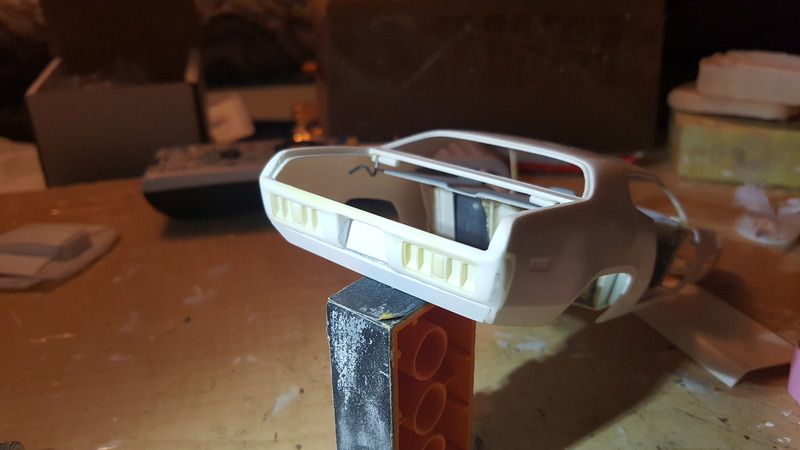 |
|
|
|
Post by 67impala427 on Jul 12, 2016 0:30:57 GMT -5
|
|

